Valorant 12 Best Off-Angles on Haven
| Tags: Valorant
| Author thealchemist

In this Valorant guide, you will learn about the 12 best off-angles on Haven
Off-angles are a must-learn once you reach a certain rank in Valorant, as playing in a common spot will almost always result in you getting killed. Every Valorant map has plenty of angles that are risky to play but equally rewarding if you can hit your shots. Haven is no different.
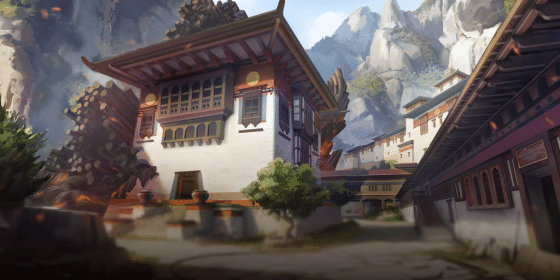
Haven is one of the biggest maps in Valorant and is only the 2nd map to have three sites. Thanks to the extra bomb site, the Bhutan-based map is arguably the most attack-sided map in the pool. Hence, to effectively play as the defending side and counteract the aggressiveness of attackers, mastering off-angles is crucial. These off-angles will help to catch your opponents off-balance and tip the round in your favor. Fortunately, you won’t need to figure out which angles will prove the most effective, as we’ll do that work for you.

Image Source: Riot Games
How are Off-Angles Different from Conventional Angles?
Conventional angles represent the go-to positions that players are expected to hold. While, on a surface level, they might appear to be safe spots, as you climb the ranks, they become highly predictable. So, playing from there will lead to getting pre-fired by opponents. This is where the concept of off-angles sets itself apart from conventional ones.
Off-angles, unlike common angles, are very hard to predict, and so it gives you a distinct advantage during the encounters. However, they carry a significant degree of risk since these positions are often situated in areas that provide little opportunity for a swift retreat to safety.
Now, without further ado, let’s get into the best Valorant off-angles on Haven for both the attacking and the defending side:
Off-Angles on Haven- Defense Side
Here are the best off-angles on Haven as the defending side:
- Under Haven Platform:
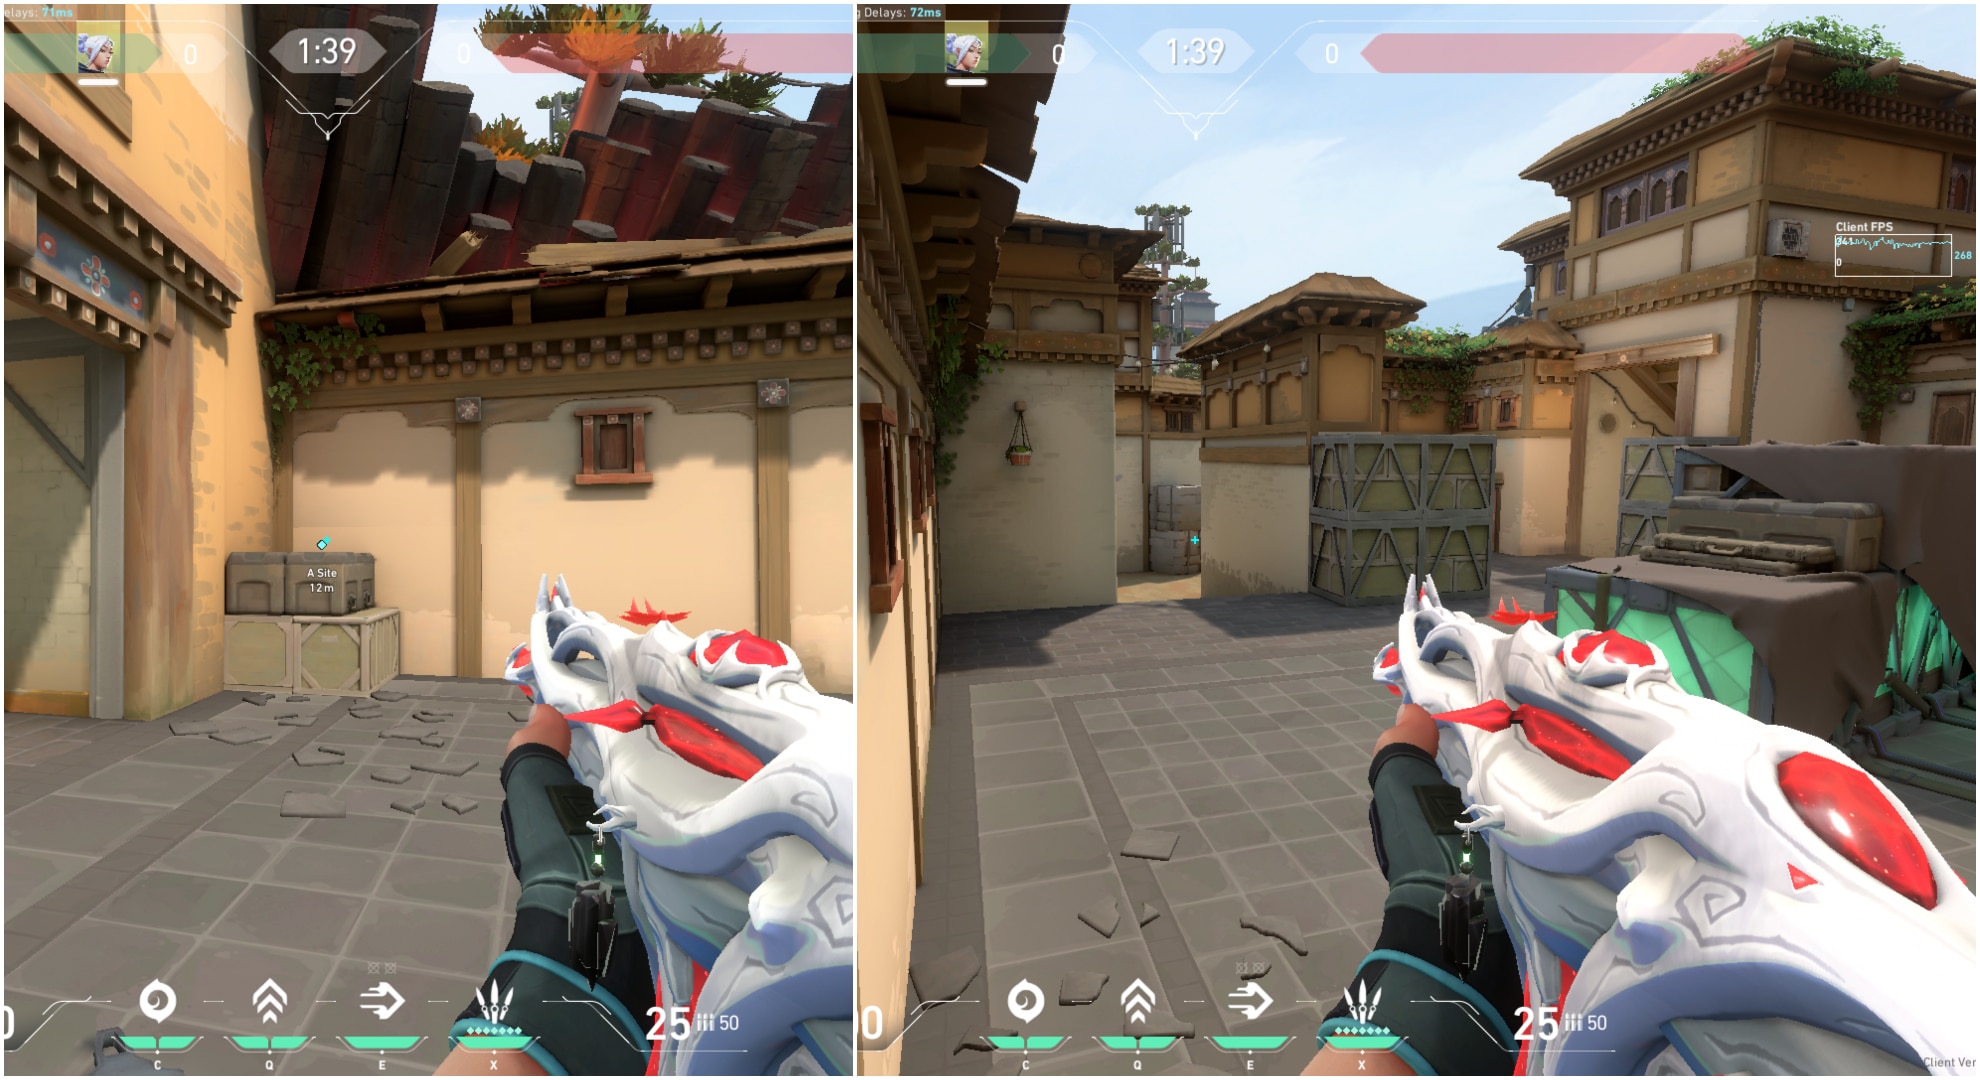
On Haven’s A-site, only a handful of locations remain untouched by utility bombardment during an enemy execution. One of the few exceptions is the Under Heaven Platform. It is an excellent spot for the defenders on-site. Playing from there, you can have a clear headshot angle for both A-short and A-long.
Your strategy should be to smoke one of the two entry points to the site while actively watching over the other. The choice between smoking off A-Long or A-Short hinges on the enemy’s presence, but opting to smoke long is often the wiser choice. This approach enhances your chances of avoiding being traded by opponents.
- Towers- A Site
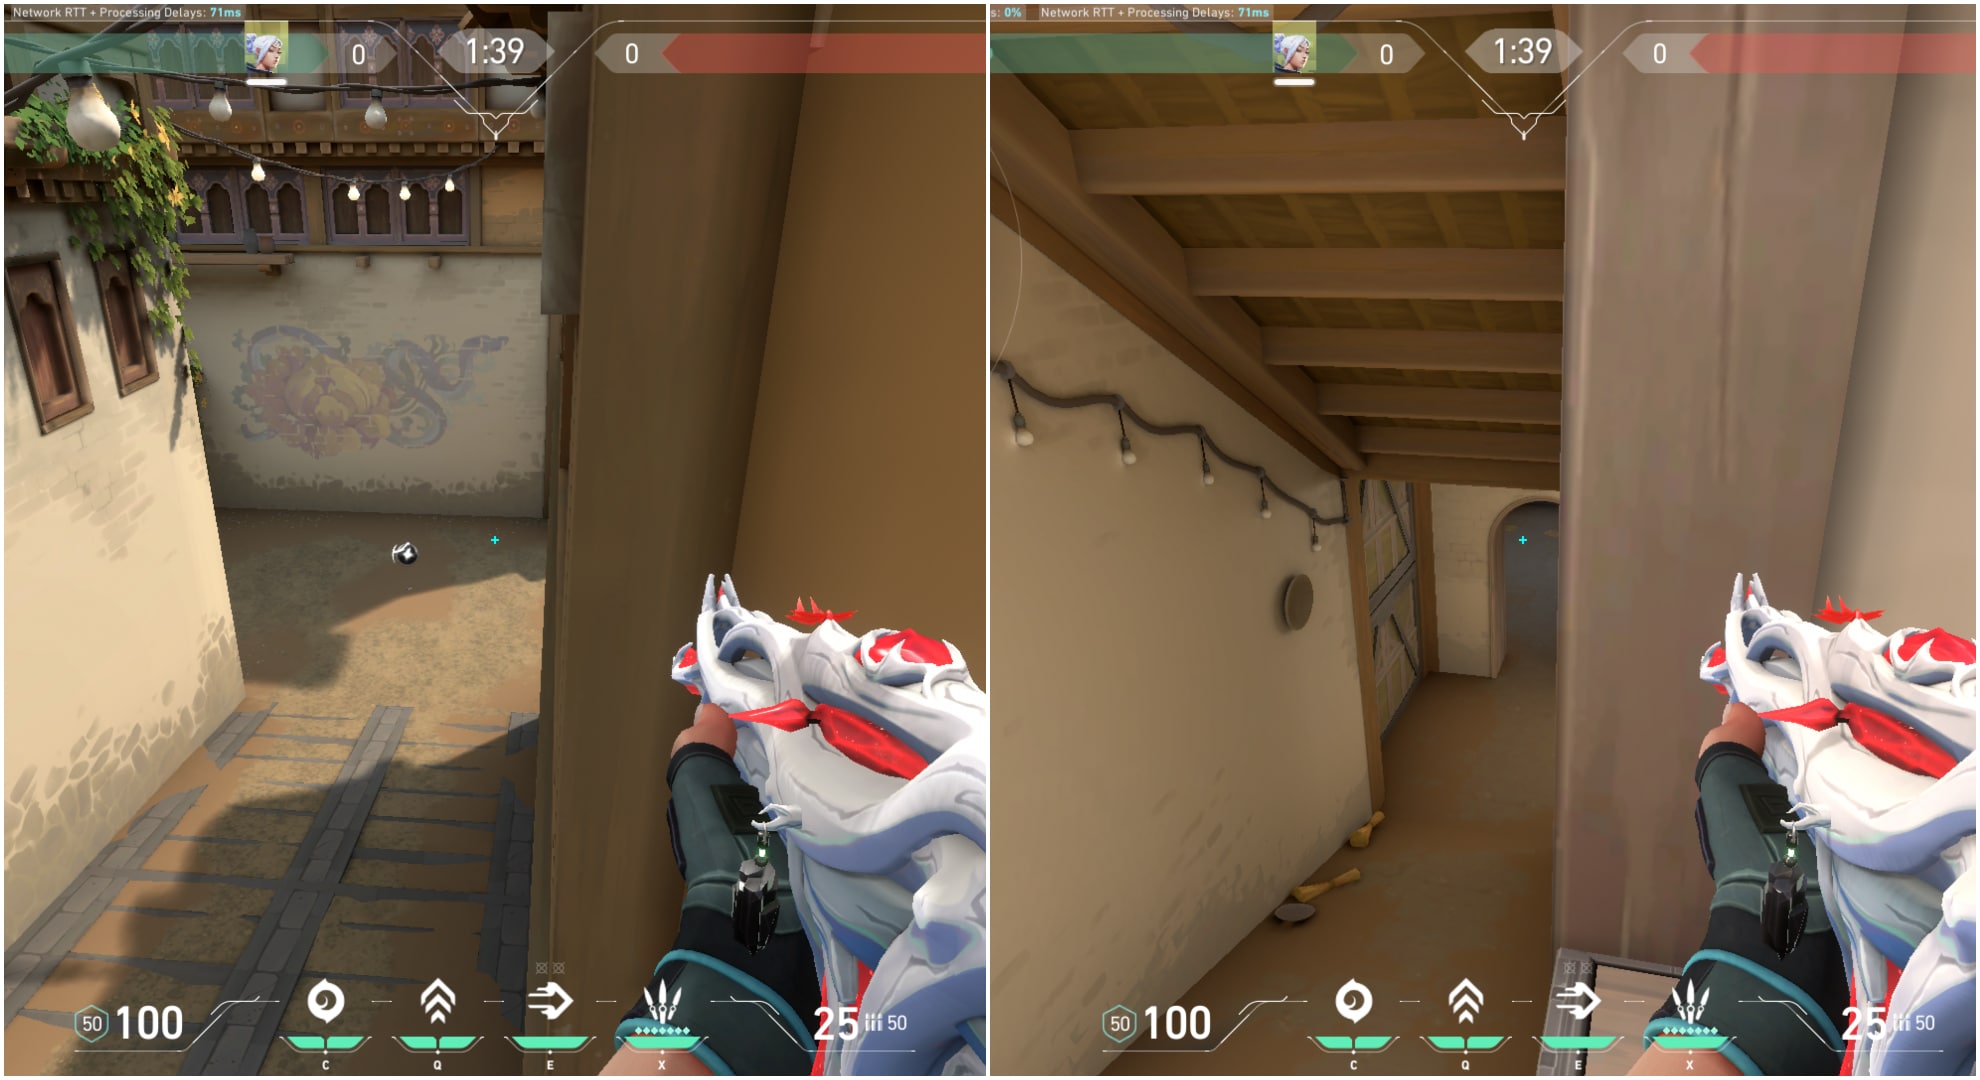
There are two towers near A Short and A-Long. Both of them offer exceptional vantage points for defenders. Perching atop these towers provides an excellent opportunity to take your enemies by surprise. The A-Short Tower, for instance, allows you to spot opponents in the sewer area. Meanwhile, the tower near A-long grants you the vision of anyone lurking close to the site on the Long side. It is important to note that these angles are only possible to play with players with movement abilities.
- Garage Window
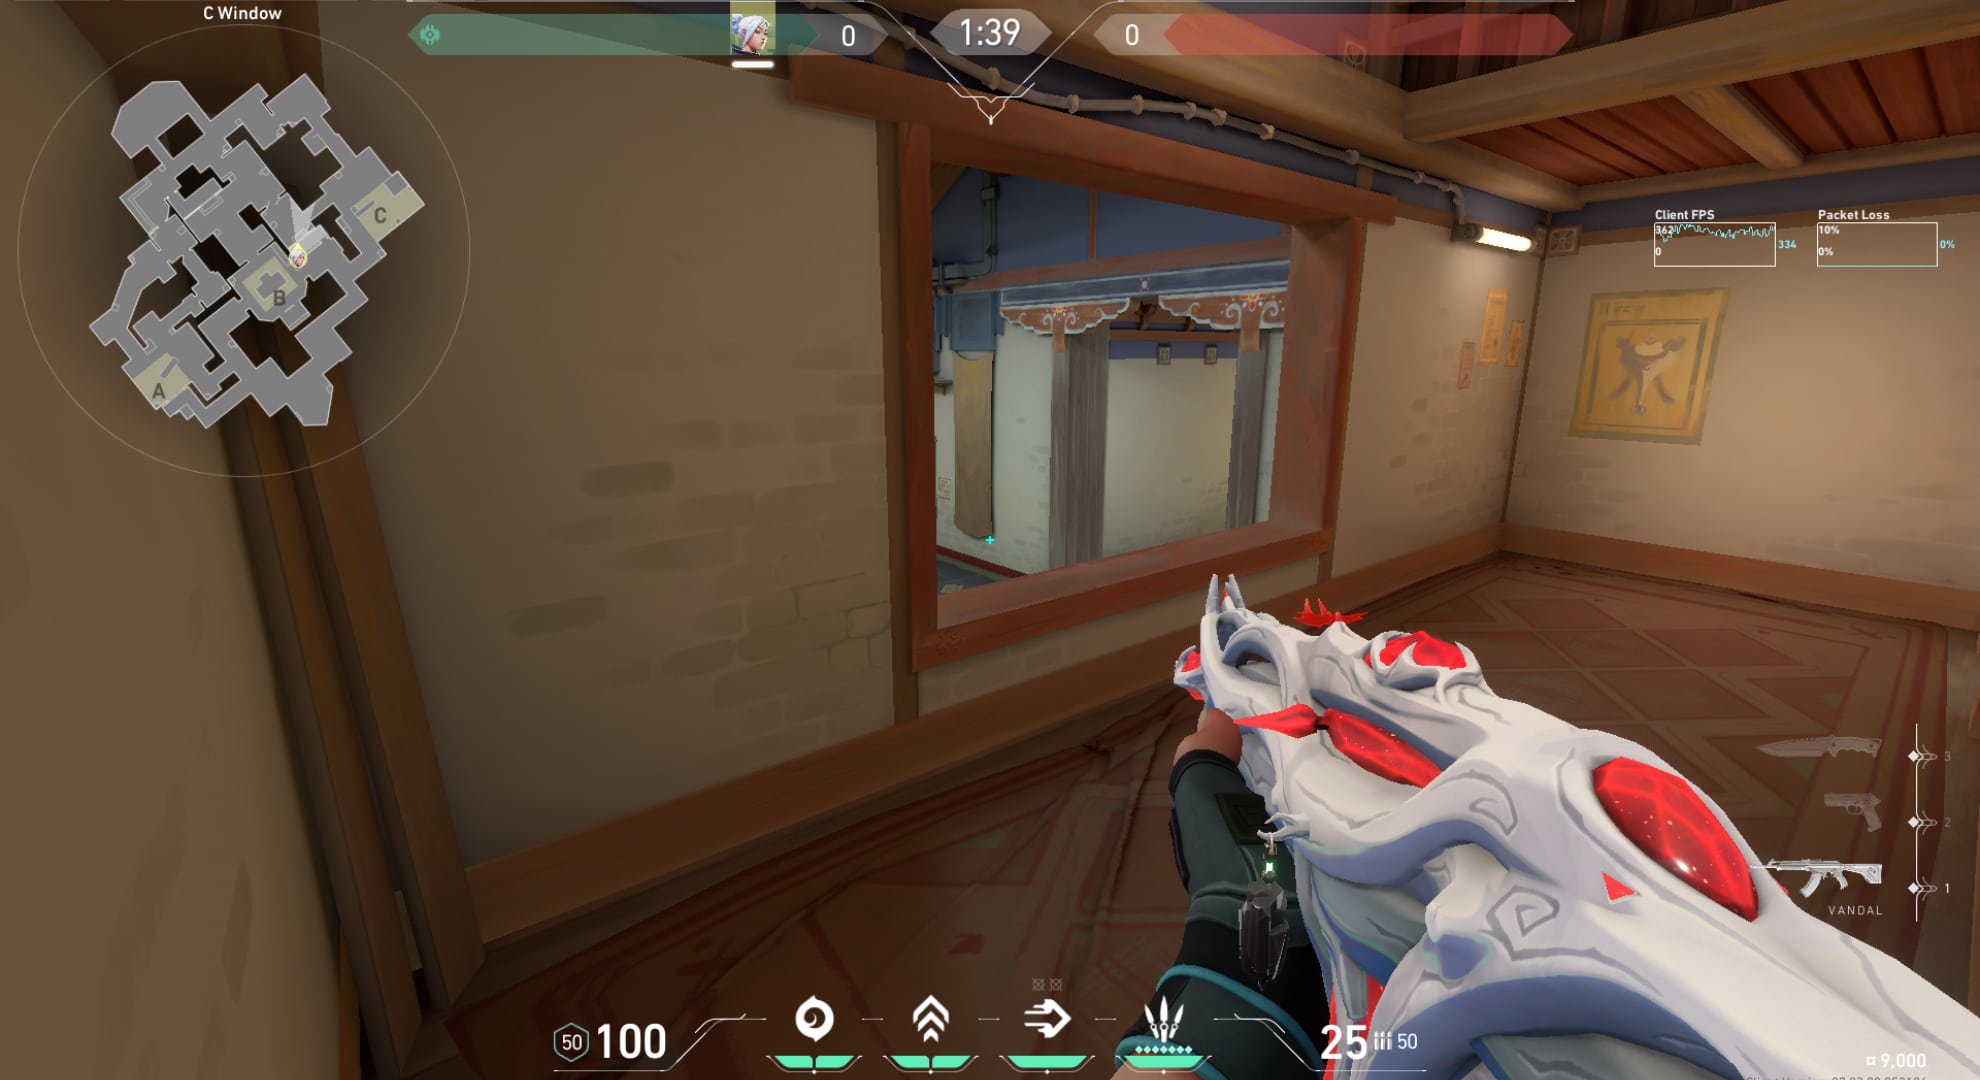
Gathering information about potential attackers in the Garage area holds immense importance. Whether executing a rush or a more standard default approach, attackers often make their way up through Garage. To effectively shut off this advance, this specific angle proves invaluable. You can readily eliminate the player from this position, whether they attempt to breach the C-site or jump into the Garage window.
- Garage Tower:
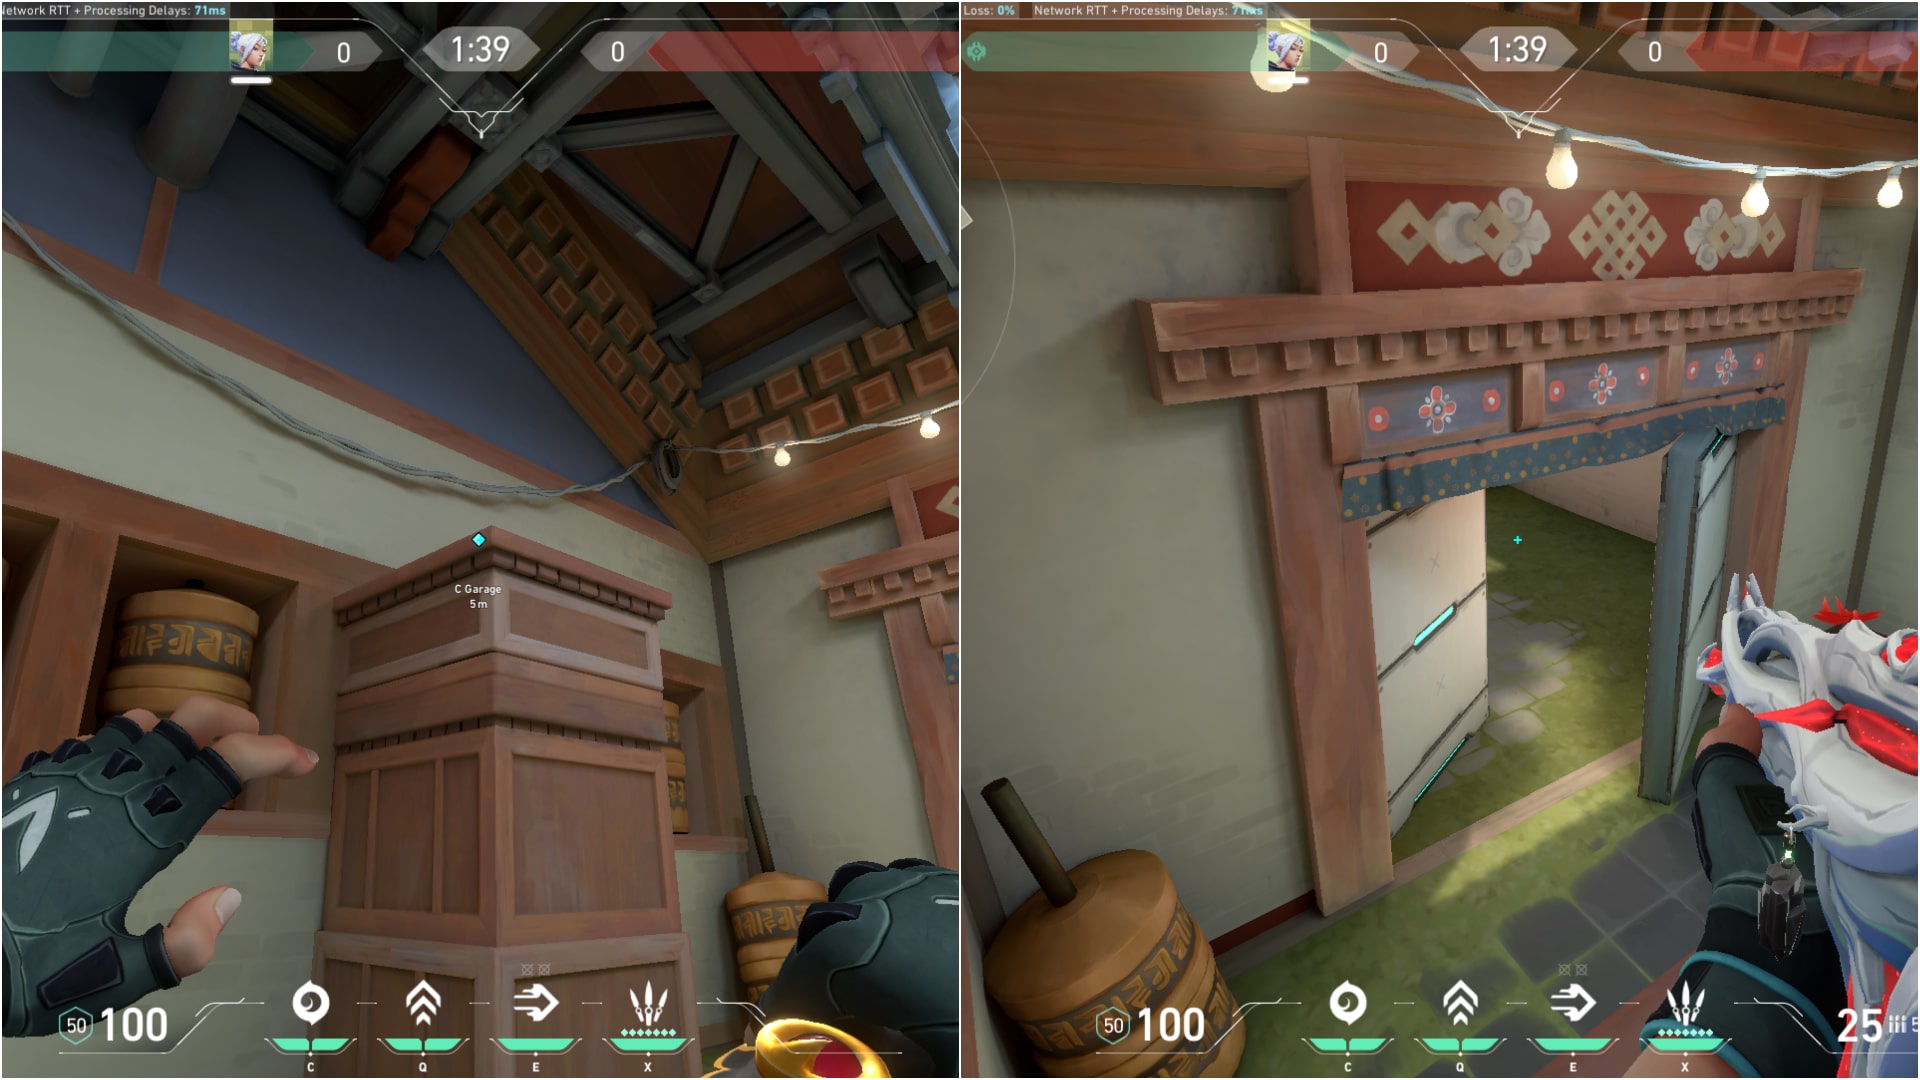
This spot is for the few agents with movement abilities like Omen, Jett, and Chamber. In contrast to the previous spot, which excels at countering default plays, this one shines when it comes to shutting down aggressive rushes. Nonetheless, it’s important to use this position sparingly, as opponents will likely respond with utility and clear you out after the first attempt.
- A-Sewer:
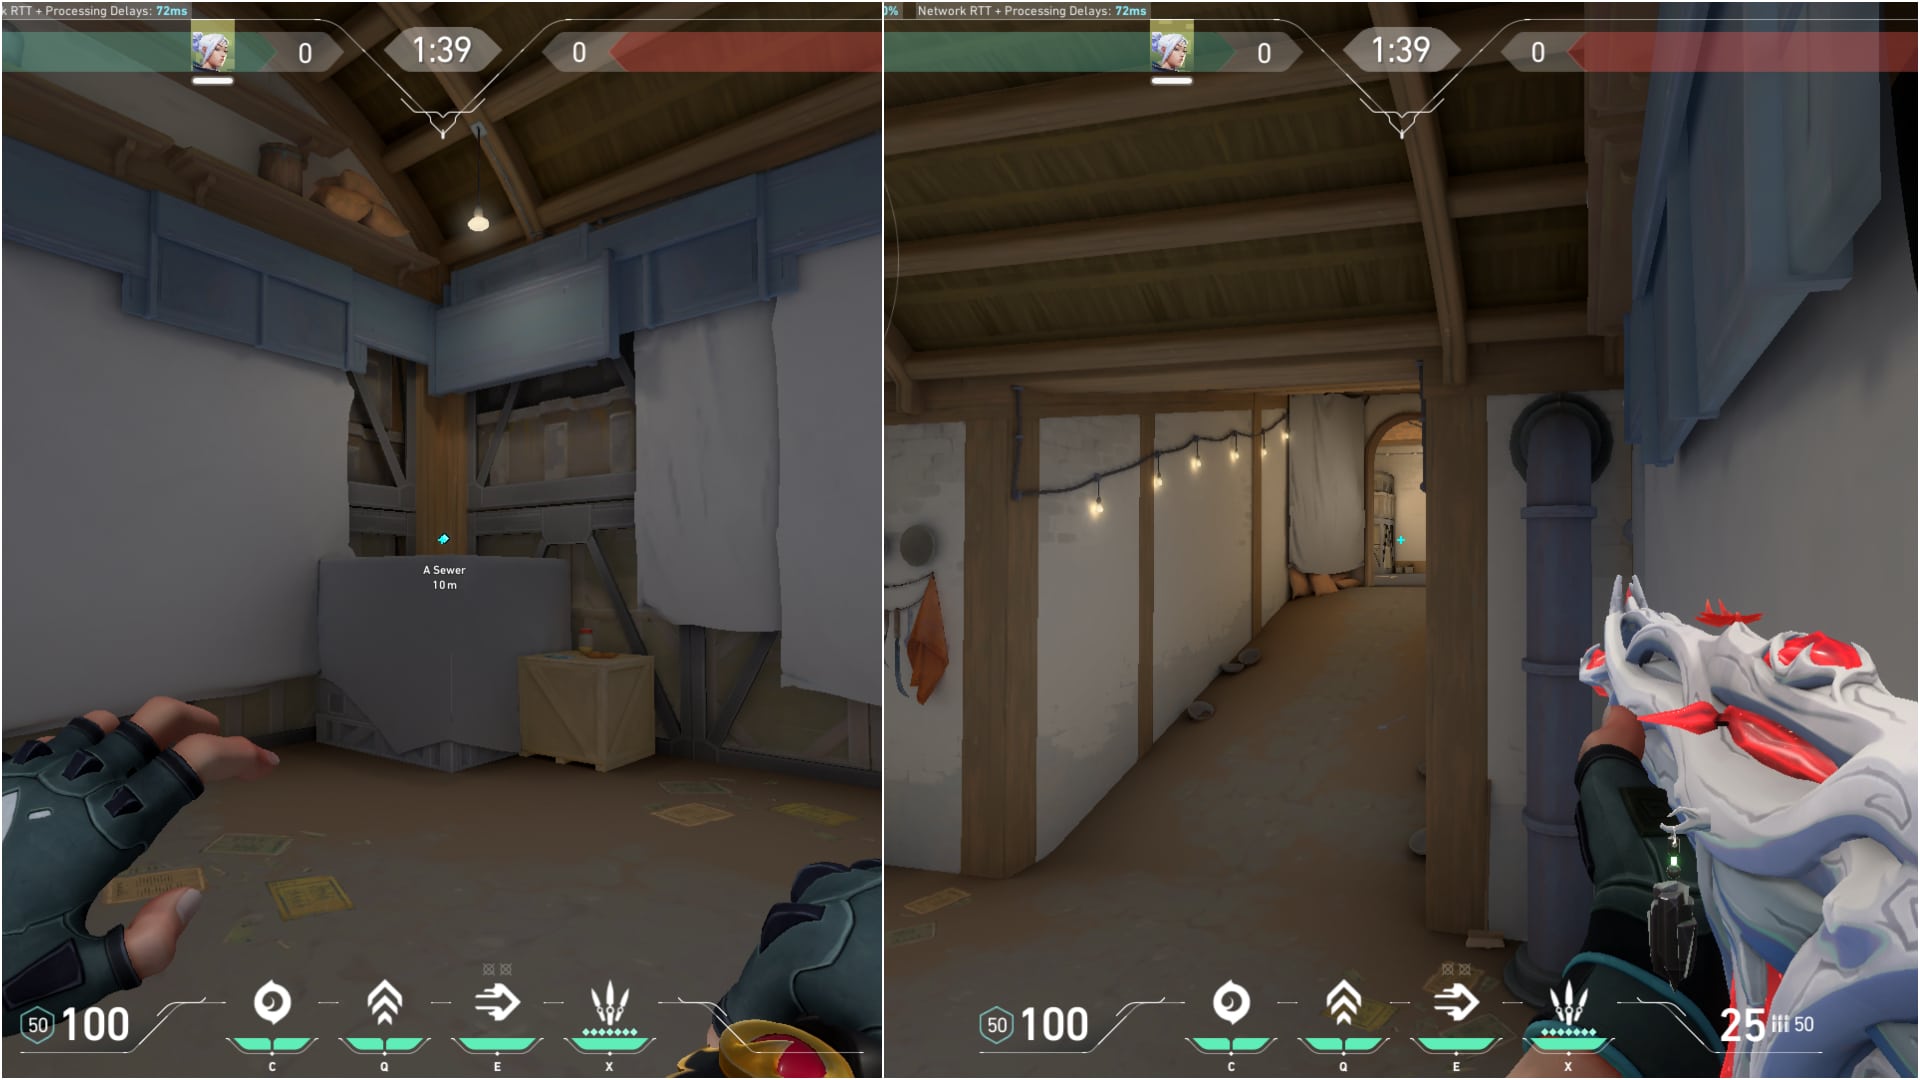
This sewer spot is the most abused off-angle in the pro play. While we saw the professional players mostly OPing from there, it serves as a great angle for the Riflers as well.
- B-Back:
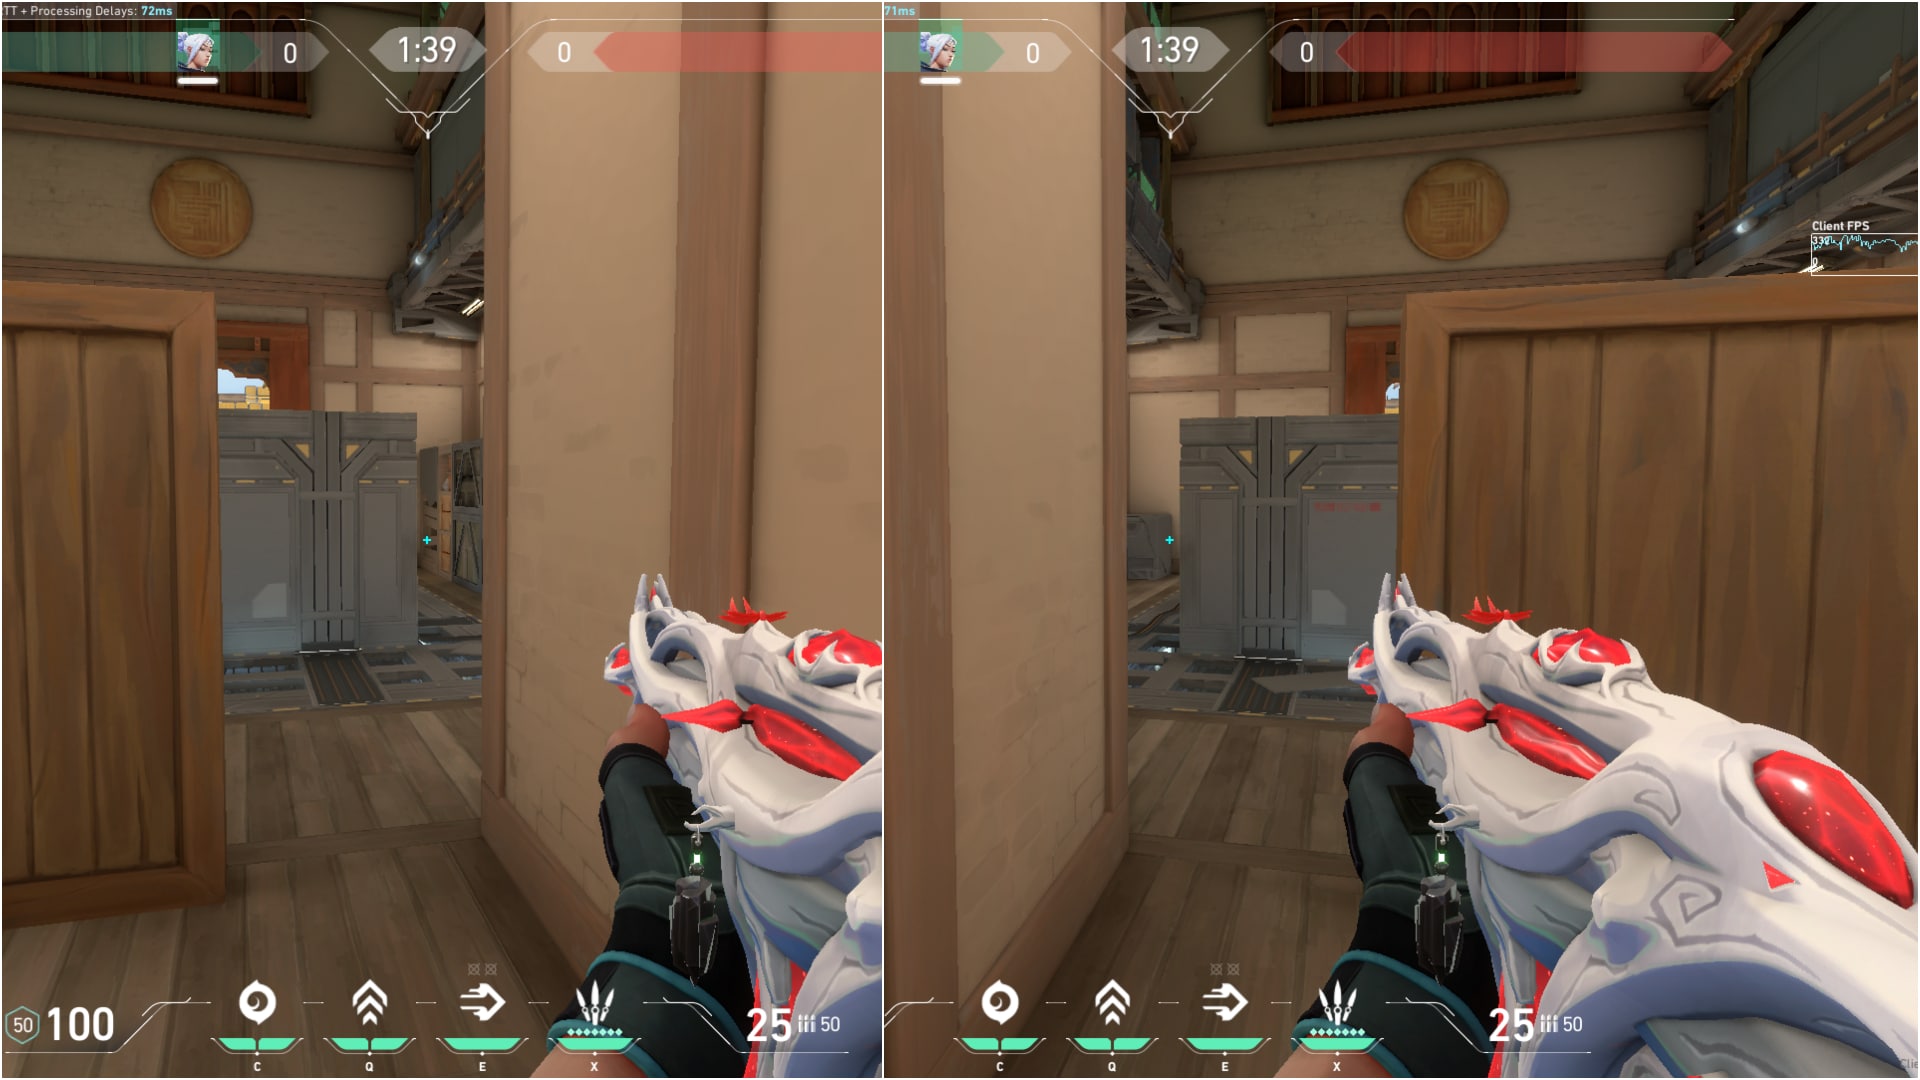
With its number of elevated points, the Haven B Site has quite a few spots that will help you catch your enemies off-guard. However, many of these positions lose effectiveness as you climb the ranks. What indeed proves valuable, especially in higher ranks, is a seemingly straightforward spot at the back of B. Despite its unassuming appearance, it packs a significant punch in terms of effectiveness. From this position, you can expertly anchor and maintain site control.
- A- Ult Point:
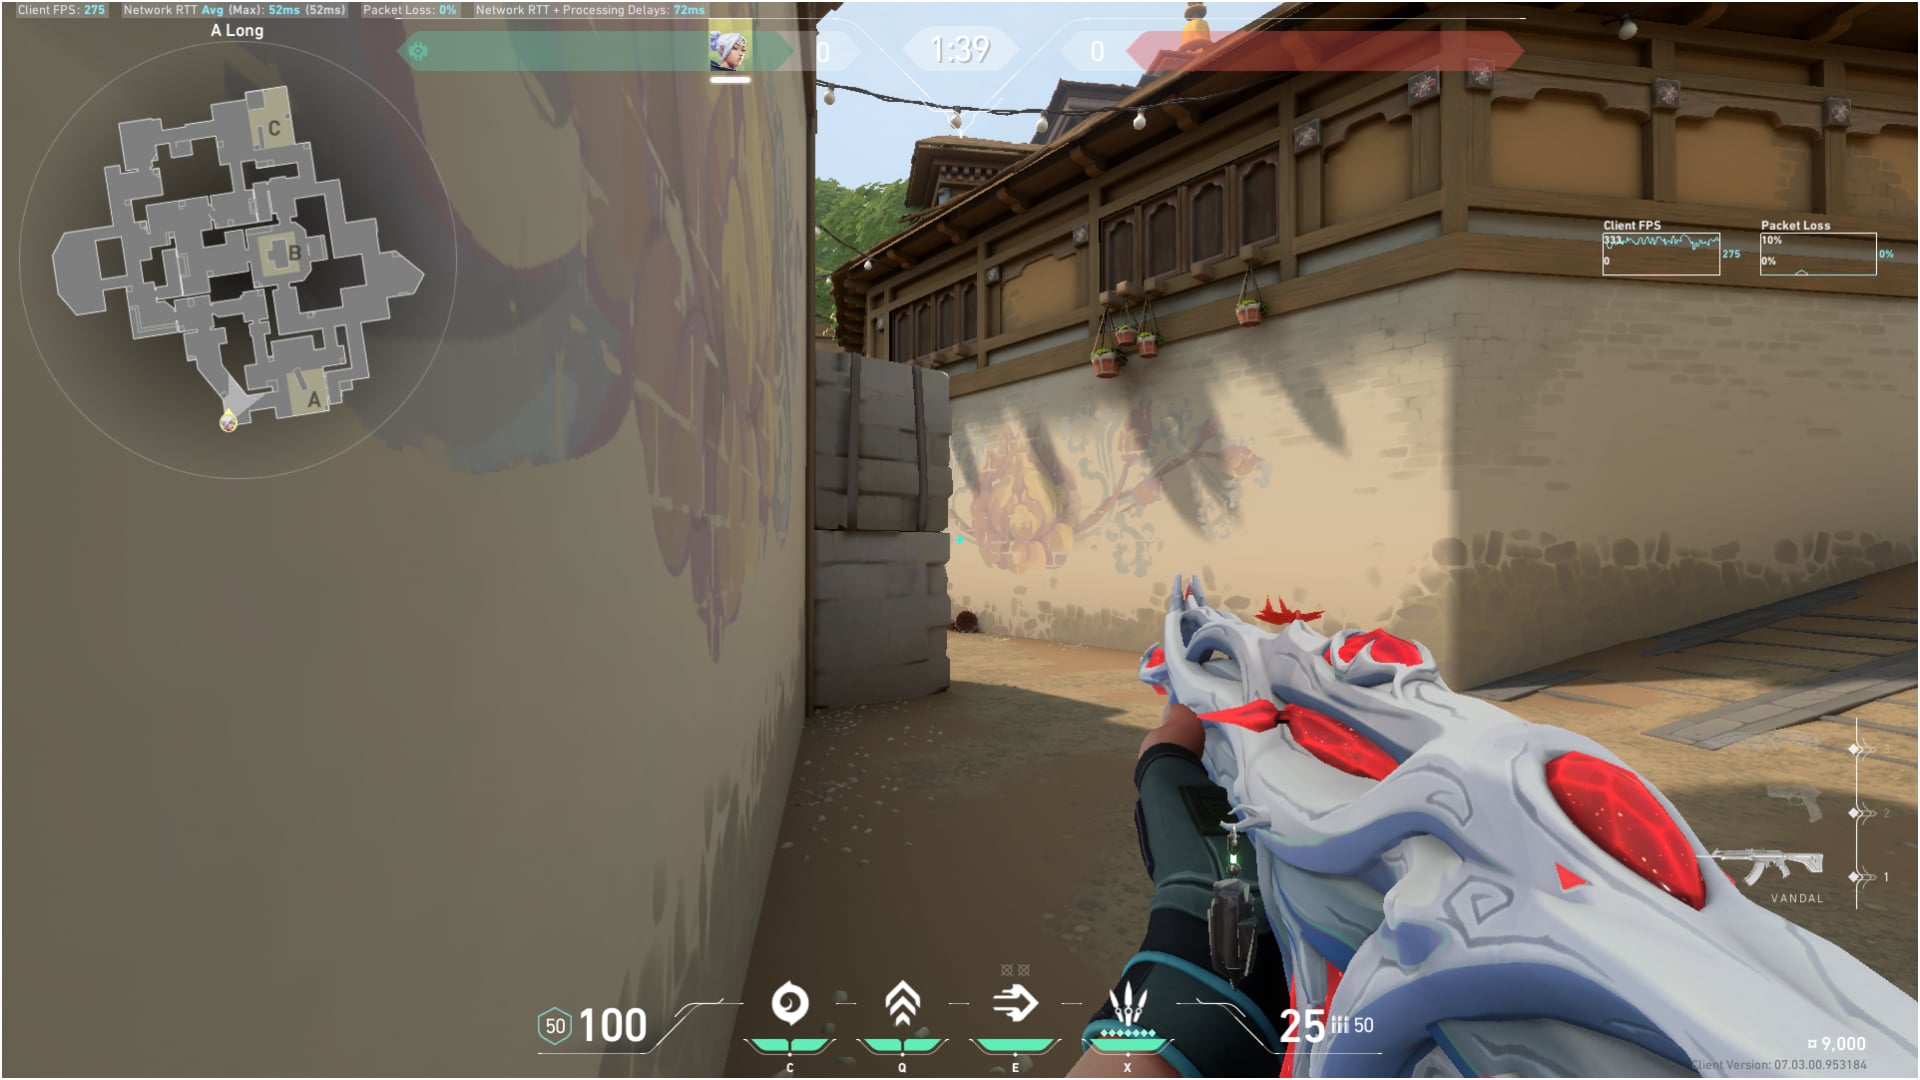
Opting for this angle proves highly advantageous when your objective is to challenge the enemy’s early control of the Long area at the beginning of the round. It’s advisable to have a teammate accompany you. With a two-player setup, one should ideally be a flash-capable agent, while the other should be one with an escape ability like Chamber or Jett.
- C- Platform:
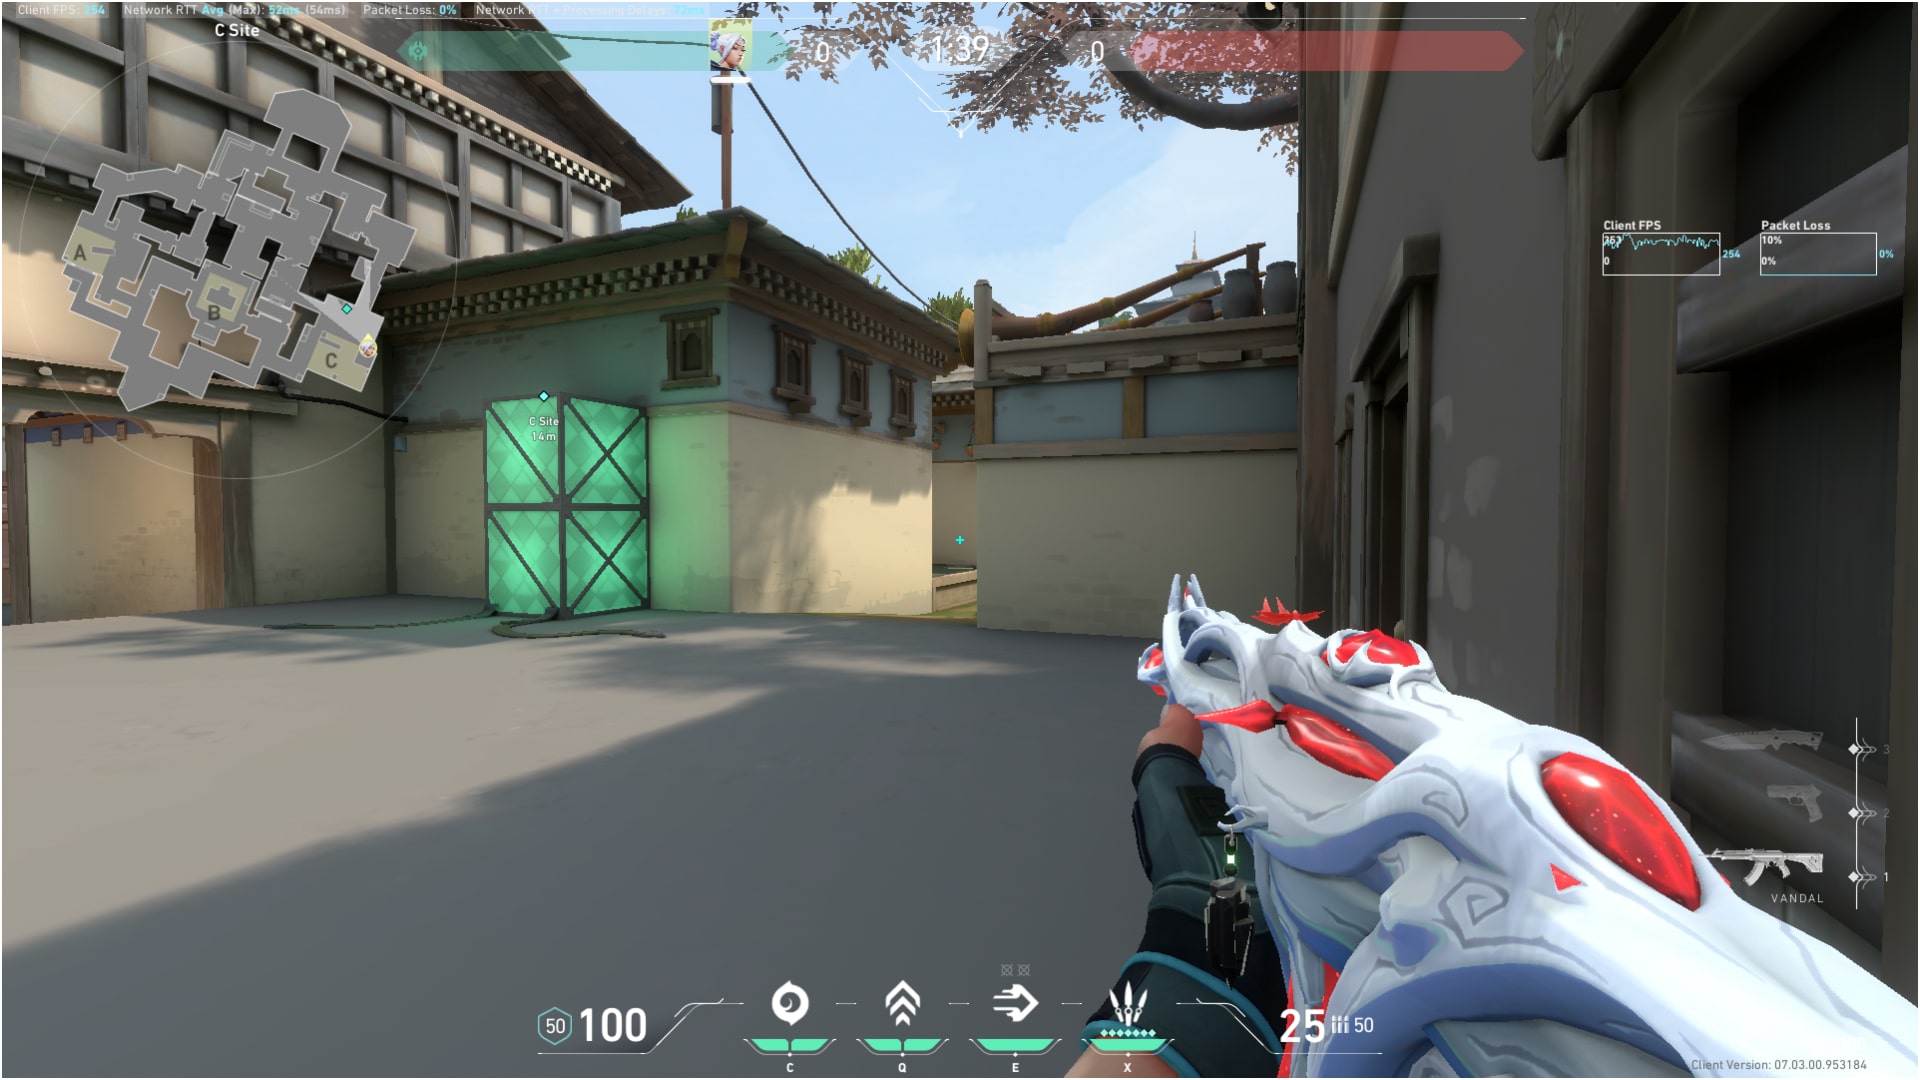
It is one of the best off-angles on Haven to secure a multi-kill. Haven C-Site is arguably the easiest site to take control of for the attackers, but with the right tactics, it’s entirely feasible to thwart their rush. One of the tactics is to play this angle, where the chances of getting pre-fired are minimal. However, it’s important to note that you can’t tackle the aggression solo. You will require a teammate to help break enemy utility and engage in the fight alongside you.
Off-Angles on Haven- Attack Side
Here are the best off-angles on Haven for the attacking side:
- A-Garden Tall Box:
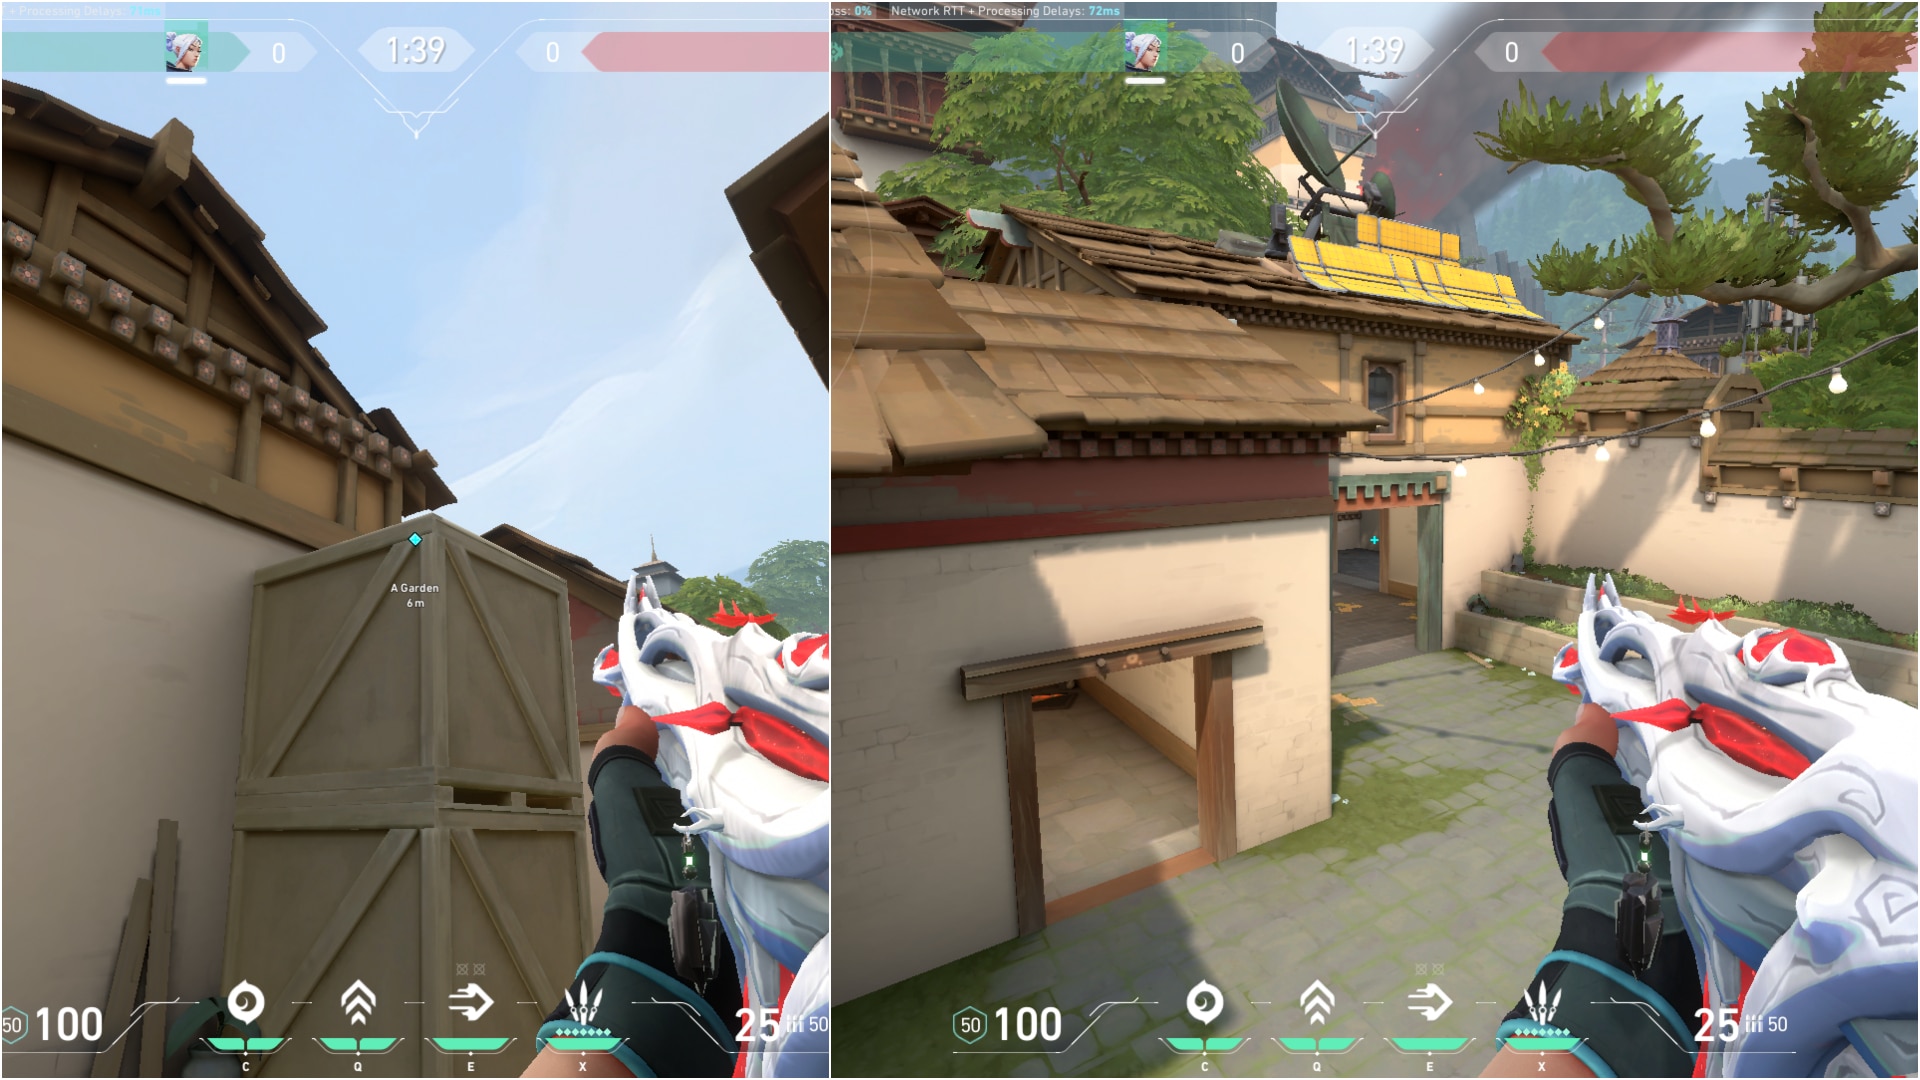
Teams that exhibit hyper-aggressive tendencies, even while defending, are not uncommon in Valorant. A prime avenue for this aggression often unfolds in A-lobby, where defenders can push from both Long and Short.
To counter this relentless aggression, taking up this off-angle position would be a suitable option. Positioned here, you have a clear advantage in eliminating any players from the opposing team attempting to advance into A-lobby, particularly toward the garden area. What’s more, you can swiftly retreat to the safety of the Attacking spawn after securing your kills.
- C-Lobby Tall Box:
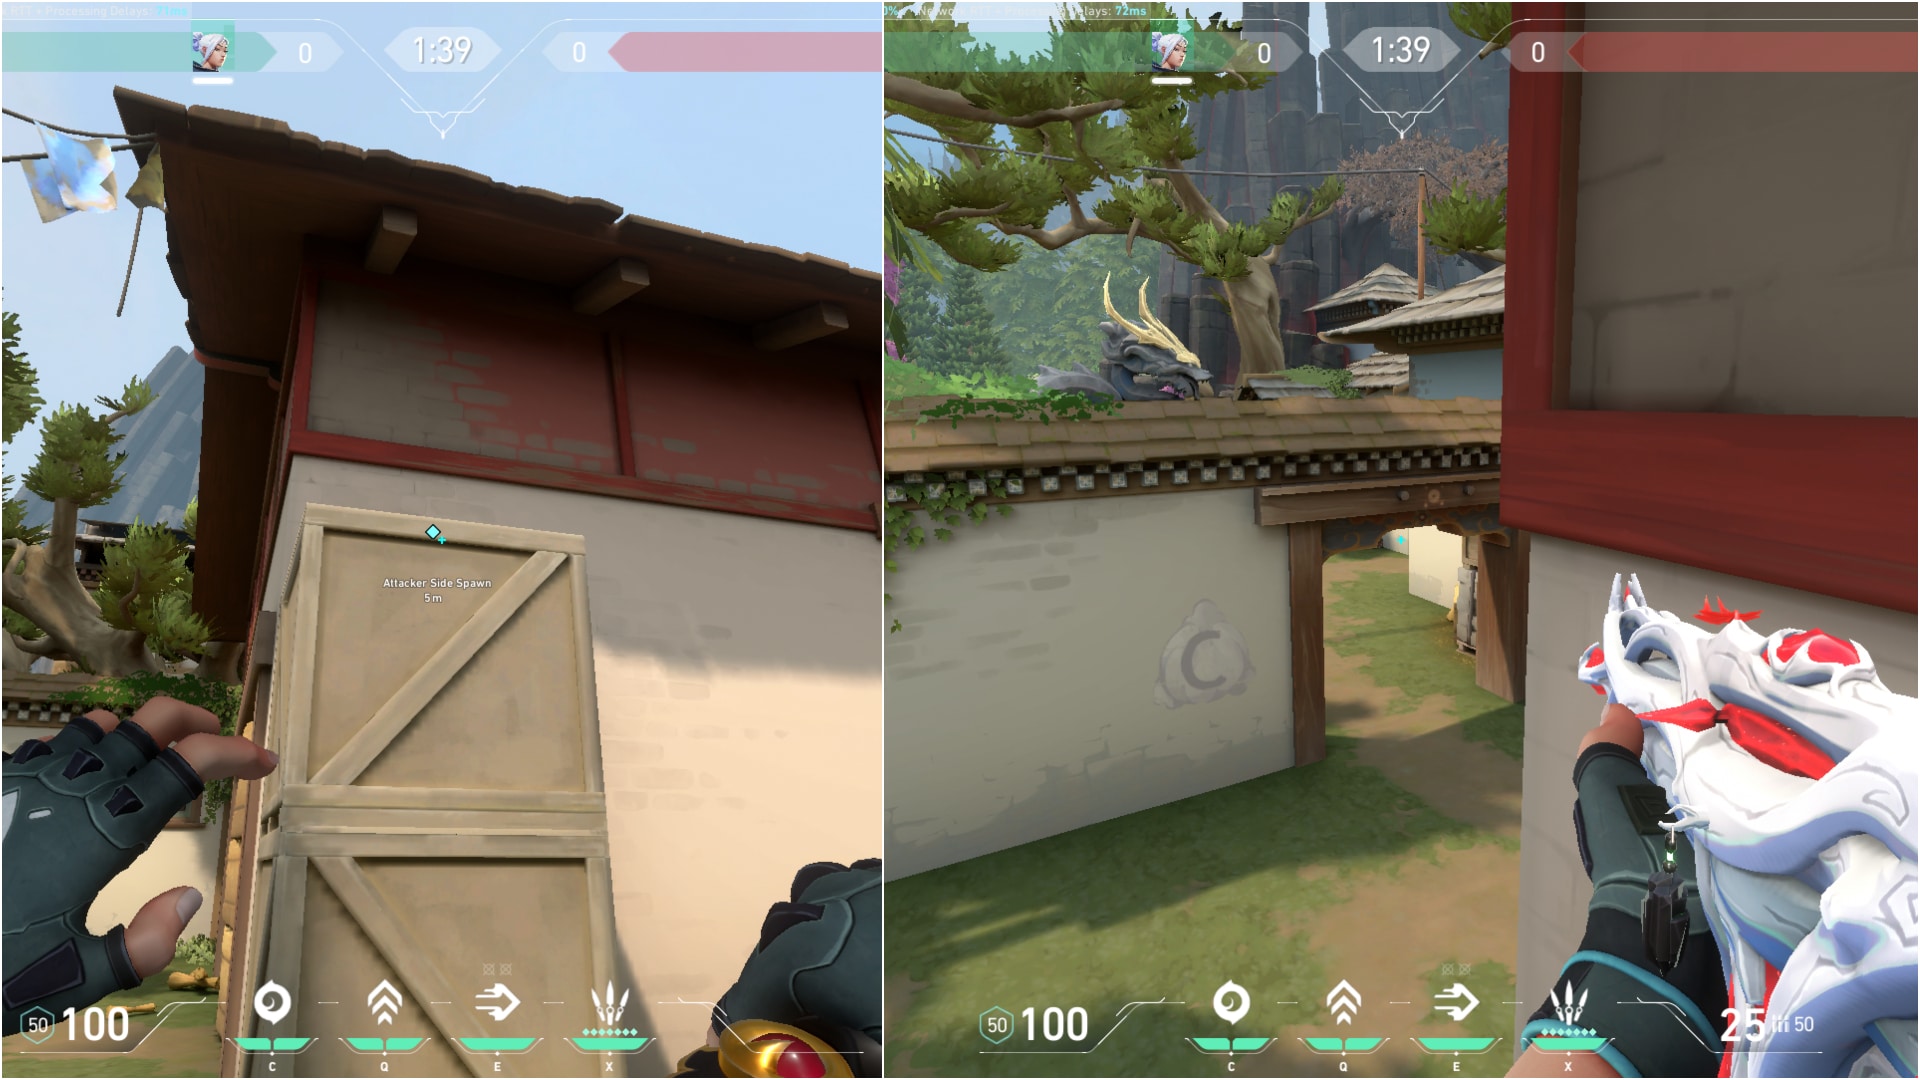
This spot serves the same purpose as the last one but for the C-Long push. While C-Long pushes are less frequent compared to A-pushes, they still occur, particularly in eco rounds. The combination of Jett’s ultimate and Breach’s stun can be a lethal threat, but by utilizing this angle, you can easily neutralize such tactics and maintain control of the situation.
- A-Long:
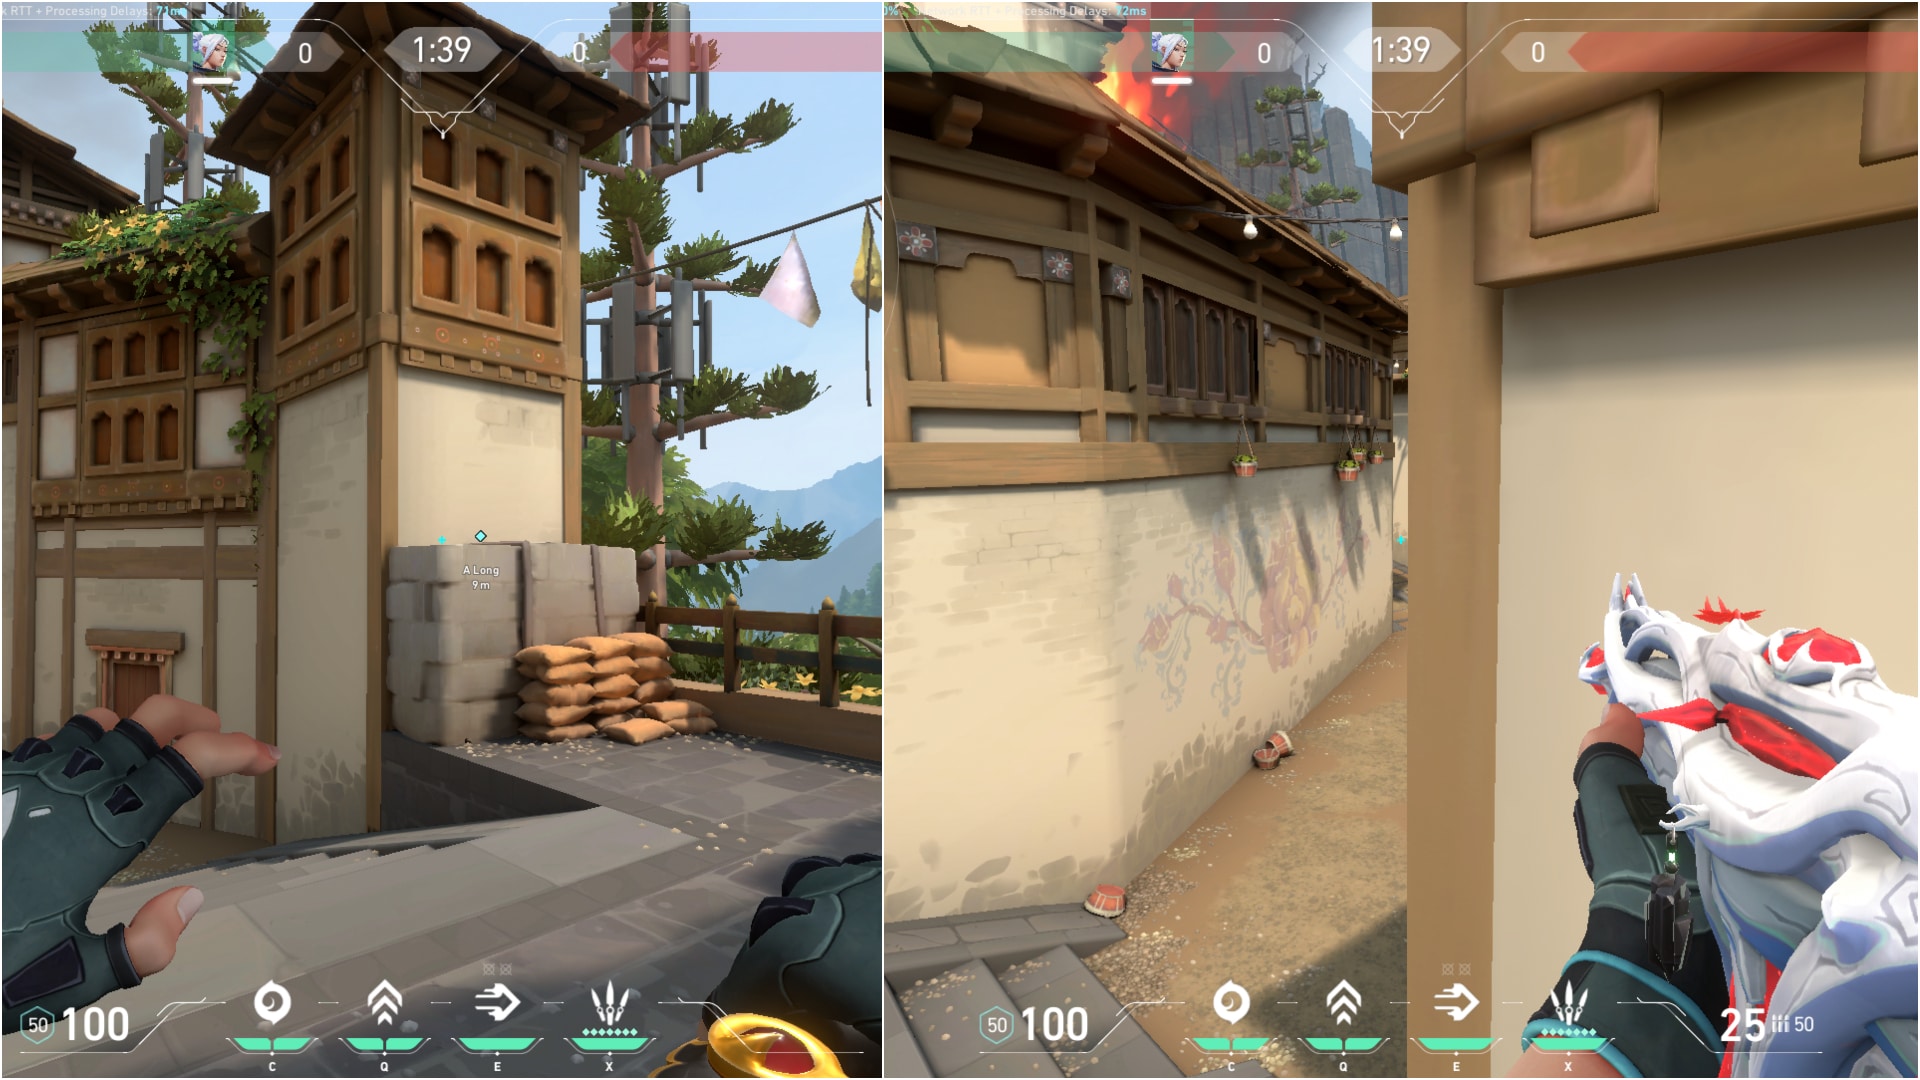
Great for killing the OP-er. The easiest way to get there early in the round is to use the two teleports of Omen. By peeking from here, you can almost guarantee catching the Operator player off-guard.
- C-Site:
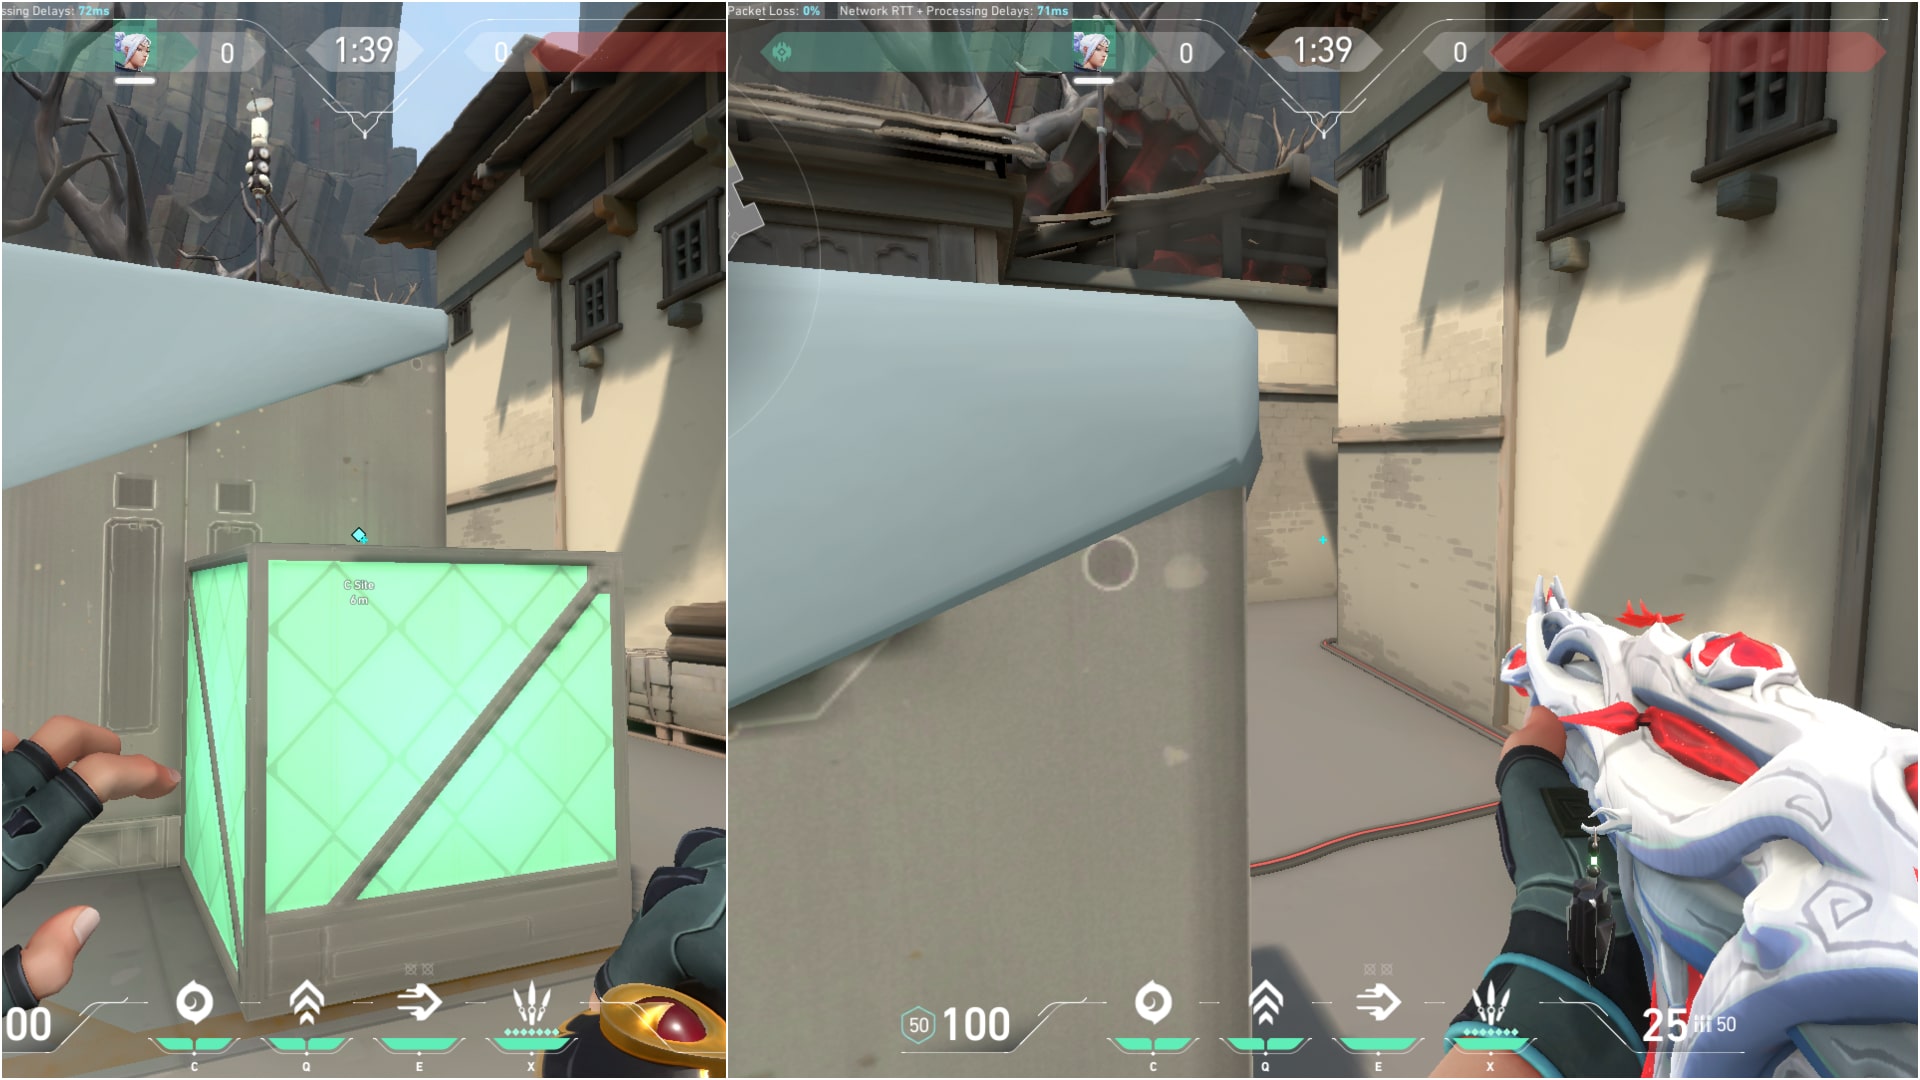
This spot can be used to stop any retake attempt of the opponent. However, you can only hold one angle- spawn or garage -while being completely exposed from the other direction. Therefore, it’s crucial to play this spot judiciously based on the specific situation at hand.
Follow ESTNN for more guides, news, and other content on Valorant.
