
Diablo 4 Best Sorcerer Endgame Builds: Arc Lash
| Tags: Diablo
| Author Diana D'Estefano
Players can employ the Arc Lash build after completing the main story in Diablo 4 since it is considered one of the Diablo 4 best Sorcerer endgame builds available. After talking about the Diablo 4 best Sorcerer leveling build, we will talk about endgame builds. We will go into great length about each choice in its own post because there are so many to choose from and because the best one will depend on your playing style. After discussing the Blizzard build, we will talk about the Arc Lash build.
Diablo 4 Sorcerer Arc Lash build explained
The Arc Lash build is one of the easiest builds to use as it relies on using a basic skill. Once the Arc Lash ability is used, it will activate other lightning skills, as well as Unstable Currents and Stable Aspect in order to use electricity. Additionally, the Glinting Arc Lash and Overflowing Energy skills are used to reduce the cooldown times of any skills you own.
To ensure your character’s survivability, the Arc Lash Sorcerer build makes use of four defensive abilities: Flame Shield, Ice Armor, Frost Nova, and Shimmering Teleport. Although the Sorcerer is a class with little life, the right use of the aforementioned skills will be able to make you win even in battles against more formidable enemies. All these features make the Diablo 4 Arc Lash Sorcerer build suitable for all types of activities and for all players who prefer a simple but effective way of playing.
By now, it ought to be obvious that focusing on abilities is among the most crucial aspects of creating a build. Diablo 4 offers a wide variety of skills that may be used to boost a class, making it essential to carefully select the talents that will work best with the construct you wish to create. The following Diablo 4 abilities are recommended for use with the Arc Lash build:
- Arc Lash Level 5
- Enhanced Arc Lash
- Glinting Arc Lash
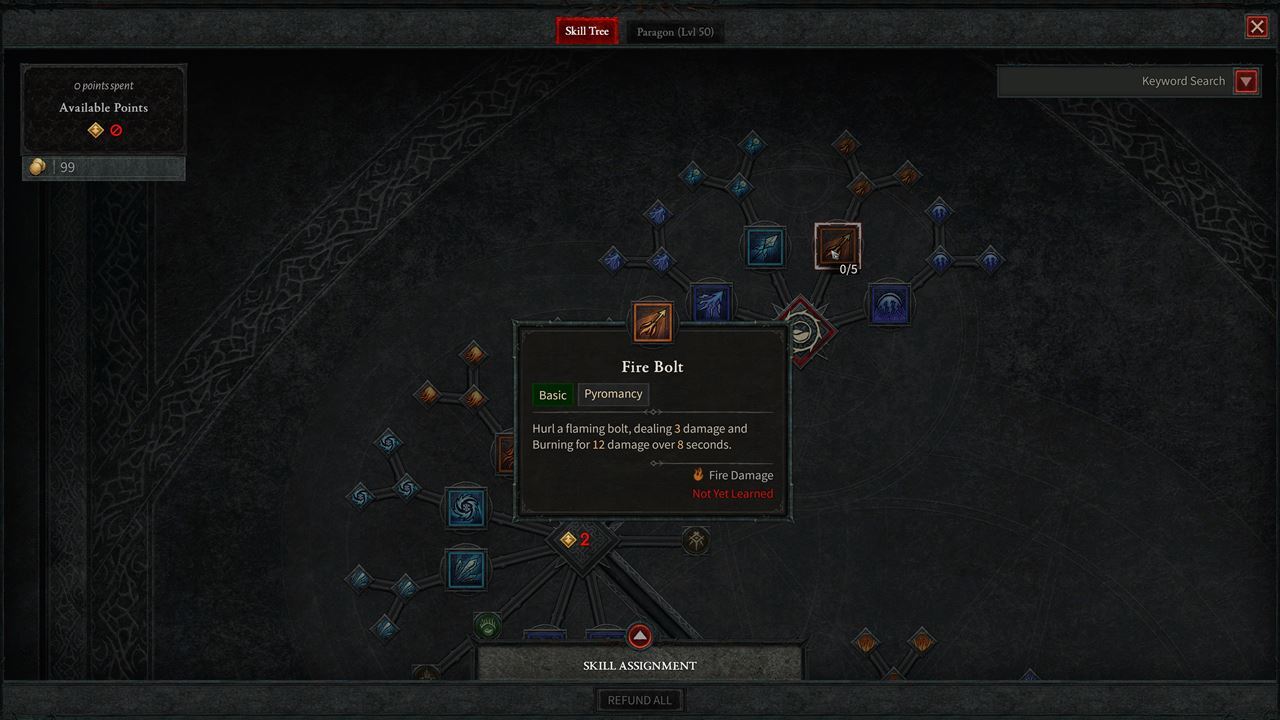
- Fire Bolt Level 1
- Charged Bolts Level 1
- Enhanced Charged Bolts
- Destructive Charged Bolts
- Teleport Level 1
- Enhanced Teleport
- Shimmering Teleport
- Frost Nova Level 1
- Enhanced Frost Nova
- Mystical Frost Nova
- Ice Armor Level 1
- Enhanced Ice Armor
- Mystical Ice Armor
- Flame Shield Level 1
- Enhanced Flame Shield
- Shimmering Flame Shield
- Elemental Attunement Level 1
- Glass Cannon Level 3
- Align the Elements Level 1
- Protection Level 3
- Ball Lightning Level 1
- Enhanced Ball Lightning
- Wizard’s Ball Lightning
- Inner Flames Level 1
- Devouring Blaze Level 3
- Unstable Currents
- Prime Unstable Currents
- Supreme Unstable Currents
- Coursing Currents Level 3
- Electrocution Level 3
- Overflowing Energy
You must become proficient in the abilities that were previously described as being the most crucial if you want your Arc Lash Sorcerer build to be successful and effective. The following supplementary things are still advised for unlocking:
- Ball Lightning
- Precision Magic Level 3
- Convulsions Level 3
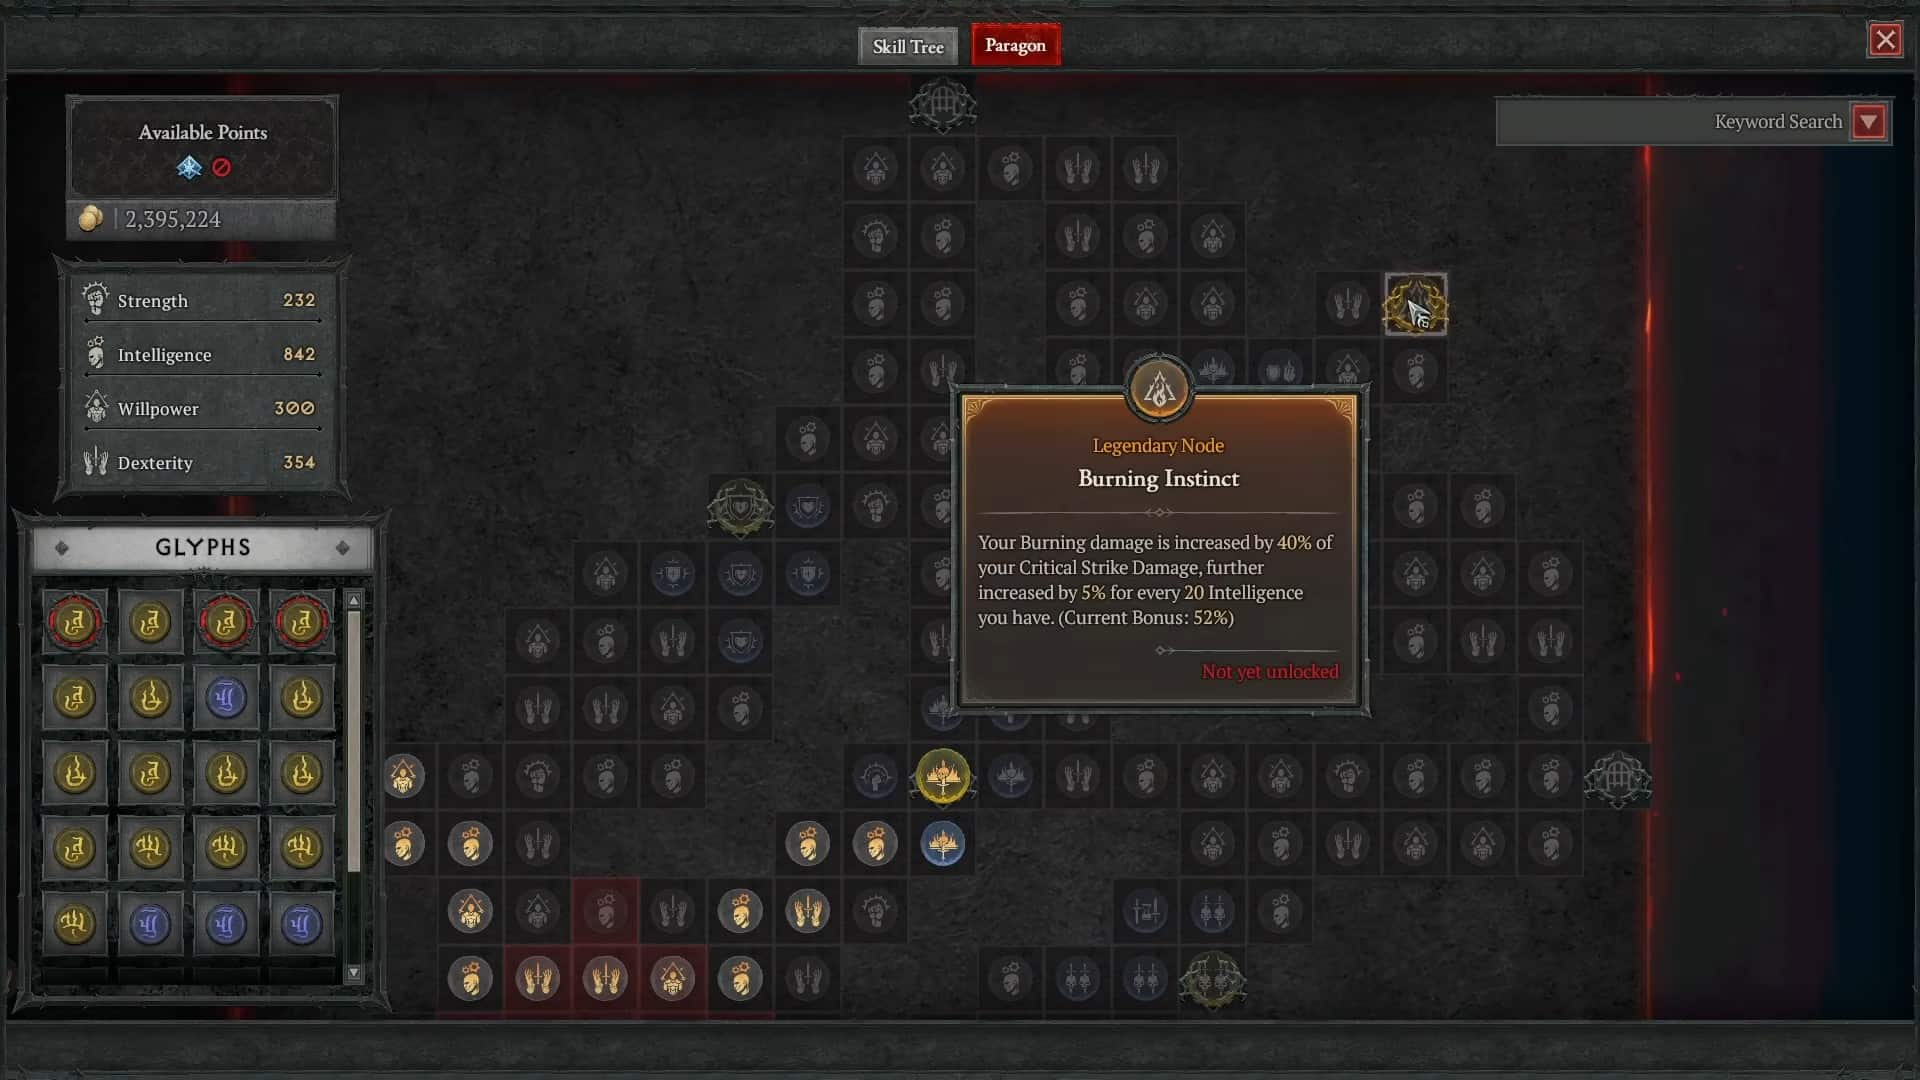
The Paragon system allows you to develop after your character reaches level 50, providing you access to a multitude of talents for the Arc Lash construct. It is advised to place a higher priority on Normal and Magic Nodes when it comes to stats like Attack Speed, Non-Physical Damage, Intelligence, Resistance, and Life. Ghyphs’ field of influence grows with each level. If you can’t fulfill the requirements, we don’t recommend allocating more nodes as a result. If you don’t have the required Glyph, though, you can use any Glyph until you do.
Head right and up to the Elementalist for the Starting board. Buy each of the four Magic Nodes in the area. Now go up until you reach the Glyph Socket. Purchase 40 Intelligence from nodes within the radius range by inserting an Elementalist. Gain access to three Magic Nodes that deal Non-Physical Damage and Elemental Balance nearby. Continue to the bottom and buy two Magic Nodes that provide Maximum Life there. Up the left side, continue until you reach the first Board Attachment Gate. After turning the board once clockwise, attach Frigid Fate. The bottom left quadrant is where the Glyph Socket should reside.
There is no Legendary Node on the Frigid Fate board. Go left, then up to Oppressive. Purchase each of the five Magic Nodes in the area. Continue upward, then turn right at the glyph socket. Insert TacticianTactician and acquire 25 Dexterity from nodes within radius range. For the additional bonus, this glyph requires the level 15 increase in radius range. until the tactician has reached level 15, skip this stage. Obtain Weakness in the area and buy three magic nodes that deal vulnerable damage. Go straight to Restorative. Purchase two Magic Nodes with Maximum Life. Take the quickest approach to the Board Attachment Gate on the right side. Without any rotations, attach Elemental Summoner to the board. The Glyph Socket ought to be on top.
There isn’t a Legendary Node on the Elemental Supporter board. Take the right fork, descend to the Reservoir, and buy two Magic Nodes with Maximum Life. Then, return up, then turn right to the Glyph Socket. Place the Flamefeeder in and buy all the Dexterity nodes nearby. Up till Swift Conjurer, keep going. Purchase three attack-speed-boosting magic nodes. To go to the Board Attachment Gate on the bottom side, take the quickest way. After turning the board two times clockwise, attach Burning Instinct. The upper right quadrant is where you want to put the Glyph Socket.
The board for Burning Instinct doesn’t require any Legendary Nodes. Go down, then turn right to the Glyph Socket. Incorporate Exploit, then buy all the Dexterity nodes in the radius. Acquire three Magic Nodes that offer damage reduction against burning enemies by gathering nearby Smoldering Embers. Acquire 3 Magic Nodes that deal Damage to Burning Enemies with Cinders from the area. To buy two Magic Nodes that provide Attack Speed, turn back to the left and travel to Culler.
There is no requirement for the Legendary Node on the Ceaseless Conduit board. The easiest way from the Frigid Fate board is to go through the Board Attachment Gate on the left side. Connect the Ceaseless Conduit after three full clockwise turns. The Glyph Socket should be placed in the bottom right quadrant. Turn left when you approach Hunter Killer. Purchase every one of the nearby five Magic Nodes. a route back to the glyph socket. After inserting ExploitExploit, buy each Dexterity node in the surrounding area. You can get there by using the fastest route, which leads to the Board Attachment Gate on the bottom side. Searing Heat should not be rotated when connected to the board. There should be a Glyph Socket in the upper right corner.
Also without a Legendary Node is the final board, Searing Heat. You must turn right and then descend to the Glyph Socket to reach this board. Purchase all the Dexterity nodes in the vicinity and add Control. Turn left to Combustion as you continue to descend. Invest in two Magic Nodes that deal critical strike damage.
While Arc Lash Sorcerer is a reasonably straightforward class to play, cooldowns must be carefully managed. Arc Lash is largely used to do damage, and Unstable Currents is used to activate more Lightning Skills. The Skill Bar does not include the Skill Points that are allotted to Ball Lightning and Charged Bolts. Use the ultimate frequently because glinting Arc Lash and Overflowing Energy shorten the cooldown of Unstable Currents.
Arc Lash Sorcerer farming requires you to collect any uncommon item drops that can include upgrades. By preserving the positive aspects of legendary objects, you can subsequently remove the positive aspects from the legendary things and imprint the positive characteristics on appropriately rolled rare items. When contrasting weapons with similar item levels, swords do more damage per hit and implicit critical strike damage than daggers, making them the preferred weapon. The following stats need to be given top attention while choosing gear for the Arc Lash build:
- Wand
- + DPS value, Critical Strike Damage, Lightning Critical Strike Damage, and Vulnerable Damage
- Focus
- + DPS value, Basic Attack Speed, Cooldown Reduction, and Critical Strike Chance
- Helm
- + Basic Attack Speed, and Cooldown Reduction
- Chest
- + Damage Reduction, DR from Close, Distant, or Burning Enemies
- + Maximum Life and Armor
- Gloves
- + Attack Speed, Critical Strike Chance, and Lightning Critical Strike Damage
- Pants
- + Ranks of Ball Lightning
- Boots
- + Ranks of Frost Nova
- + Ranks of Teleport
- + Movement Speed
- Amulet
- + Ranks of Devouring Blaze Passive
- + Cooldown Reduction
- Rings
- + Critical Strike Chance, Critical Strike Damage, Lightning Critical Strike Damage, and Vulnerable Damage

You must consider legendary characteristics if you want your Arc Lash Sorcerer build to perform as intended in Diablo 4. We have decided to create a list of all the Aspects you must use in order for your Arc Lash construct to work properly. Below is a list of everything on it.
- Amulet
- Aspect of Control (You deal 25–35% more damage to Immobilized, Stunned, or Frozen enemies)
- Wand, Focus, Gloves, or Rings
- Rapid Aspect (Basic Skills gain 15–30% Attack Speed)
- Accelerating Aspect (Critical Strikes with Core Skills increase your Attack Speed by 15–25% for 3 seconds)
- Aspect of Retribution (Distant enemies have a 8% chance to be Stunned for 2 seconds when they hit you. You deal 10–20% increased damage to Stunned enemies)
- Stable Aspect (While Unstable Currents is not active, your Shock Skills have a 5–10% chance to trigger a free cast from it)
- Conceited Aspect (Deal 15–25% increased damage while you have a Barrier active)
- Chest
- Exploiter’s Aspect (You have 20% increased Crowd Control Duration. While enemies are Unstoppable, you deal 20–50% increased damage to them)
- Helm or Pants
- Aspect of Might (Basic Skills grant 20% Damage Reduction for 2–6 seconds)
- Aspect of Disobedience (You gain 0.25–0.50% increased Armor for 4 seconds when you deal any form of damage, stacking up to 15–30%)
- Boots
- Aspect of Fortune (Your Lucky Hit Chance is increased by 10–20% while you have a Barrier active)
In order to wrap up this essay, we will list a few gems, elixirs, and potions that work with the Arc Lash setup. To create elixirs and potions that are more effective and long-lasting, we suggest you to go to the alchemist frequently. Any elixirs, such as Precision or Weak Assault, that boost your stats and give you extra experience points for 30 minutes are strongly advised. For your Arc Lash Sorcerer build, however, we firmly advise that you depend on the following gems:
- Weapon: Royal Emerald for Critical Strike Damage to Vulnerable enemies
- Armor: Royal Ruby for Maximum Life or Royal Topaz to prevent deaths from chain Crowd Controls
- Jewelry: Royal Skull for Armor