5 Best Anubis Smoke Line-Ups For Counter-Strike 2
| Tags: CS2
| Author The Old One

Here is a list of the 5 best Anubis smoke line-ups for Counter-Strike 2
As we approach the end of 2023, Counter-Strike the state of gameplay in Counter-Strike continues to improve in all aspects. Considering all the new mechanics and features, the player base has adapted nicely. New maps like Anubis and Ancient have been improved and played more since the dusk of CSGO and the utility there has improved significantly. Newer and more effective line-ups are becoming common among players of all levels, which improves the quality of games for everyone.
So let’s look at 5 of the best smoke line-ups for Anubis in Counter-Strike 2. After this, look at our other guides about CS2 line-ups and strats on websites for more utility plays.
5 Best Anubis Smoke Line-Ups For Counter-Strike 2
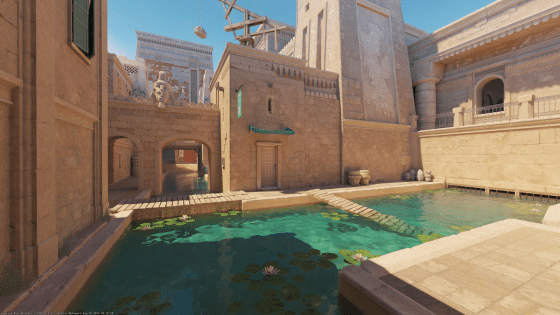
Anubis is a great map and has a good balance of both pro-activeness and passiveness. The Mid area, including Canal and Bridge, has a lot of action and utility dumping. The B-site has many positions to defend from and a lot of options to attack. The A-Site requires strong anchor play and utility as well. If a team can coordinate their movements with proper utility, it is easy to take control of almost every position. So proper usage of smoke grenades is vital for Anubis.
T-Spawn to B-Connector Smoke
This smoke grenade is a must if you’re looking to fast-push towards the A-site through Canals. The most powerful position that can counter a rush like this is from the B-Connector at the B-Site. As it is a long-ranged position, it is common for AWPers to play there if they see no action towards B-Main. This spot gives them a major advantage and also gives information to the Mid and A players to be aware of the rush.
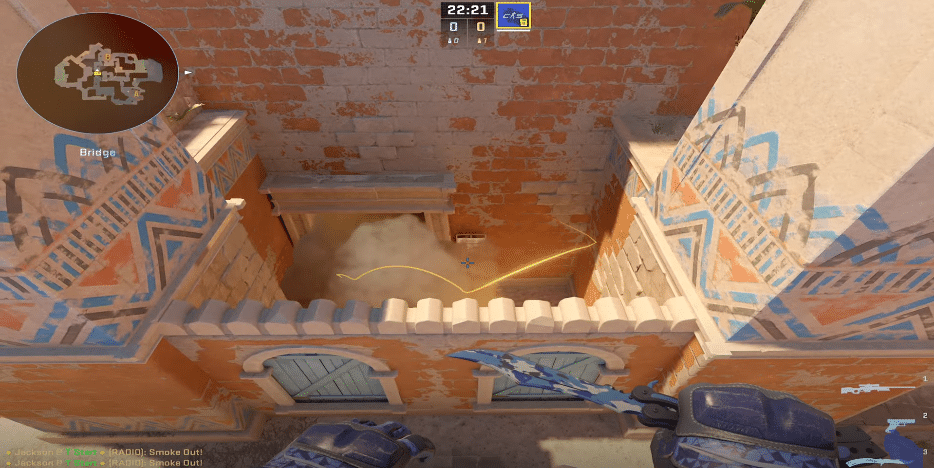
This line-up will completely block off the door which views the entirety of Canals. This removes all possibility of visual access and going for a peek. With all this room it becomes much easier for the T-Side to rush towards A-Main and take the bomb site, which is a little bit easier to attack compared to the B-Site.
If any CT player does decide to push out of B-Connector, they will be completely in the open and will be easily taken down or at least traded.
Bridge to A-Connector
Since the B-site is so difficult to take, a lot of teams try to split towards the site and attack it from B-Main and Palace at once. This makes taking control of the area much easier and allows for a more comfortable time trying to take down anyone holding there.
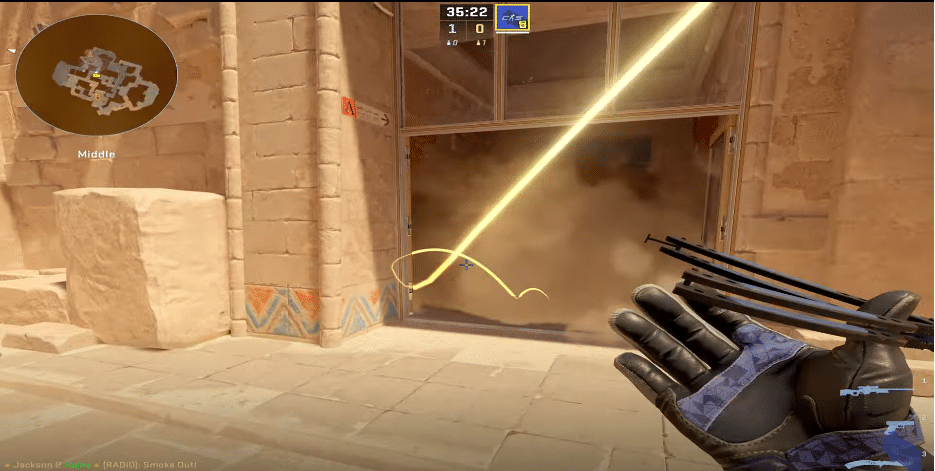
The only issue here is that while pushing Mid, CTs decide to fall back and hold passive crossfires from A-Connector and Palace. So walking down that area of Mid is nearly impossible without good utility.
So this smoke that lands just inside A-Connect is extremely important if you’re going for this kind of rush. Since it will completely shut down one of the angles of the crossfire, any player can easily push Palace without having to worry about someone shooting from behind. This completely isolates anyone trying to hold the B-site and allows for an easy bomb plant.
Canals to A-Heaven
Since A is such a hard site to hold passively, A-Heaven is the most common place a CT might anchor. A-Heaven is also a very strong position to get one or two picks onto players rushing the site, which may completely dismantle the hit. If a team loses more than one player while trying to take a site, that sends a wave down the rest of the team and messes up the plan of going for a plant.
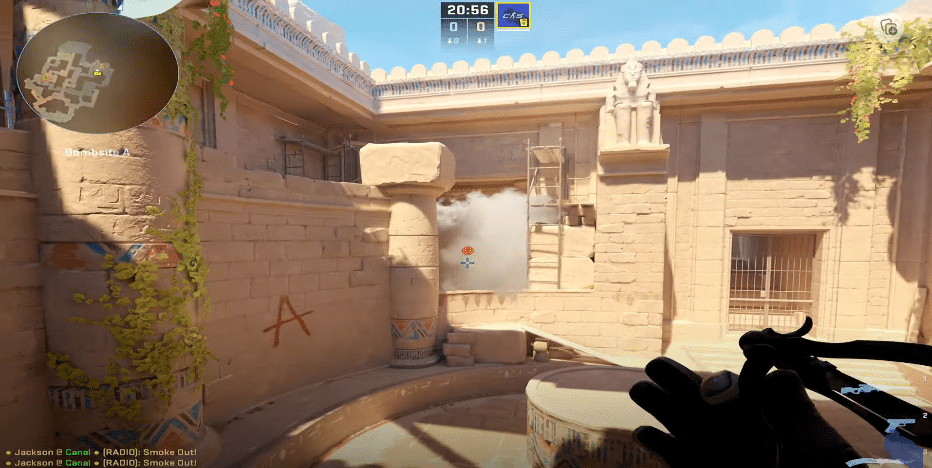
So it is crucial to smoke off that Heaven position and stop anyone from causing disruptions while the rush is happening. The line-up is also fairly easy and allows you to set up your teammates for the push.
It is also possible to throw a flashbang right in the A-site from the same spot, which will provide additional support to the teammates walking into the site. These line-ups allow for the site defenses to be broken with minimal utility usage. So there will be a lot more to work with for the post plant.
T-Spawn to B-Alley and Palace
One of the most difficult angles to look out for during a B-site hit is the Palace position and Alley. Both of these spots are very hard to deal with and end up causing players to die while running into the site. The thing that makes these so dangerous is the fact that they are very far away and work with each other well. The player from Palace will spray down anyone who walks inside and if there is any Terrorist who dodges those shots, he will run straight into the crosshairs of the Alley player.
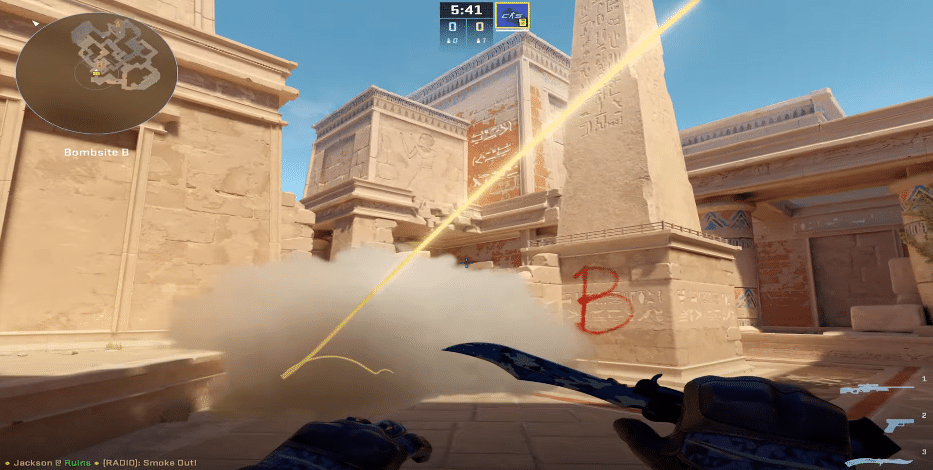
This line-up can block out both of these spots at the same time. This allows for a quick rush towards the B-site and players can run out of B-Main immediately after planting for an easy post-plant situation.
The other best thing about this line-up is that it can be thrown from T-Spawn. That means immediately after the round starts players can book it to the B-site and get the bomb down while the CT-side will have no time to even get in position to deny the entry.
Mid Doors to Palace
This smoke is a sequel to the A-Connector smoke. If you and your team have pushed up Mid and were looking to head B but got denied, the next best thing that you can do is push towards A. One player can hop out of Bridge and run to A-Main through Canals to provide a split entry. However, the same issue is present here, a crossfire between Palace and A-Connector doesn’t allow you to walk out without getting shot.
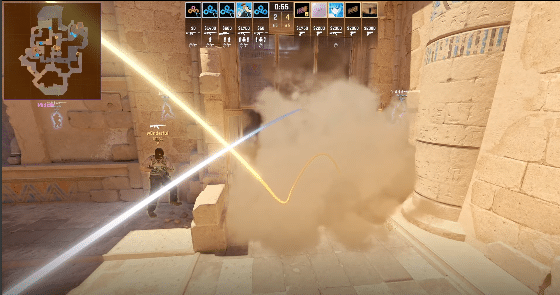
So this short line-up can provide cover to enter A-Connector and gives you a chance to fight your way into the A-Site. This will land deep inside Palace, completely blocking off vision into Mid. Therefore the players in A will get isolated. If you’re fast enough you can get into the A-site before anyone from Palace decides to push out of the smoke, which is unlikely considering the substantial T-presence in Mid or rotate through Tunnels.
Since the Tunnel rotation will take so long, this gives anyone in Mid tons of time to try and fight towards A. This will catch the players on both sites off guard and will reward an easy-round win.
Make sure you check out our library of CS strats on our website to improve your utility plays and win every game you play.
