FFXIV Thaleia Guide
| Tags: FFXIV
| Author Timo Reinecke

Here is a complete guide to the FFXIV Thaleia Alliance Raid.
Thaleia is the final Alliance Raid of Final Fantasy XIV Endwalker expansion. Not only does it bring the ongoing storyline to a close, but it is also a great raid to close out the trilogy. Here is a quick rundown of all the bosses and their abilities.
FFXIV Thaleia Guide

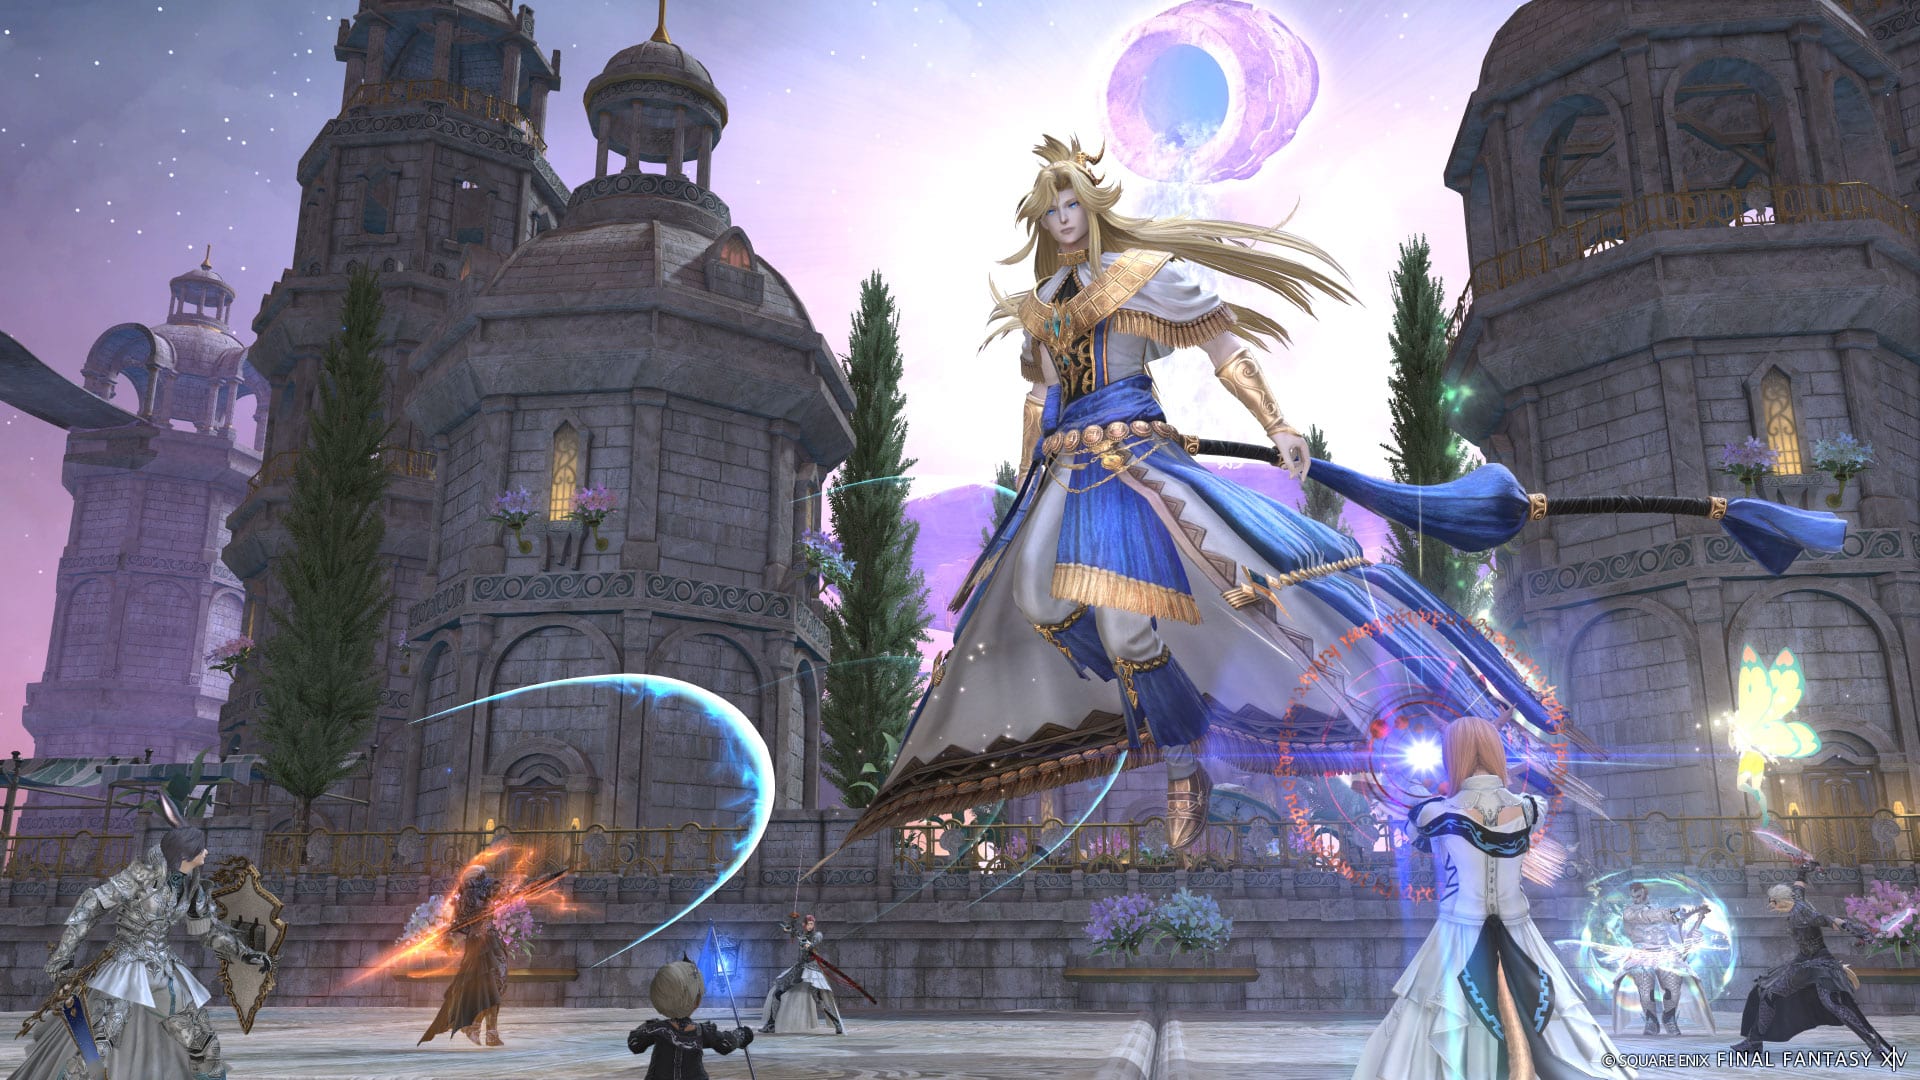
Thaliak
Katarraktes: A big attack that deals damage to the entire raid while also applying a bleed for 10 seconds to everyone. Healers need to heal through it and everyone else should coordinate mitigation.
Rheognosis: Thaliak will create a copy of himself which be placed on the Eastern or Western side of the arena which will unleash a big wave upon the raid. Make sure to hug the arena’s edge to avoid being washed off the stage.
Thipsis: A simple stack marker that will target a random player. Have all/most of the Alliance Raid stack up in the same spot to spread the damage.
Left Bank: Thaliak will cleave the entire left side, depending on the direction he is facing. This mechanic is indicated by a big bubble on the side he is targeting.
Right Bank: Same as Left Bank but the right side gets cleaved.
Hydroptosis: Random players will be targeted with a proximity AoE. Spread out and make sure not to hit your fellow Warriors of Light.
Rhyton: A Tankbuster that will take the number one on the enmity list of each respective party. Make sure to stay clear of the tanks because this spell cleaves into whatever direction the tanks are standing. Pop mitigation as the tank and healers will need to top them off.
Tetraktys: The Arena will be shaped into a triangle and smaller triangles will appear to fill out the ones on the ground. Once they fill them out completely, they’ll explode dealing damage. Simply move between them to avoid getting hit.
Bigger ones will then appear which fill out 4 of those triangles, to avoid getting hit move either clockwise or counterclockwise.
Tetraktuos Kosmos: Triangle pillars will appear and fall apart. The collapsing walls will cleave everything in a straight line, pay attention to the directions they’re facing and find the safe spot.
Rheognosis Petrine: Same as Rheognosis, except now Thaliak will summon balls which will cleave the arena West to East or East to West in a straight line along with the wave.
Hieroglyphika: The entire arena will be covered by squares except for 2 safe spots. Those squares will then turn by 90° degrees either to the left or right as indicated by the arrows around Thaliak.

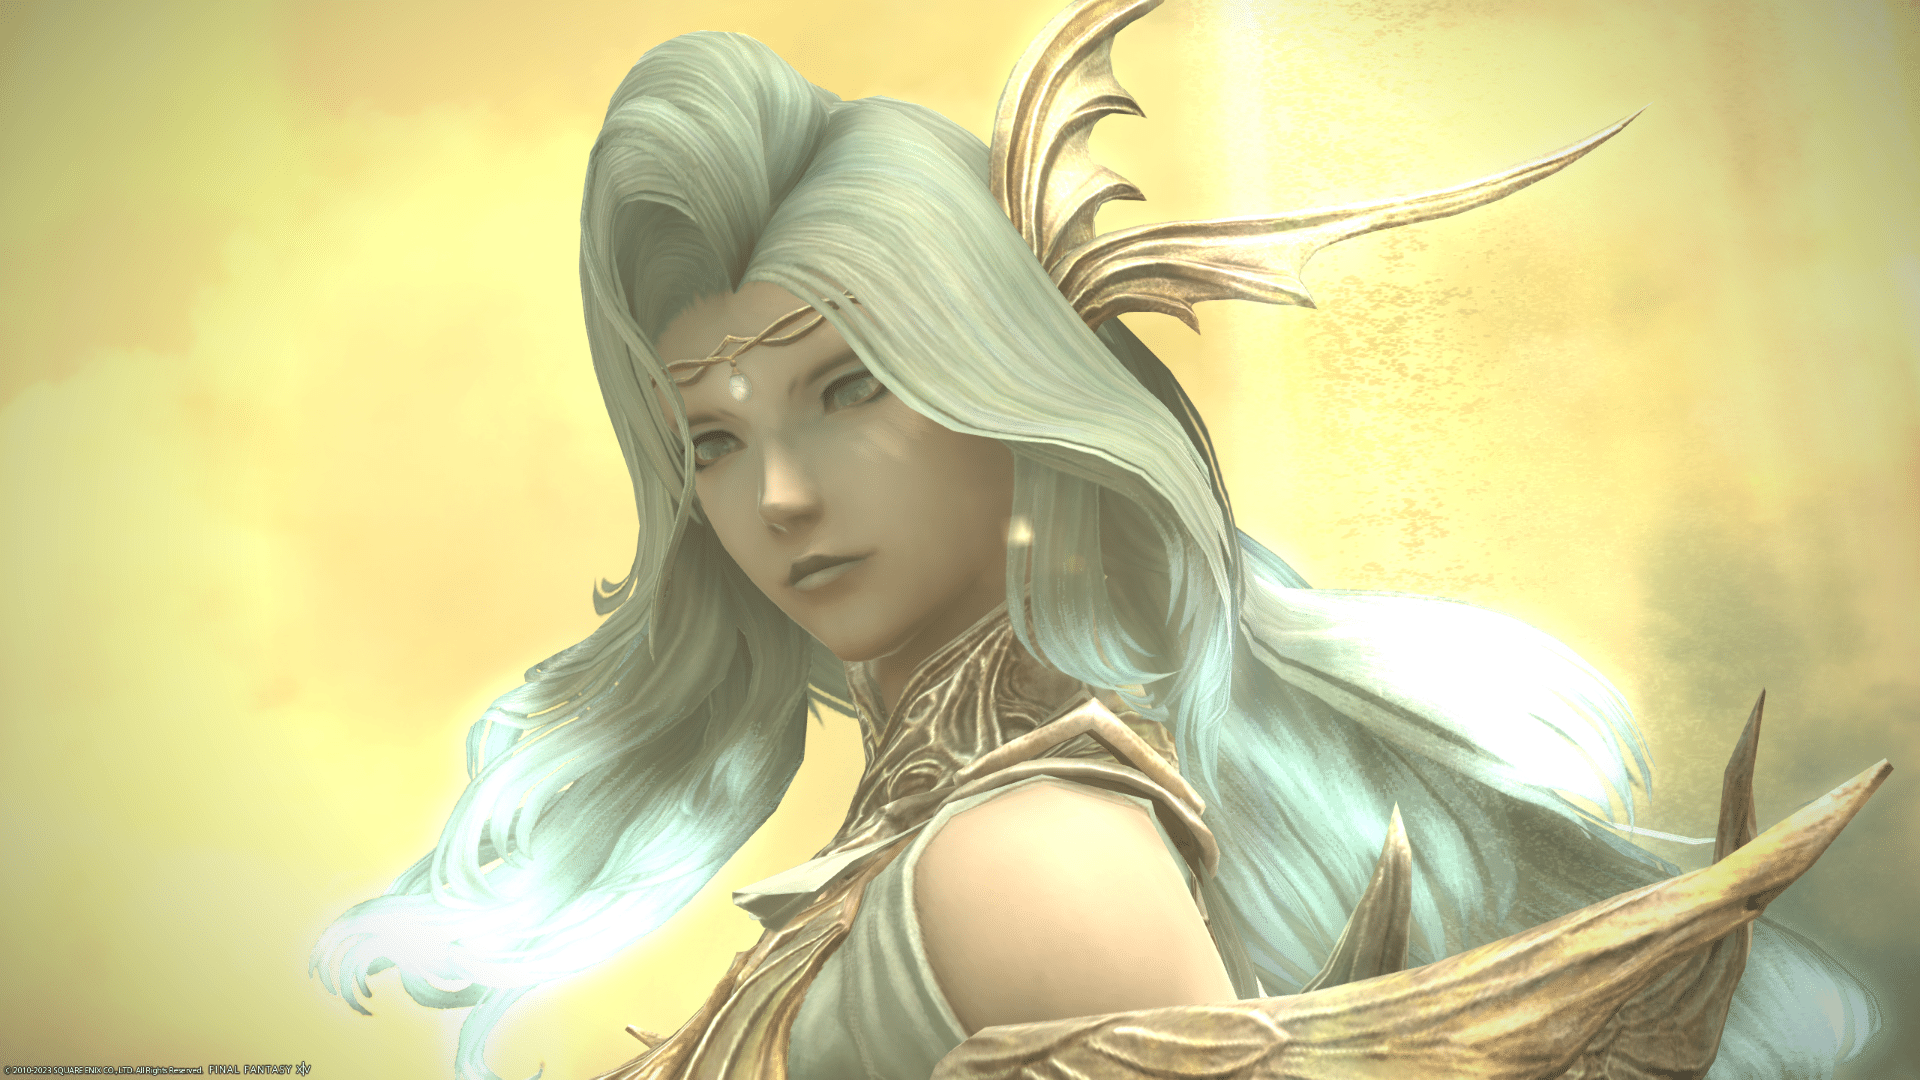
Lymlaen
Tempest: A large AoE that will hit everyone in the Alliance Raid, mitigate, and heal up.
Seafoam Spiral: A giant AoE will cleave the entire arena except for the small circle within Lymlaen’s threat ring. Move in to avoid taking damage.
Wind Rose: Right after, she’ll cast an AoE around herself, move out, and stay clear.
Navigator’s Trident: Lymlaen will now cleave the right/left side of the arena, then the opposite side before cleaving the middle with a big pushback. Switch sides as the attack goes off and stands as close to the middle as possible when she cleaves it to avoid getting flung into the wall.
Surging Wave: A big pushback that players need to position themselves west off. After being pushed back, bubbles will emerge from the left and right which players need to stand clear off as well as the wave closing in on them from behind.
Left Strait: She’ll now cleave everything to the left.
Deep Dive: A stack marker, everyone groups up, mitigates, and heals.
Torrential Tridents: Tridents will appear all over the arena and will explode in the same order they appear. Move between them during those explosions to avoid damage. The first and the last are usually next to each other. After, AoE’s will appear underneath random players as well as proximity AoEs.
Denizens of the Deep: Lymlaen will summon her two servants Perykos and Thalaos which will from now on cleave the arena from all directions. Spot the bubbles on the sides of the arena to stay clear of them.
Godsbane: A massive Alliance-wide spell that will deal damage and apply drowsy to everyone. Healers will need to heal through it while everyone else mitigates as best they can.
Oschon
Sudden Downpour: Deals damage to the entire raid, mitigate, and heals up.
Trek Shot: Oschon will cleave a cone in front of him but move to a different spot. Follow the arrows, and make sure to check the direction he’s facing to avoid getting hit. The left and right side of him are safe.
Reproduce: Oschon creates a copy of himself, casting the ability Swinging Draw which works similarly to Trek Shot. Later in the fight, Oschon will create two clones.
Flinted Foehn: A stack maker, group up with the entire Alliance Raids. This attack will go off 6 times in a row, make sure to mitigate accordingly and heal through them.
Soaring Minuet: A big AoE that fans out from Oschon, it will cover most of the arena but a small cone behind him is always safe.
The Arrow: The number one on the enmity list will be targeted with a tankbuster, make sure to stay clear of each other, use cooldowns, and heal up afterward.
Downhill: Ground AoEs will appear underneath random players.
Climbing Shot: A pushback effect will go off from Oschon pushing everyone back, make sure to stand in the correct spot to avoid getting hit by Downhill.
Lofty Peaks: Raidwide damage will tick through a few times before everyone gets shot up to another platform. Afterwards, Oschon will grow in size and Phase 2 will begin.
Piton Pull: Oschon will throw two hooks, one in the front and one in the back, the corners of the opposite side will always be safe.
Altitude: A series of small AoEs will target the entire arena with a few safe spots in between.
Wandering Shot: Thow arrows will be shot that will then collide on the marked spot. They explode into one big AoE, the front or the back will be safe.
Arrow Trail: Lines will show up from North to South, arrows will then fire along those lines, and players will need to move between them and avoid the loss that’ll pop up.
Wandering Volley: Wandering Shot but it now has a pushback that originates in the middle of the arena. Players will also need to look out for AoEs forming on the edge of the arena.

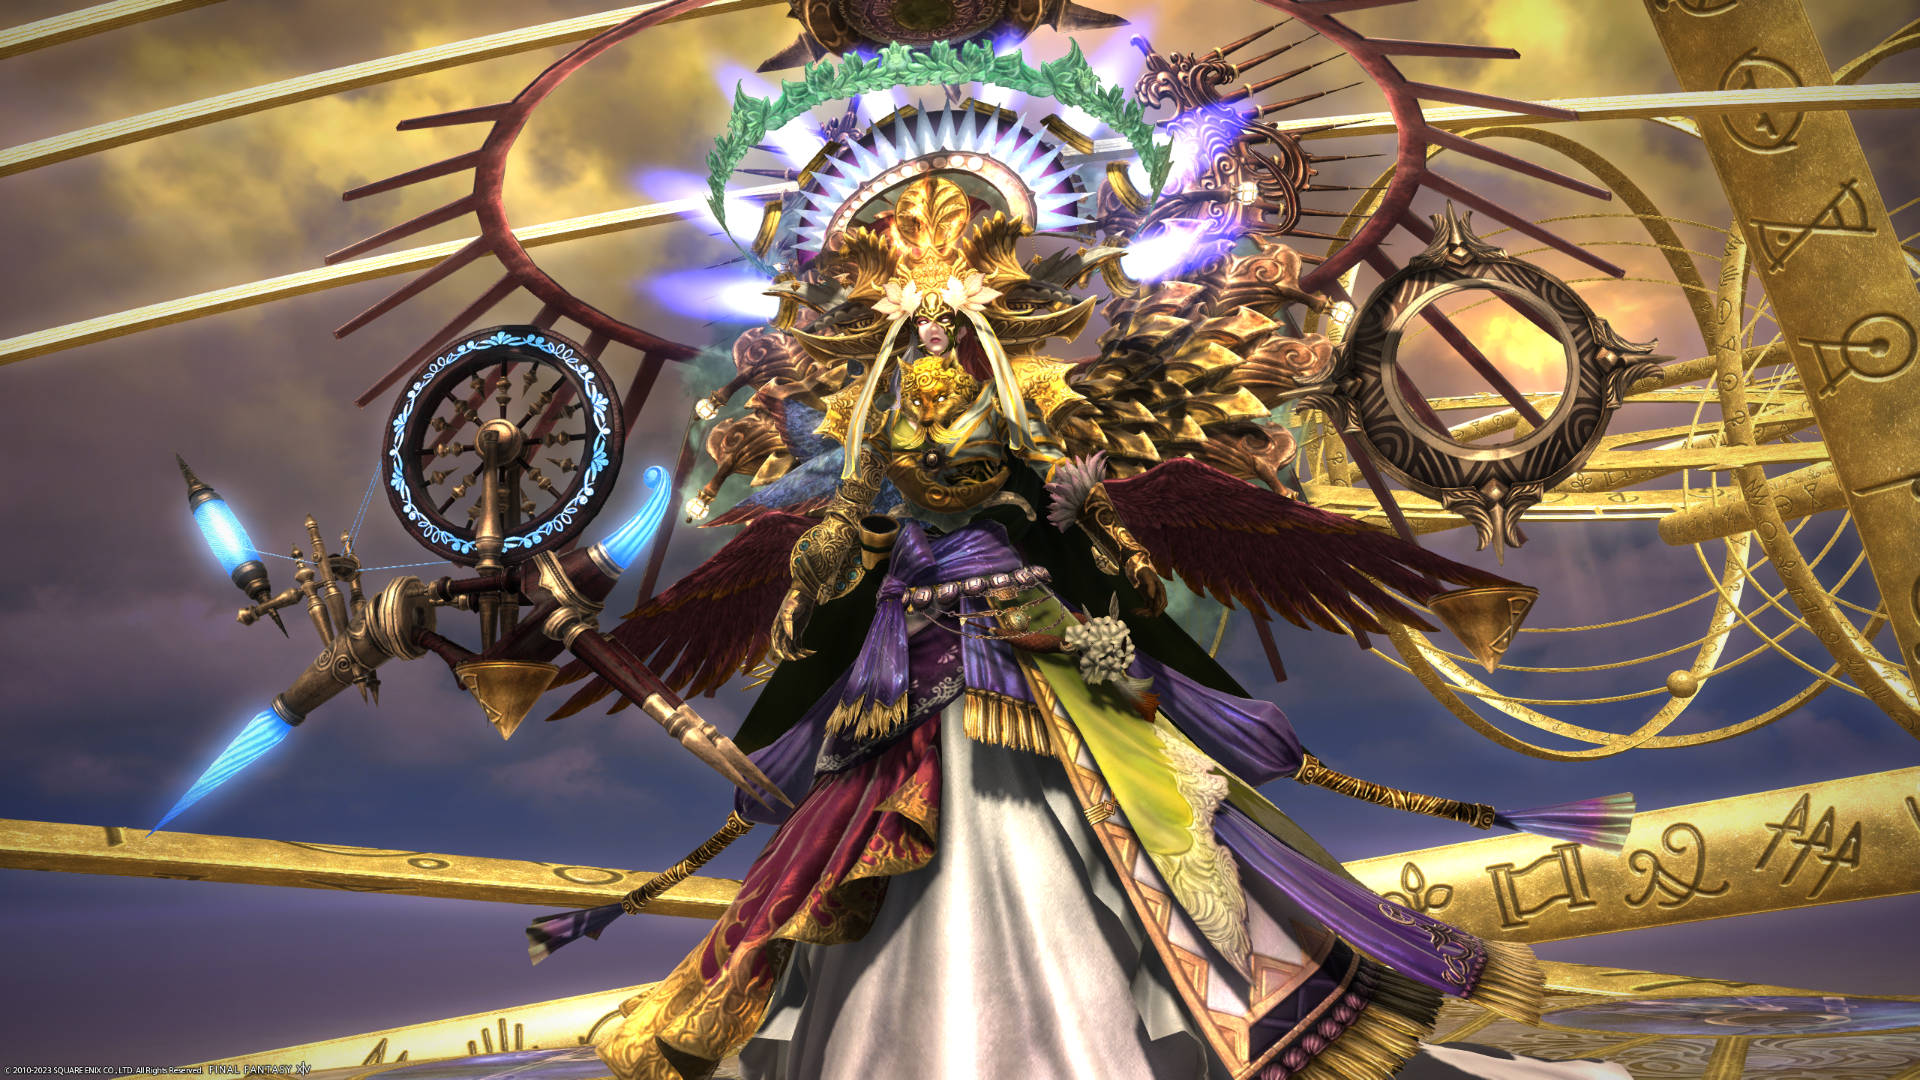
Eulogia
Eulogia is a combination of all the previous boss fights in this Alliance Raid series. They’ll mostly use mechanics from previous fights.
Dawn of Time: Like every encounter in this raid, it starts off with a raid-wide damage spell, healers need to top off everyone.
First Form/Second Form/Third Form: Eulogia will move to different spots on the arena and cast an ability based on the hands that show up during the casts of each form.
If the hands are to the left, players need to stand right when the cast goes off, when they’re on the right do the opposite and if they’re a circle players need to move in. They’ll start going off after the cast of Quintessence.
Sunbeam: Everyone on top of the enmity list of their respective party will be targeted with a tankbuster.
The Whorl: Another raid-wide spell that will deal damage to everyone.
Lovers Light and Full Bright: Moons will appear in a half circle around the arena. After Full Bright goes through, these moons will turn full and cleave the arena in front of them in a straight line.
Solar Fans: Eulogia will shoot Charams to the left and right which will rotate 4 times, cleaving the outer circle of the arena before exploring into two big AoEs with Radiant Finish. Keep an eye on the Charkams as they rotate and adjust positions if necessary.
Hydrostasis: Three markers will appear with one, two, or three diamonds on top to indicate the order in which they’ll go off. One of them will be tethered to a clock to change the order. After they go off they’ll unleash a pushback effect, players want to stand inside the triangle they make up and get pushed towards the next one going off.
Destructive Bolt: A stack marker the entire Alliance Raid needs to group up for.
Hieroglyphika: See Hieroglyphika under the Thaliak fight.
Hands of the Destroyer: Eulogia will punch a portal, blue or red which will cleave the half of the arena that the punched portal appears on.
Matron’s Breath: Two beds of flowers will pop up in the middle of the arena, one blue and the other yellow. Around them, 4 smaller ones will show up which will count down. Match the colors for each countdown to stay safe.
Torrential Tide: See Torrential Tide in the Lymlaen.
Byregot’s Strike: Cleaves will fan out from Eulogia in a cross formation, players need to position with the pushback in mind to avoid being hit.
Thousandfold Thrust: Eulogia will cleave half the arena in front of them.
As Above, So Below: Deals damage to the entire raid. Then two different colored AoEs and a pushback will go off from the center at the same time. Only the AoE that matches the color/symbol on the outside will go off.
Soaring Minuet: See Soaring Minuet in the Oschon fight.
Eudaimon Eorzea: Raidwide damage will be dealt to the entire Alliance Raid before a final, much stronger one goes off.
For more in FFXIV, check out our Guide of the Abyssal Fracture, The Lunar Subterrane, and what you can do when content gets stale.
