The 4 Best Counterforce Builds In Dead By Daylight
| Tags: Features
| Author thealchemist

One of the most amazing perks in Dead by Daylight is Counterforce which everyone uses. Hence, here are the 5 best Counterforce builds that you can try
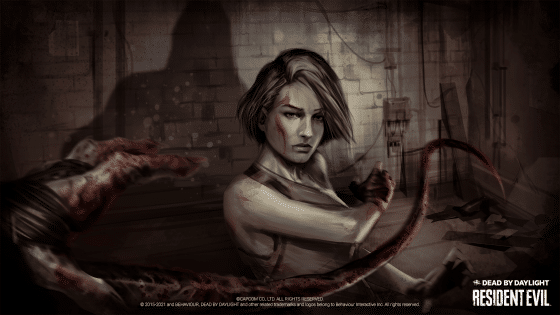
One perk that has been popular since its release is Counterforce, which belongs to Jill Valentine. This is an amazing perk, but creating a build around it can be quite hard. Hence, here are the 4 best Counterforce builds in Dead by Daylight that you can try out in your gameplay.
Best Counterforce Builds in Dead by Daylight

As mentioned before, Counterforce is a perk that belongs to the Survivor, Jill Valentine. Jill Valentine is part of the “CHAPTER 20: Resident Evil” DLC, so to get this perk for all Survivors you have to buy the DLC and prestige her to Level 3 to unlock it. Another way to get the perk is to wait for it to show up in the Shrine of Secrets, where you can buy it with 2000 Iridescent Shards instantly for all Survivors. Here are all of the 5 best Counterforce builds in Dead by Daylight:
Totem Hunter
Here are the perks for the Totem Hunter build:
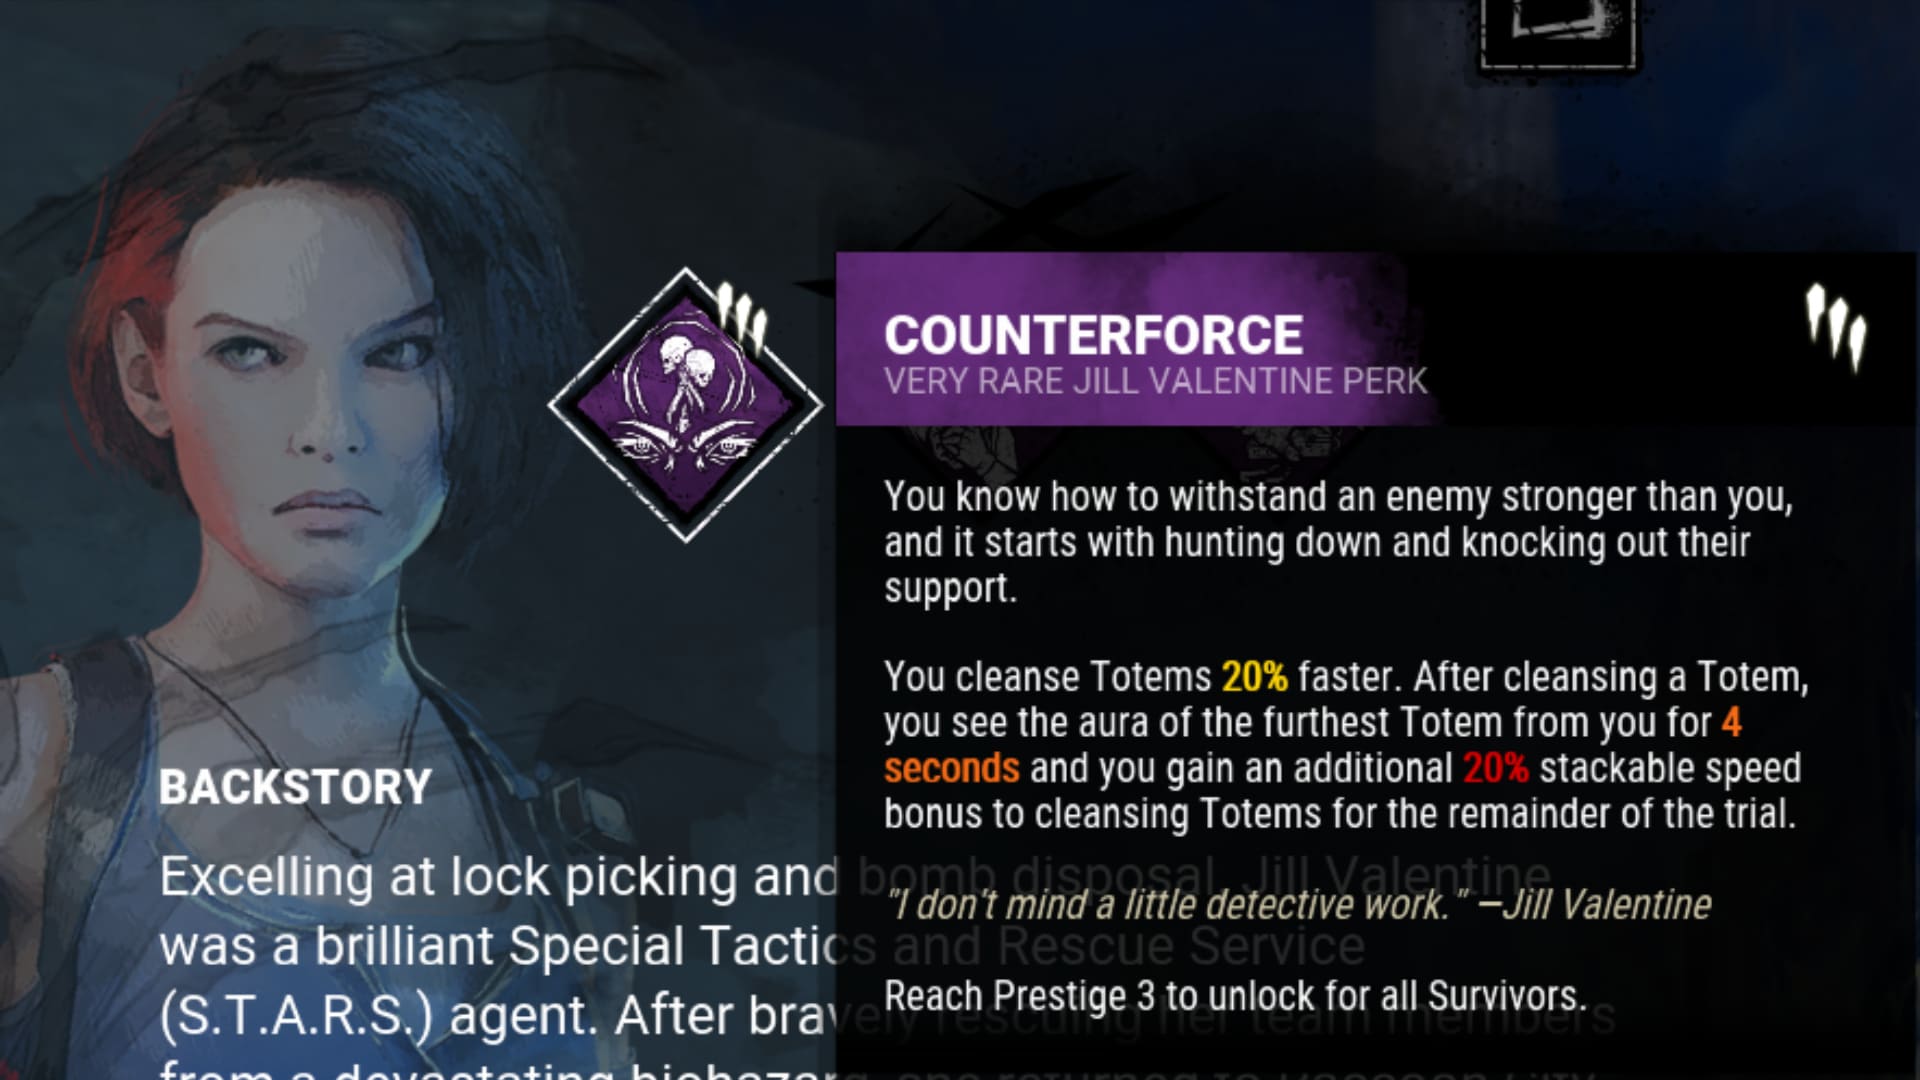
- Counterforce: This perk allows you to cleanse Totems 20% faster and you earn a stackable 20% speed bonus for cleansing further Totems. After you cleanse a Totem, you can reveal the aura for the furthest Totem for 2,3 or 4 seconds depending on what Tier (I, II, III) your perk is on.
- Small Game: This perk gives you an auditory warning every time you look at a Totem within a 45° cone of vision within 8, 10 or 12 meters depending on what Tier (I, II, III) your perk is on. This perk has a cooldown of 14, 12 or 10 seconds once again, depending on what Tier (I, II, III) it is on.
- Detective’s Hunch: This perk allows you to see the auras of any Generators, Chests and Totems within 32, 48 or 64 meters of your location, depending on what Tier (I, II, III) your perk is on. The auras of the objects are revealed to you for 10 seconds. This perk also adds the objects that are revealed to you to the Map, if you’re holding one so that they can be tracked.
- Resilience: This perk grants you a 3, 6 or 9% speed bonus depending on what Tier (I, II, III) your perk is on, for all actions you perform while in an Injured state.
Self Healer
Here are the perks for the Self Healer build:
- Counterforce: This perk allows you to cleanse Totems 20% faster and you earn a stackable 20% speed bonus for cleansing further Totems. After you cleanse a Totem, you can reveal the aura for the furthest Totem for 2,3 or 4 seconds depending on what Tier (I, II, III) your perk is on.
- Inner Healing: This perk allows you to automatically heal 1 full Health State when hiding inside a locker for 10, 9 or 8 seconds depending on what Tier (I, II, III) your perk is on. It activates each time you cleanse a Totem, which is why it complements Counterforce.
- Dead Hard: This perk allows you to dash forward avoiding all damage after pressing the Active Ability button, which triggers the Endurance status effect for 0.5 seconds. When the ability deactivates, you are hit with the Exhausted status effect for 60, 50 or 40 seconds depending on what Tier (I, II, III) your perk is on. If you’re hit while dashing, you go into the Deep Wound state.
- Self-Care: This perk allows you to heal yourself without a Med-Kit at 25, 30 or 35% of the normal healing speed depending on what Tier (I, II, III) your perk is on.
The Loopster
Here are the perks for the Self Healer build:
- Counterforce: This perk allows you to cleanse Totems 20% faster and you earn a stackable 20% speed bonus for cleansing further Totems. After you cleanse a Totem, you can reveal the aura for the furthest Totem for 2,3 or 4 seconds depending on what Tier (I, II, III) your perk is on.
- Inner Healing: This perk allows you to automatically heal 1 full Health State when hiding inside a locker for 10, 9 or 8 seconds depending on what Tier (I, II, III) your perk is on. It activates each time you cleanse a Totem, which is why it complements Counterforce.
- Resilience: This perk grants you a 3, 6 or 9% speed bonus depending on what Tier (I, II, III) your perk is on, for all actions you perform while in an Injured state.
- Iron Will: This perk reduces the sound of your grunts of pain when you are injured by 25, 50 or 75% depending on what Tier (I, II, III) your perk is on.
Miss Blinder
Here are the perks for the Miss Blinder build:
- Counterforce: This perk allows you to cleanse Totems 20% faster and you earn a stackable 20% speed bonus for cleansing further Totems. After you cleanse a Totem, you can reveal the aura for the furthest Totem for 2,3 or 4 seconds depending on what Tier (I, II, III) your perk is on.
- Inner Healing: This perk allows you to automatically heal 1 full Health State when hiding inside a locker for 10, 9 or 8 seconds depending on what Tier (I, II, III) your perk is on. It activates each time you cleanse a Totem, which is why it complements Counterforce.
- Blast Mine: This perk allows you to place a trap on Generators after you repair them up to 50%. This trap stays active for 100, 110 or 120 seconds depending on what Tier (I, II, III) your perk is on and when the Killer damages the Generator, it explodes, blinding and stunning them. The Auras of all trapped Generators are also revealed to Survivors while the trap is active.
- Flashbang: This perk allows you to craft a Flash grenade after repairing a Generator for 70, 60 or 50% depending on what Tier (I, II, III) your perk is on. You can craft the grenade by entering a locker and pressing the Active Ability button.
Conclusion
Regardless of whether you create a complete build around Counterforce or not, it is an amazing perk by itself. Being able to hunt Totems down and cleanse them at a heightened speed is perfect for farming Blood points. When you pair it with the Inner Healing perk, it gives you the ability to heal yourself without having to use a Medkit. Check out our Claire Redfield Survivor guide and learn more about Jill Valentine, as Claire is a Legendary Outfit for Jill. Make sure to stay tuned out for other guides in the future.
