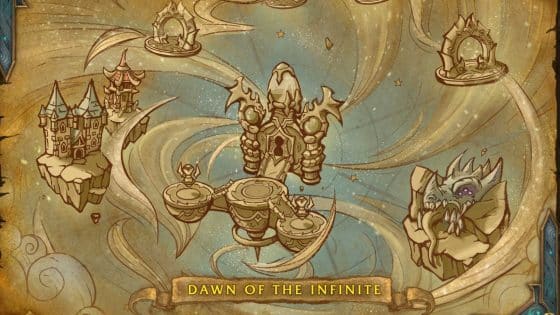
WoW Dawn of the Infinite Dungeon Guide
| Tags: WoW News
| Author Victoria Crego

With the release of patch 10.1.5 players have a new megadungeon to explore, Dawn of the Infinite. This dungeon will put players against 8 bosses as we stop the Infinite Dragonflight from achieving their goal of bringing forth Murozond. In this Dawn of the Infinite dungeon guide I will go over all the boss mechanics so you can be prepared.
Chronikar
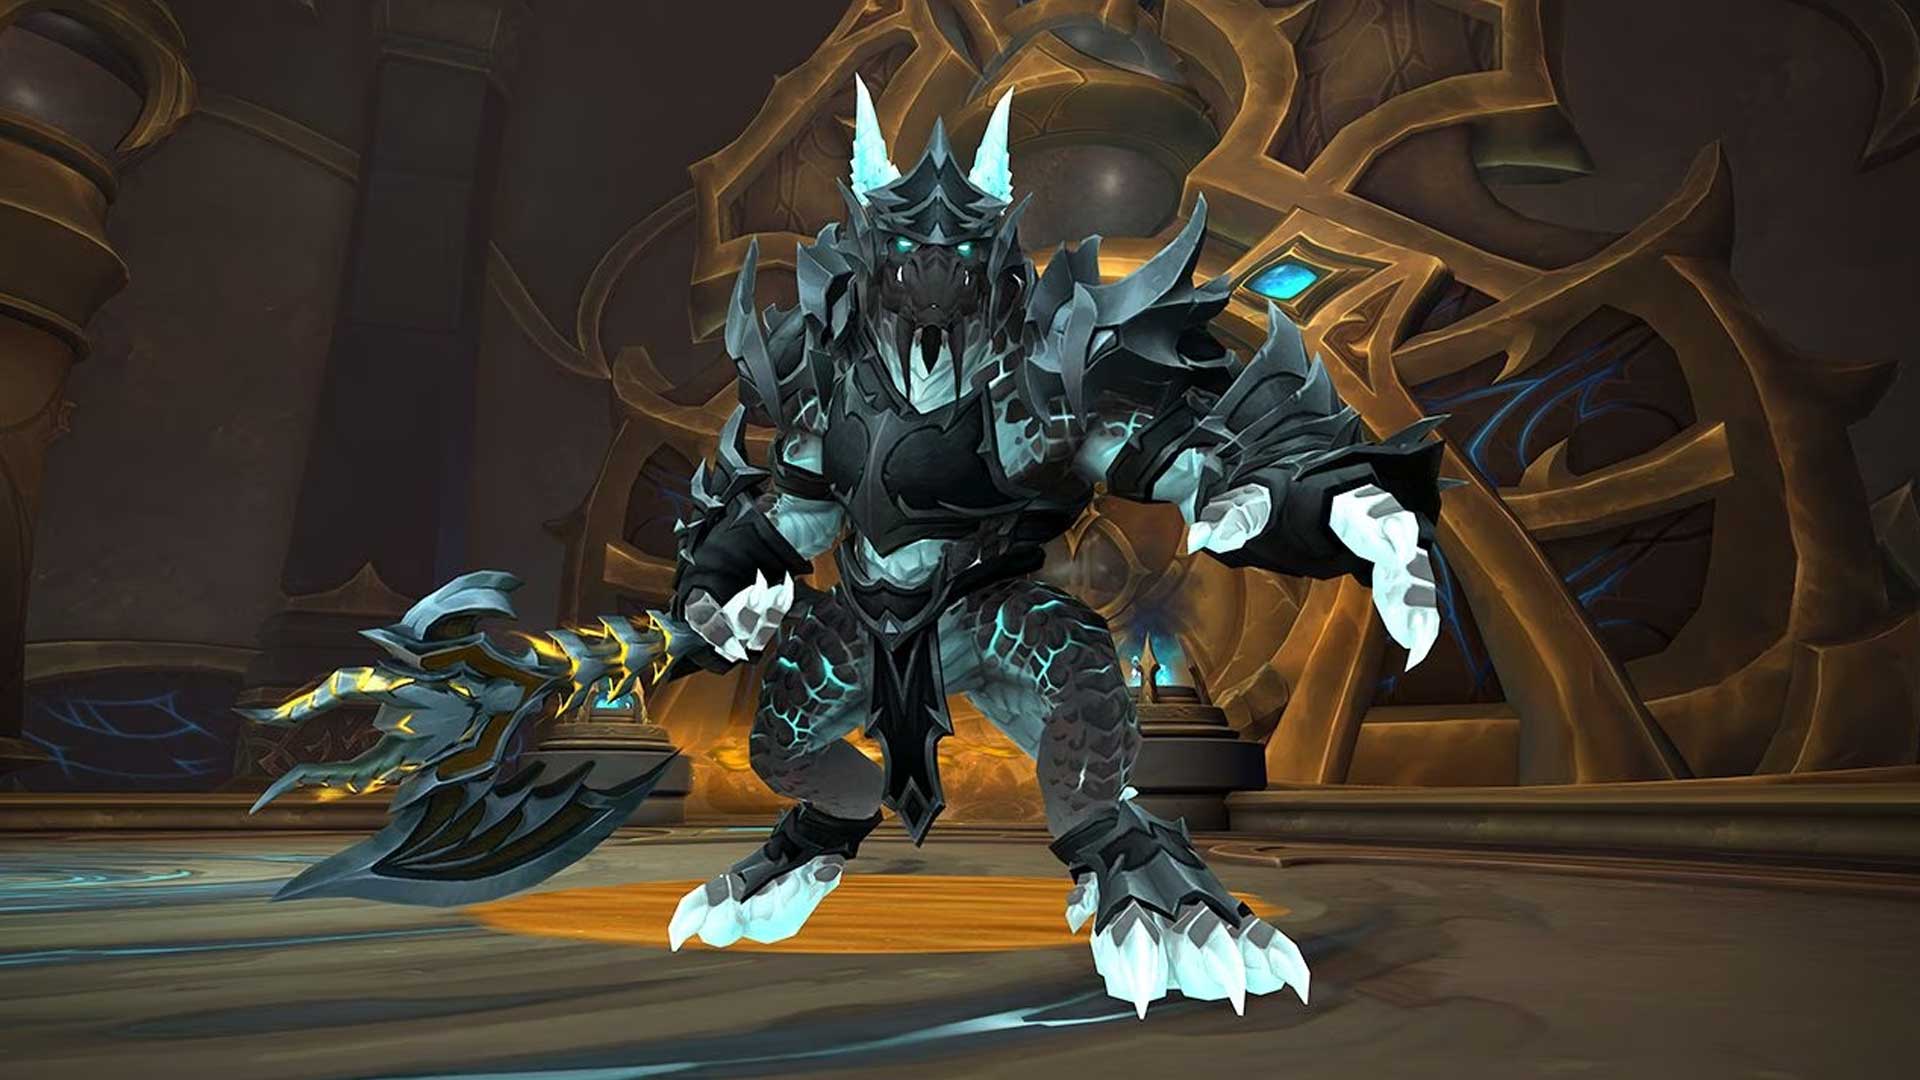
The first boss players will face is Chronikar, let’s take a look at what she can do.
Her first ability is Sand Stomp which she casts regularly throughout the fight. When she starts casting Sand Stomp a circle appears around all players. When the cast finishes Withering Sandpools will spawn under all players. This is a ground effect that deals damage to any players inside when it forms. Any players inside of it will take damage every 2 seconds, have their movement speed reduced by 15% and haste reduced by 25%. It will be important for players to position accordingly to place these out of the way. The longer the fight continues the less space players will have.
Chronoshear is the tank buster mechanic that healers must watch as well. Active mitigation must be used to reduce the initial damage from Chronoshear. The tank will take heavy physical damage and be knocked back. Then a healing absorb shield is placed on the tank along with a magic debuff called Sheared Lifespan. This debuff increases the amount of damage the tank takes by 600%. The only way to get rid of it is for the healer to heal through the absorb shield, and then they can dispel Sheared Lifespan.
When Chronikar reaches 100 energy she will cast Eon Shatter, this ability has two parts to it. She will target two players at first with a massive circle around them, once she finishes two jumps she will jump to a third player and then be done. These players must move away from others. Partway through the cast the circle around the player will stop following them and stay at their location. This player will need to run out of the circle ASAP. Chronikar will then jump to that location dealing deadly damage to anyone inside. Eon Fragments then shoot out from the location, any players hit by these take heavy arcane damage and get knocked back.
After Chronikar lands there will be a smaller circle that appears where she landed. This is Eon Residue and must be absorbed by a player. All players need to do is stand in the circle. This deals some arcane damage to the player that absorbs the residue. If Eon Residue fails to hit a player it triggers Residue Blast which deals deadly damage to all players. Failing this mechanic will most likely lead to a wipe.
Manifested Timeways
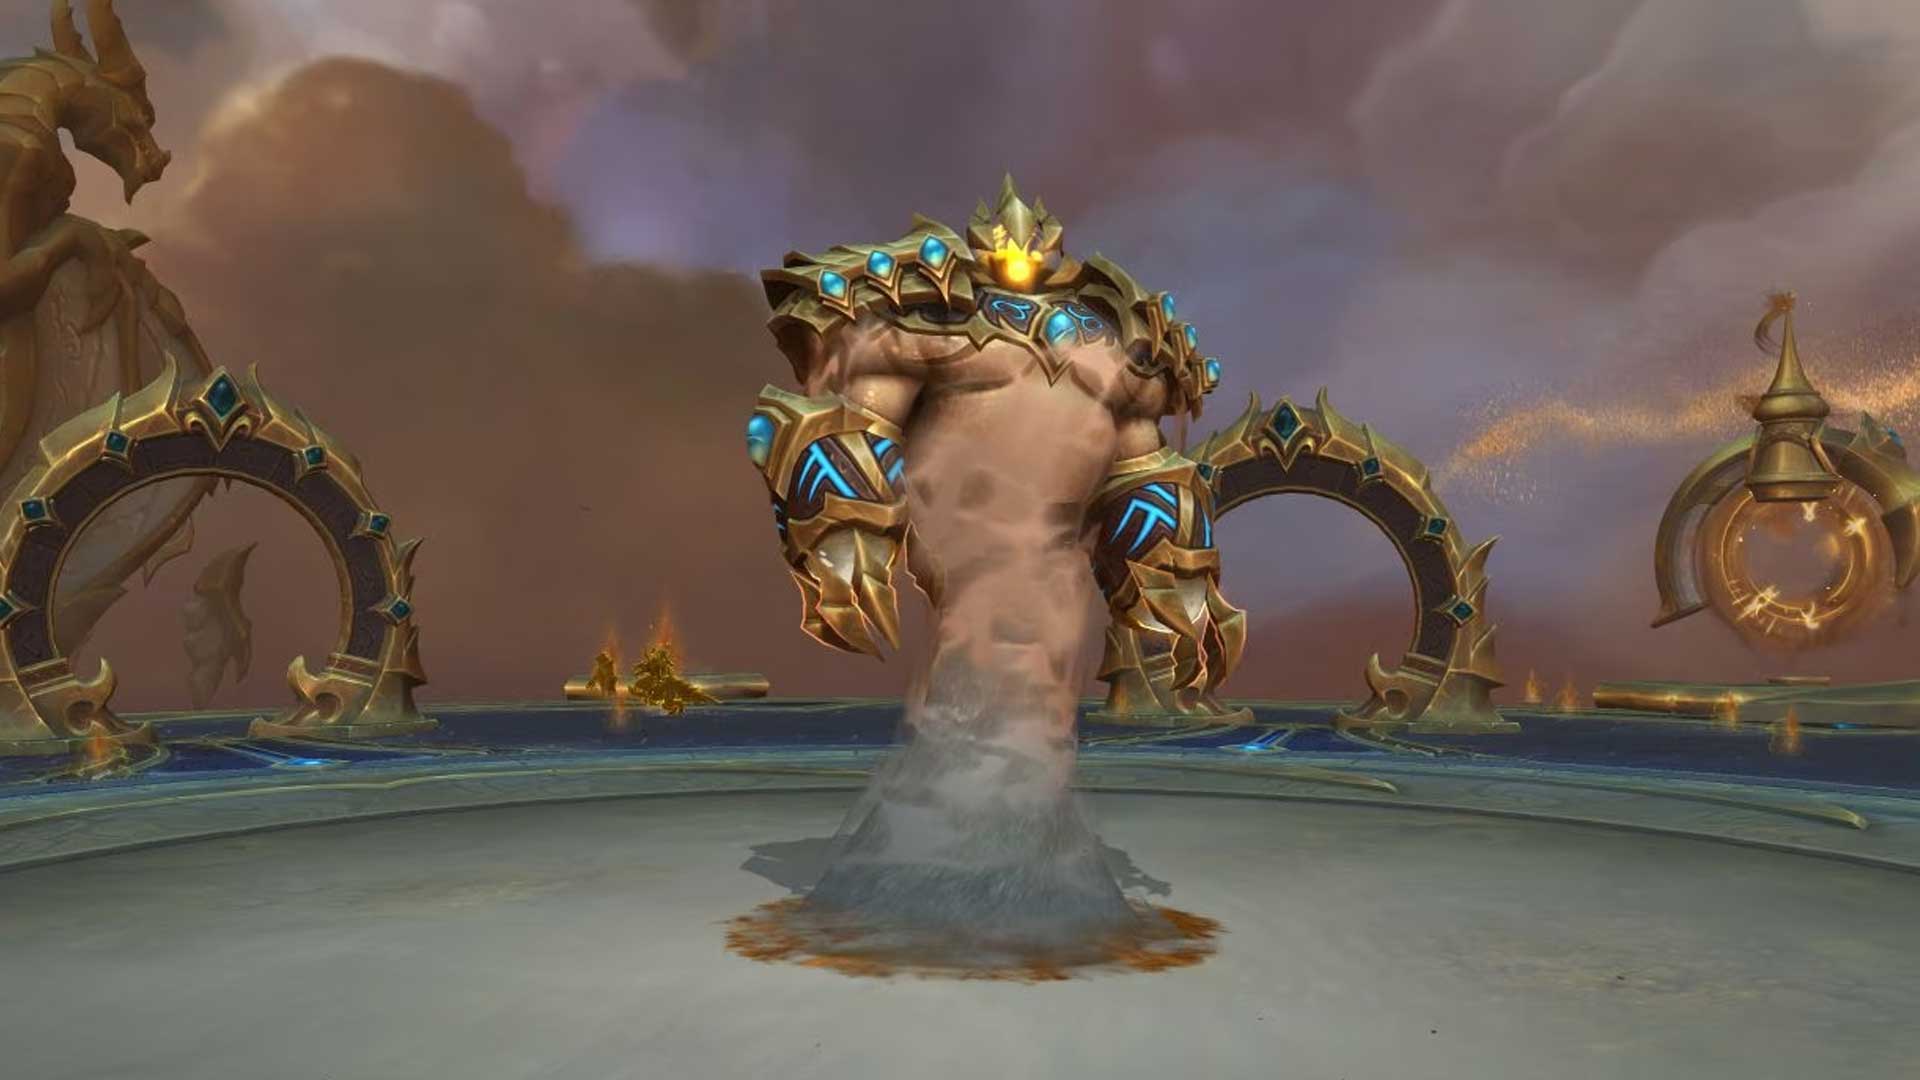
Manifested Timeways is the second boss players will face and is an elemental made of time sand. When players engage the boss the room is split into 4 areas. There are 2 areas of Accelerating Time and 2 areas of Decaying Time. The Accelerating Time area is a light color and the Decaying Time area is a darker color. Depending on which area you are in will change how you deal with some parts of the fight. Players in Accelerating Time will have their movement speed increased by 30% and take arcane damage every second. Players in Decaying Time have their damage taken reduced by 20% and take arcane damage every 3 seconds. The areas will rotate around the boss throughout the fight, so there will be a lot of movement to stay in your preferred time zone. For the majority of players Decaying Time is the better area to be in. But you can utilize Accelerating Time if you need to quickly reposition.
Fragments of Time will send several small orbs spiraling out from the boss. In the Accelerating Time area these orbs will move much faster, but in the Decaying Time area move much slower. When this mechanic comes out it will be much easier to avoid in the Decaying Time area. Especially since orbs may start to overlap as the ability is cast multiple times.
The boss will occasionally put a magic debuff called Chrono Faded on two players for 8 seconds. The amount of damage this debuff does is based on which area you are in. Chrono Faded ticks damage much faster in the Accelerating Time area so players with this should make sure to be in the Decaying Time Zone. When Chrono Faded expires or is dispelled it creates a Chronofade. This is a circle will expand outwards from the player, dealing damage to anyone hit by it. Players should make sure to always be in the Decaying Time zone for dispel, or to let the debuff expire, as the circle will move much slower and allow players to dodge it by jumping over the circle. If it is dispelled or expires in the Accelerated Time area it will move much faster. Players touching the circle will take arcane damage every half second so make sure to always get away from the circle ASAP. Players with Chrono Faded should also stand in different Decaying Time zones, as the circles will be easier to dodge if they are not overlapped with each other. Priests with Mass Dispel will be very useful for this mechanic, since you can dispel both at the same time.
The tank buster mechanic is called Unwind and is a frontal cone that follows the tank and triggers two times. Similar to the other abilities it will trigger much faster if the tank is in the Accelerated Time area, and slower in the Decaying Time area. Being in a specific zone is dependent on what abilities you have up. If you need to stagger the damage out more then be in the Decaying Time area. If you have something strong for taking two big hits, then it is fine to stay in the Accelerating Time area. Once this dungeon is available for keys though you probably always want to be in Decaying Time if possible. Tanks should prioritize not hitting the group with Unwind and avoid the orbs shooting out of the boss.
Tanks must stay in melee range of the boss at all times, as the boss does not move. If the tank is not in melee range the boss will cast Radiant continuously. This deals heavy arcane damage to everyone and applies a debuff that increases damage taken by Radiant by 15% per stack.
Blight of Galakrond
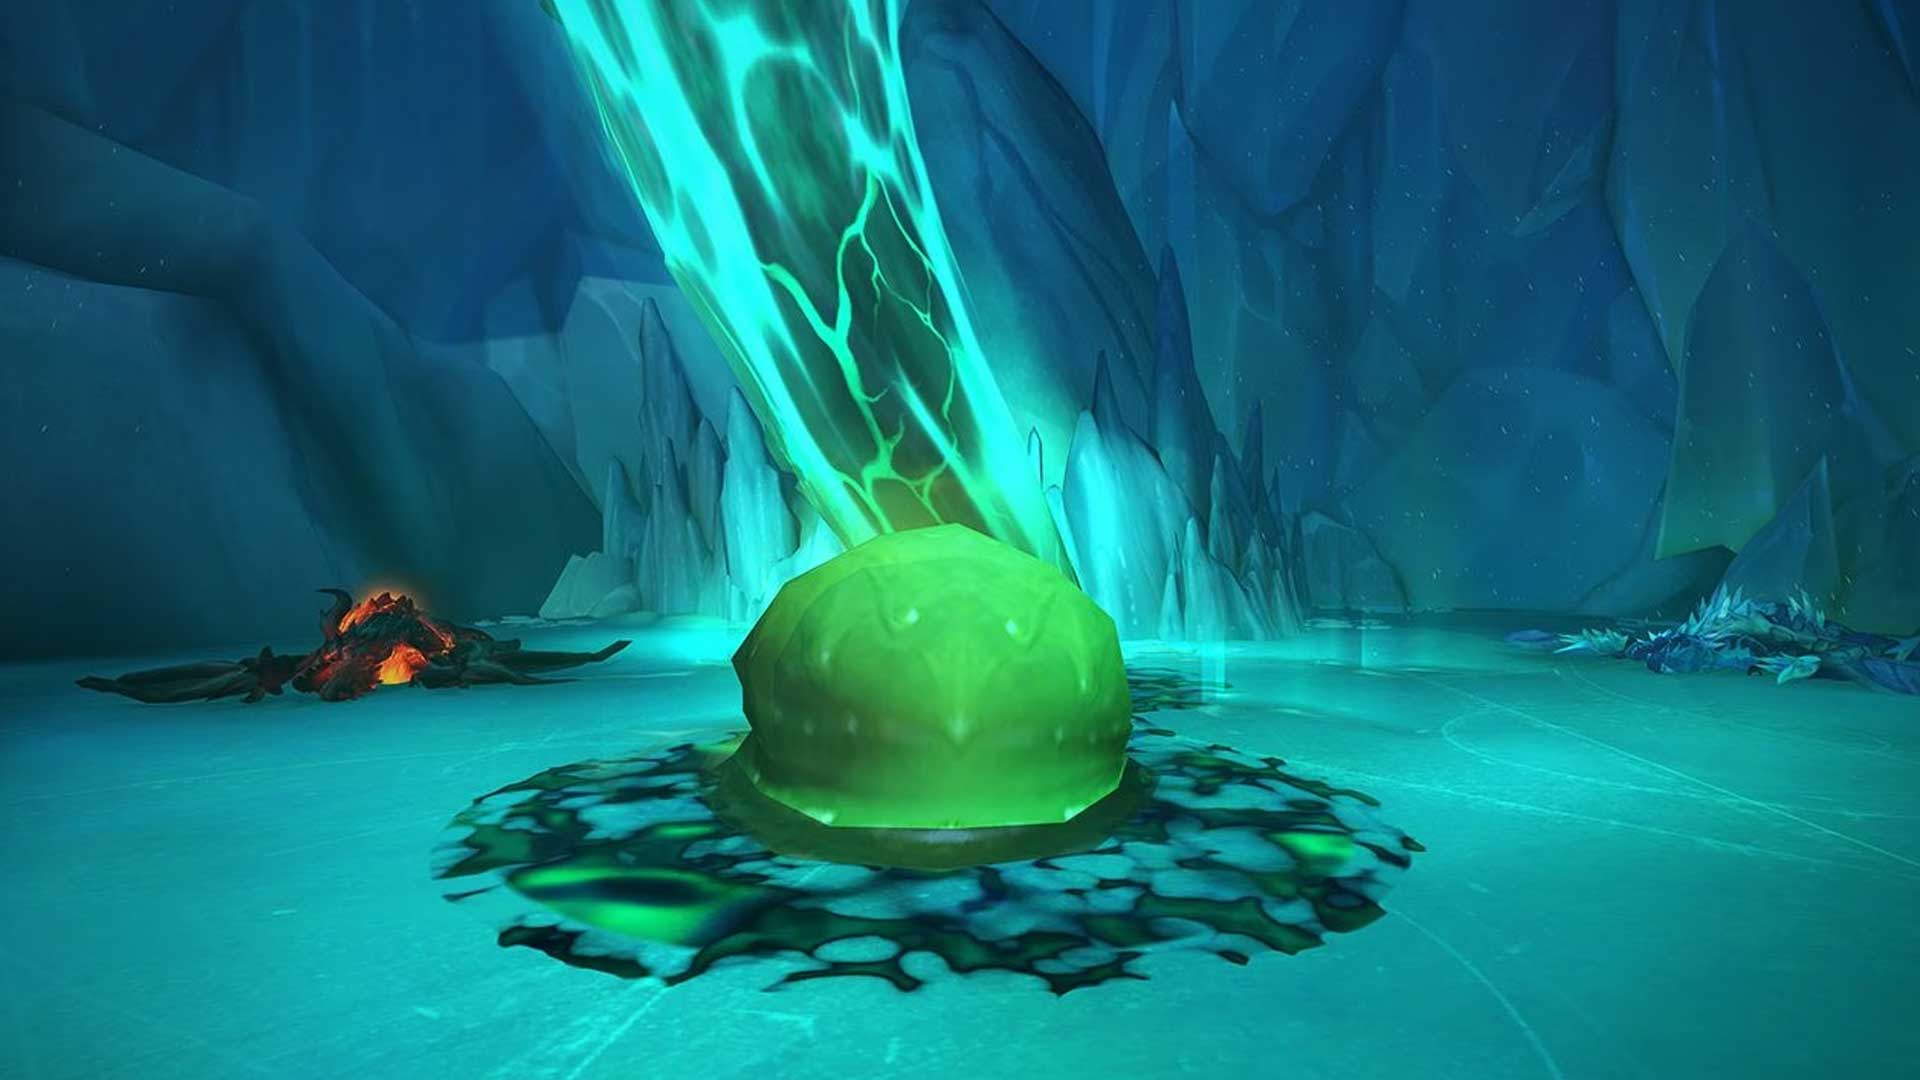
After defeated the Manifested Timeways players will face the Blight of Galakrond, this is a 3 phase fight.
Phase 1
In phase 1 players will fight a big ooze called the Blight of Galakrond. The first ability it will cast is Corrosive Expulsion. This spawns a bunch of green swirls around the area that players must avoid. Any player that gets hit takes heavy nature damage and is stunned for 1.5 seconds. When the Blight of Galakrond casts Corrosive Expulsion it will apply a debuff called Corrosion to a random player. You can easily tell who has Corrosion because a green orb will float above them. Corrosion deals heavy nature damage when it is initially applied, and then deals nature damage every second for 12 seconds. If the debuff expired it will apply Corrupted Mind to the player. This is a mind control effect that makes the player attack their allies for 10 seconds.
There is a way to avoid getting mind controlled by this ability. Players will need to pass this debuff around before it expires by running into another player. The debuff will need to be passed to the tank when the boss starts casting, or right before it starts casting, Blight Reclamation. With boss timers it will be easier to plan when to pass the debuff to the tank. Blight Reclamation is a frontal cone that follows the tank. Active mitigation must be used as this deals heavy physical damage. Players hit by this will have Corrosion removed and be pulled towards the boss.
Blight of Galakrond will cast Blight Seep at full energy, this will drain all of the bosses’ energy. Blight Seep leaves a pool of blight under the boss. Any players that stand in it will take nature damage every second. The tank should move the boss away from blight when this happens.
Phase 2
Phase 2 will start when the boss reaches 80% health, the Blight of Galakrond will go inside a dead proto-drake named Ahnzon and re-animate it. The boss will continue using all the abilities it used in phase 1.
The new ability in this phase is Necrotic Winds which healers will want to watch out for. This deals nature damage every 0.5 seconds for 7.5 seconds and constantly pushes players back. Tornados are spawned by this Necrotic Winds that players must avoid. These tornados spawn around the boss and then shoot outwards. This gives players time to position to avoid the tornado’s path. Any players that are hit by a tornado will take heavy nature damage and get knocked back. With damage ticking so frequently healers will want to make sure to be prepared. All players should consider using defensives during this time due to how much damage is going out.
Phase 3
When the boss reaches 50% health phase 3 starts. The blight will leave Ahnzon and re-animate Loszkeleth and Dazhak. All phase 1 abilities will continue to occur during phase 3. These two bosses have an Essence Connection which causes damage dealt to one boss also damage the other. The tank should bring Loszkeleth to Dazhak if possible so dps can cleave them.
Loszkeleth will need to be tanked and gains the abilities from the Blight of Galakrond. It has one additional ability called Necrofrost which is cast on a random player. Necrotic Frost will root that player, reduce their haste by 5%, and deals frost damage every second. The Necrotic Frost is targetable, so all DPS should switch to this ASAP to destroy it and release the player.
Dazhak just runs around and casts Incinerating Blightbreath and Noxious Ejection. Incinerating Blightbreath is a frontal cone, any players hit take fire damage every 0.5 seconds while in the frontal cone. This cannot be aimed so all players must watch Dazhak and move ASAP when she starts casting.
Dazhak’s second ability is Noxious Ejection which she casts constantly and targets random players. This deals nature damage to whoever is targeted. This cast cannot be interrupted so healers must watch player health carefully, one person could get unlucky and get hit multiple times by this. It can be deadly if she happens to target the person with Necrofrost.
Iridikron the Stonescaled
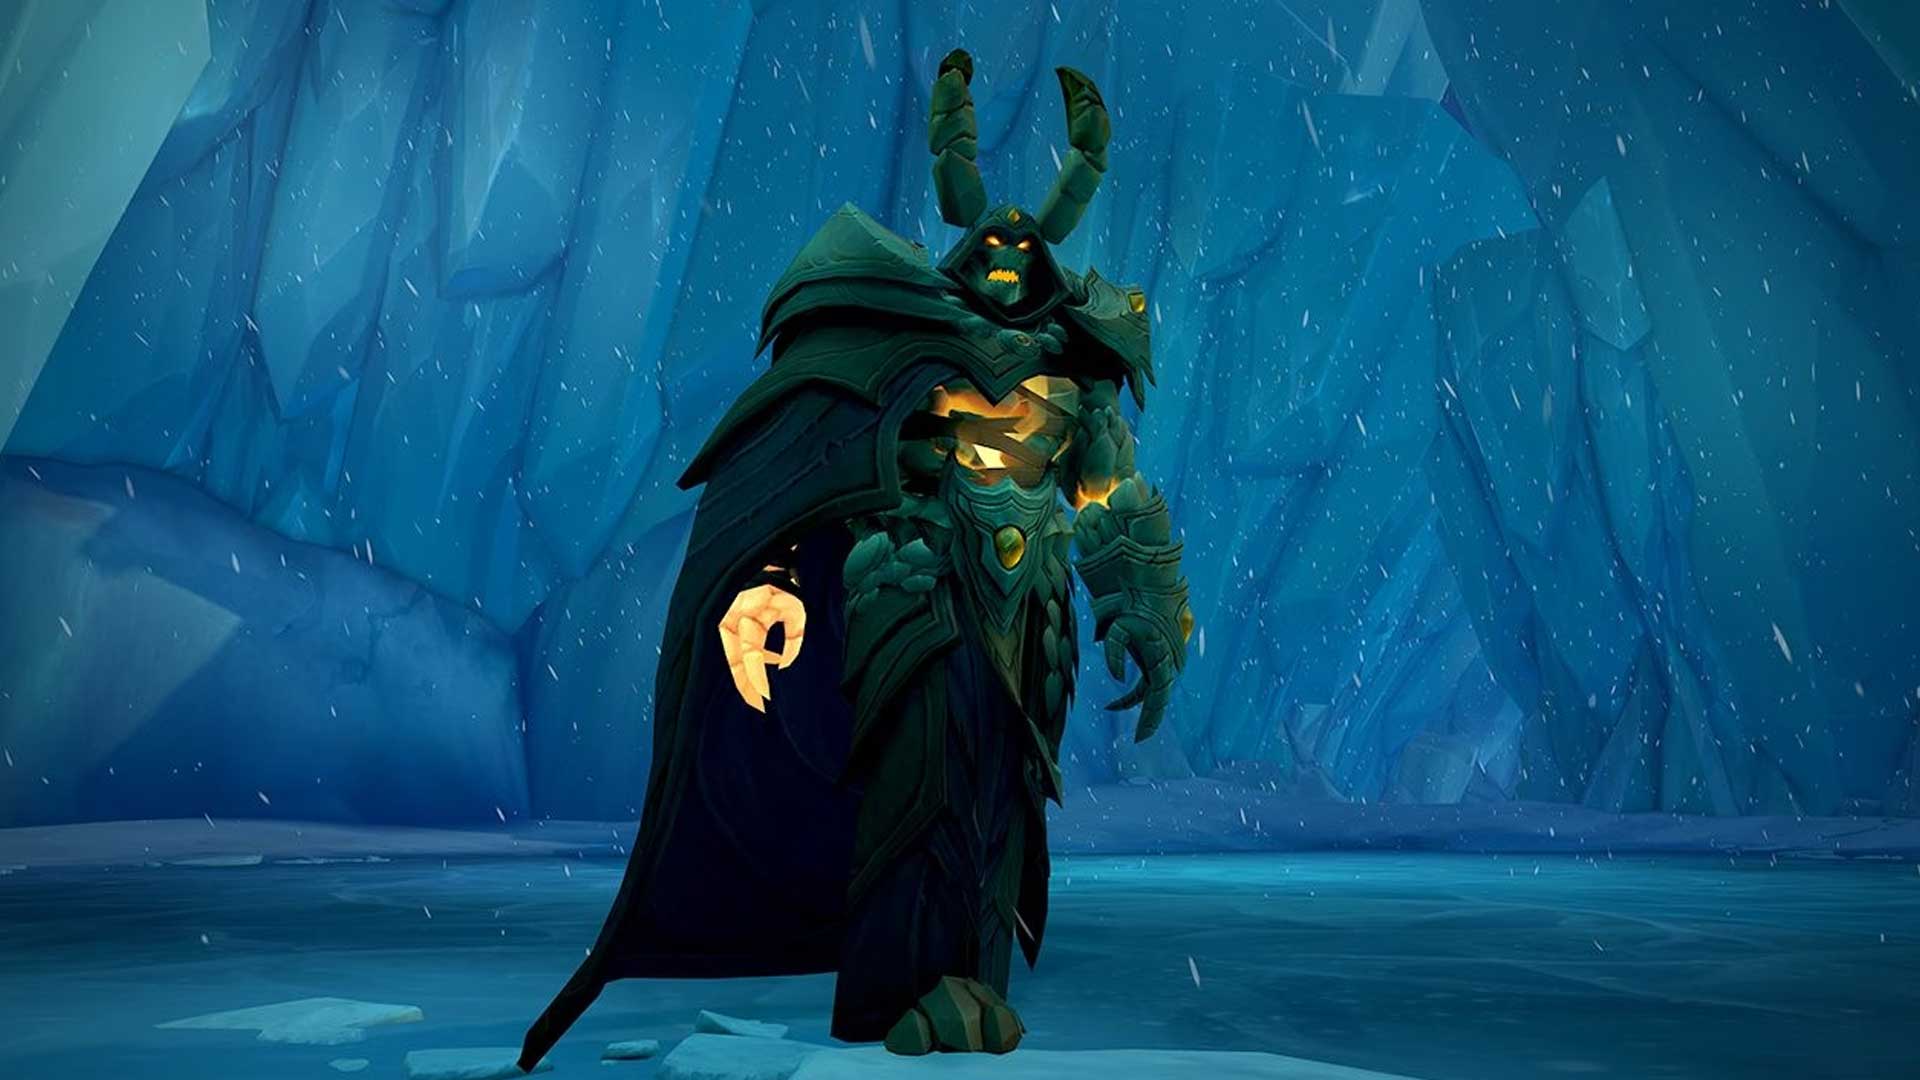
The next boss players will face is Iridikron the Stonescaled. Players only need to get Iridikron to 85% health to end the encounter. In this encounter Chromie will be helping and must be protected. If Chromie dies then the encounter will end. Let’s take a look at how the fight works.
His tank buster is called Crushing Onslaught. This makes Iridikron’s successful melee attacks apply a debuff that increases physical damage taken by 75% for 3 seconds, this effect stacks. Now for the rest of his mechanics.
Extinction Blast is one of the first abilities used during the fight. Iridikron will target a random player and put a large circle around them. The targeted player must run inside of Chromie’s Timeline Protection bubble which reduces damage taken by 97%. Other players should move out of this circle. When the ability goes off it deals deadly damage to the targeted player and anyone in their circle, and applies a dot that deals damage every second for 8 seconds. Healers make sure to watch the targeted player’s health as the dot does hit hard. After Chromie has casted Timeline Protection she becomes Exhausted and takes an additional 4,000% damage. The healer must watch Chromie during this time as she could easily get killed, especially since Iridikron will start casting Stonecracker Barrage after Extinction Blast.
Stonecracker Barrage put a small circle around Chromie, everyone but the tank should stand on her. There will be another circle in front of Chromie where the tank needs to stand to intercept the rocks. Then Iridikron will blast Chromie with a barrage of rocks, dealing heavy nature damage that is split between Chromie and all players hit. If players do not help split this damage then Chromie will be killed. Healers should also keep a close eye on Chromie’s health to make sure she does not die. If no one stands in the circle in front of Chromie, the rocks will not be intercepted and trigger Stonecrack. This is a bleed applied to Chromie and all players in the blast zone that deals damage every second for 15 seconds and stacks for each missed rock. It is important to protect Chromie from Stonecracker Barrage because it will remove Exhausted from her, and then she will cast Timeline Acceleration which increases all player’s haste by 50% for 25 seconds.
The next ability he will cast is Earthsurge, this ability will not hit Chromie. Earthsurge will put a damage absorb shield on Iridikron. While the shield holds he will pulsate damage every 6 seconds and apply a debuff to all players that increases damage taken by 25% for 7 seconds, this effect stacks. Additionally the shield shoots out Rending Earthspikes which is a ground effect that travels in a straight line away from the boss. These Earthspikes leave behind Punctured Ground that deals nature damage every 0.5 seconds to players that stand in it. Punctured Ground does not last too long, but it can make getting hit by an Earthspike much deadlier. Be careful with Punctured Ground if the shield lasts too long, as it may overlap with the previous set of lines making it hard to dodge.
Iridikron’s next ability is Pulverizing Exhalation which places a circle around all players, places a circle around the boss, and charges a frontal cone that deals deadly damage to anyone caught inside (does not deal damage to Chromie). When the cast finishes the frontal cone damage goes out and Pulverizing Creations spawn at each player’s location, dealing damage when they appear. It is important for players to remain spread for this as stacking could cause a wipe.
When these adds spawn they start casting Stonebolt which should be interrupted so they can be grouped up. If Stonebolt goes off it deals heavy nature damage to the target and applies a bleed that deals physical damage every second for 12 seconds. This effect stacks which can make the bleed deadly very fast if they are allowed to free cast. CC should be coordinated to prevent any casts from going off.
When Iridikron reaches 100 energy he will use Cataclysmic Obliteration. This has a long cast time and while he is casting Iridikron pulsates nature damage to all players every second. This is where Healers will want to use their cooldowns. If he is allowed to complete the cast he wipes the group. Players must dps him to make him lose energy, if he gets to 0 energy before completing the cast then he will not longer be able to use that ability.
While Iridikron is casting Cataclysmic Obliteration, Chromie will be casting Timeline Transcendence. This creates a bubble around Chromie for players to stand in. Anyone inside has their damage done increased by 100%, haste increased by 100%, cooldowns reduced by 50% and resource regeneration increased by 50. However, Chromie can only use this ability once so on high keys it will be a dps race to defeat Iridikron before he finishes the second cast of Cataclysmic Obliteration.
Tyr, the Infinite Keeper
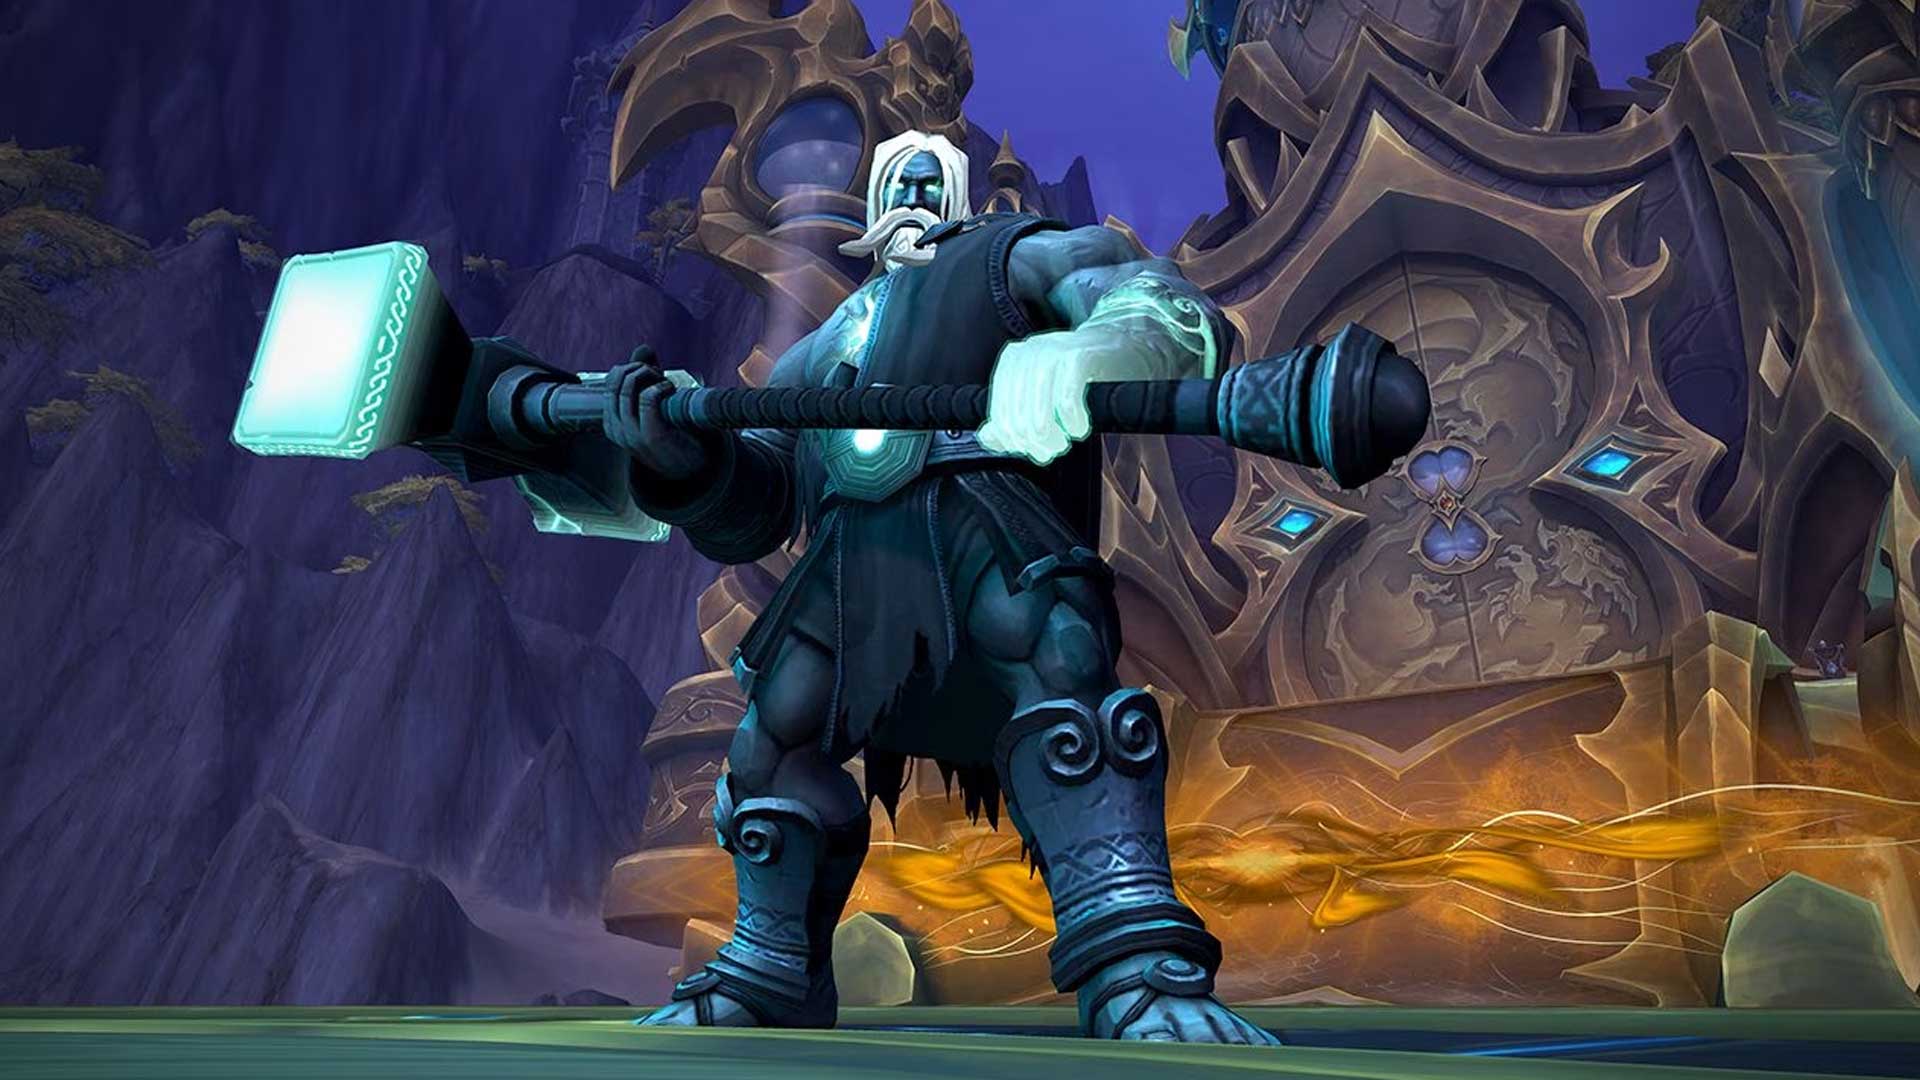
Players will face Tyr, the Infinite Keeper next around the Bronze Dragonflight’s Oathstone. This is a large area which players will need as many of Tyr’s abilities leave ground effects that will take up the platform.
His first ability is Spark of Tyr which is cast throughout the fight. This is a magic dot that is placed on 2 random players and places a circle around them. The player and anyone in their circle takes arcane damage every 2 seconds. Healers must be cautious about dispelling though, because when this dot expires or is dispelled it deals arcane damage to all players. Healers will most likely want to dispel one dot right away to spread out the damage.
Titanic Blow is the tank buster mechanic that tanks need to use active mitigation for. This ability deals heavy physical damage and knocks back the player. It is a frontal cone so make sure to be facing away from other players when Tyr casts this. Consecrated Ground is left behind where Titanic Blow landed. Any players standing in Consecrated Ground take arcane damage every 1.5 seconds.
Next is Infinite Annihilation which is another frontal cone but this one faces a random player and is avoidable. Anyone that is hit by this takes heavy arcane damage, and this ability leaves behind Consecrated Ground as well. It will be important for players to watch their positioning because one player in the wrong spot can make the fight much harder. Ideally players will bait this ability towards the edge of the platform to conserve space.
Dividing Strike is another important ability all players need to watch for. Tyr will target an area represented by a circle effect. This is a soak that splits damage evenly between all players hit. At least 2 players must be hit or Tyr will gain Titanic Empowerment which increases all of his damage by 33% for the entire fight and this effect can stack. This will most likely result in a wipe.
When Tyr reaches 0 energy he will cast Siphon Oathstone and shields himself with Radiant Barrier. This is a damage absorb shield that dps will need to break. When Radiant Barrier is activated or refreshes it pulsates damage to all players and pushes them back.
While Tyr is channeling the Oathstone it will release Temporal Essence. These are small golden orbs that move towards the Oathstone. Players should try to collect these to prevent them from reaching the Oathstone, and it gives players a buff called Stolen Time. This increases their haste and speed by 10% for 30 seconds and stakcs up to 5 times. This is why it is important to keep the middle of the platform clear, as trying to absorb these with Consecrated Ground in the way will be difficult. If Temporal Essence touches the Oathstone refreshes Tyr’s Radiant Barrier and increases the damage absorb. Once the shield has been broken Tyr will go back to using the abilities previously mentioned.
Morchie
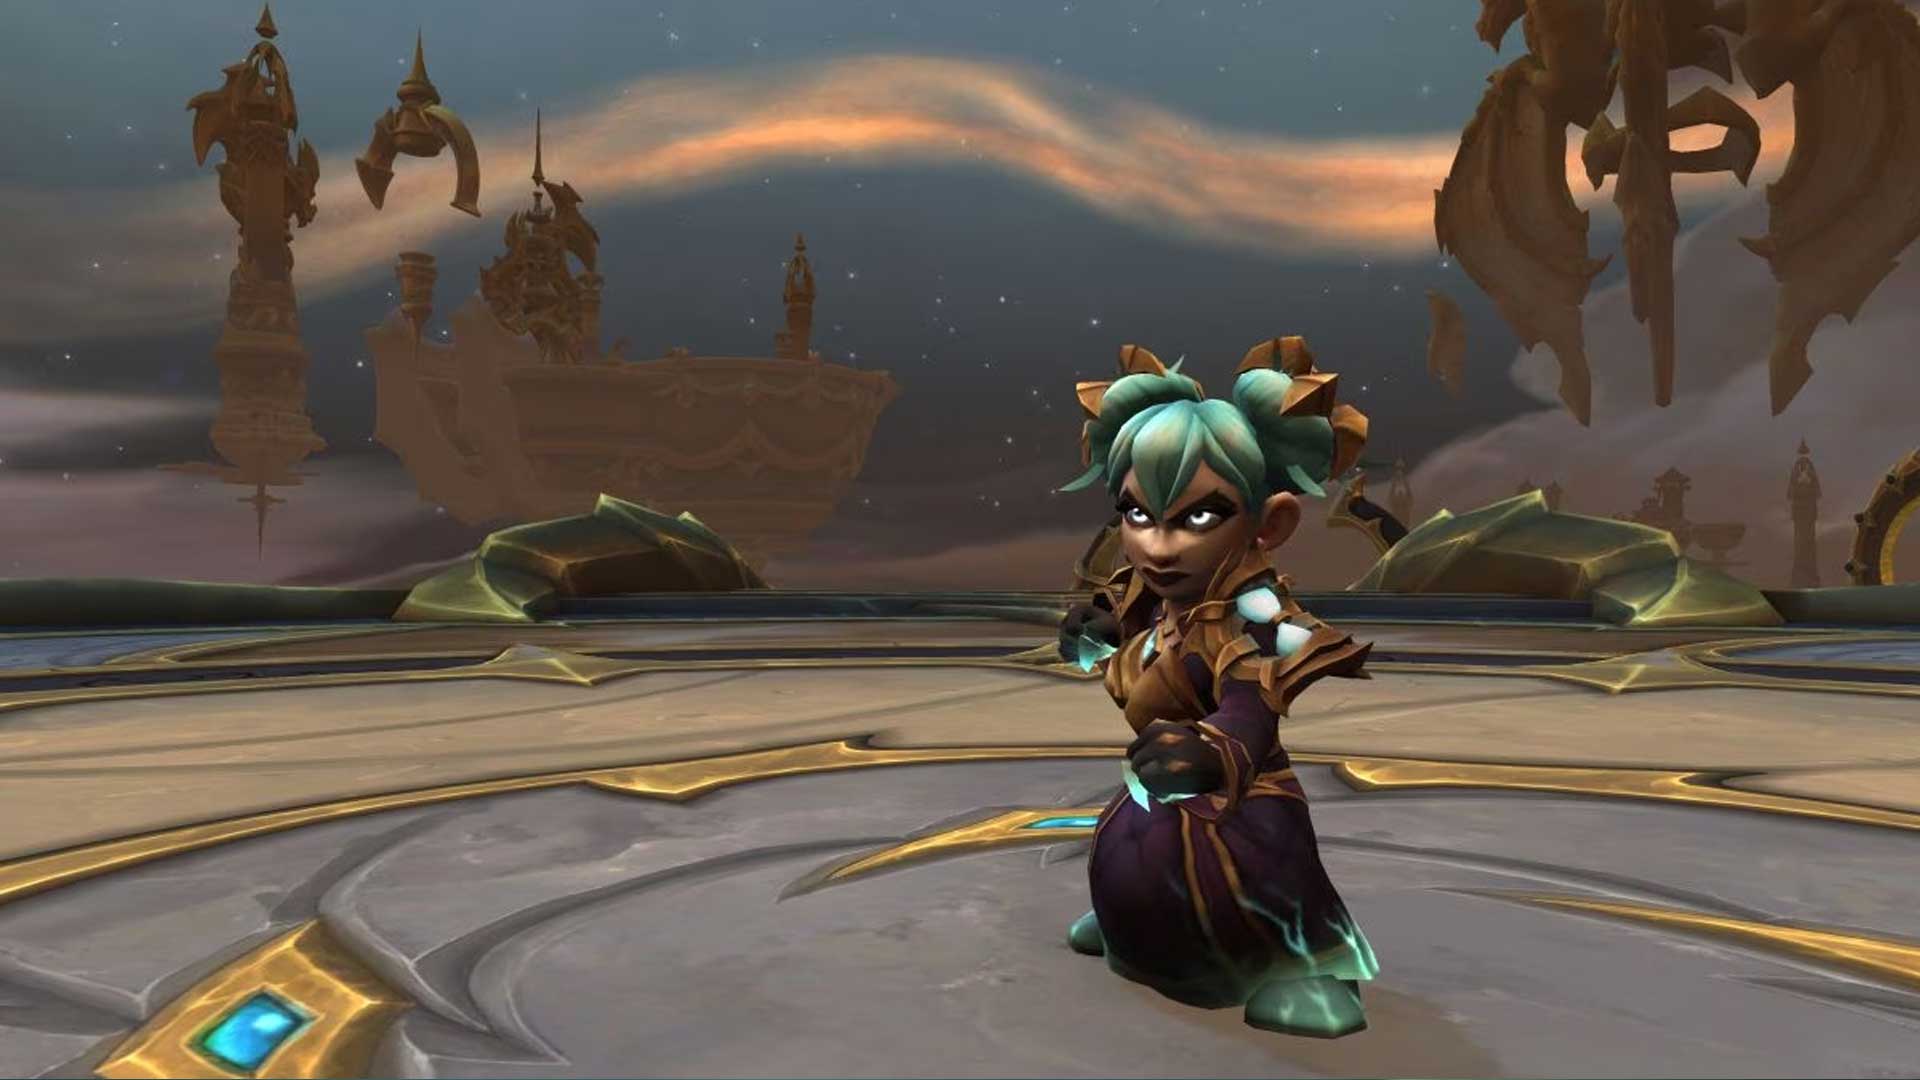
Sand Blast is her tank buster mechanic that must be aimed away from others. This mechanic will travel in a straight line at the tank and deals heavy physical damage. Active mitigation should be used to reduce this damage.
Morchie’s next ability is More Problems, when she finishes casting this she spawns several versions of herself and hides among them. All of the images and Morchie will start casting Dragon’s Breath. You can tell which one is the real Morchie because she will not be wearing a hat. Players must quickly run to the side of or behind the real Morchie because when she finishes casting Dragon’s Breath she releases a hard-hitting frontal cone that applies a dot called Sand Buffeted. This deals nature damage every second for 8 seconds. After the cast her other images will disappear.
Familiar Faces is her next ability and summons several minions into the fight. Each player will have one minion fixate on them and pulses Anachronistic Decay. This deals arcane damage to players within 5 yds every second. So players will need to slow these and kite them to avoid taking extra damage. These adds cannot be killed but there is a way to manage them with the Time Traps that Morchie spawns.
Time Traps look like pools of sand and are spawned around the area. If a player steps in them they trigger Time Stasis and are rooted for 30 seconds. This is a magic effect and can be dispelled or removed by any abilities that remove roots. But you do not want to clear these Time Traps, they must be used to trap the Familiar Faces. When a Familiar Face steps in a Time Trap it is suspended in time until Morchie releases it.
Players should make sure not to trigger too many traps at the same time because each time a trap is triggered it releases Temporal Backlash. This deals group wide arcane damage but is only deadly if multiple traps trigger at the same time. Once the key version of this dungeon is available healers may need to use cooldowns for this part.
Time-Lost Battlefield
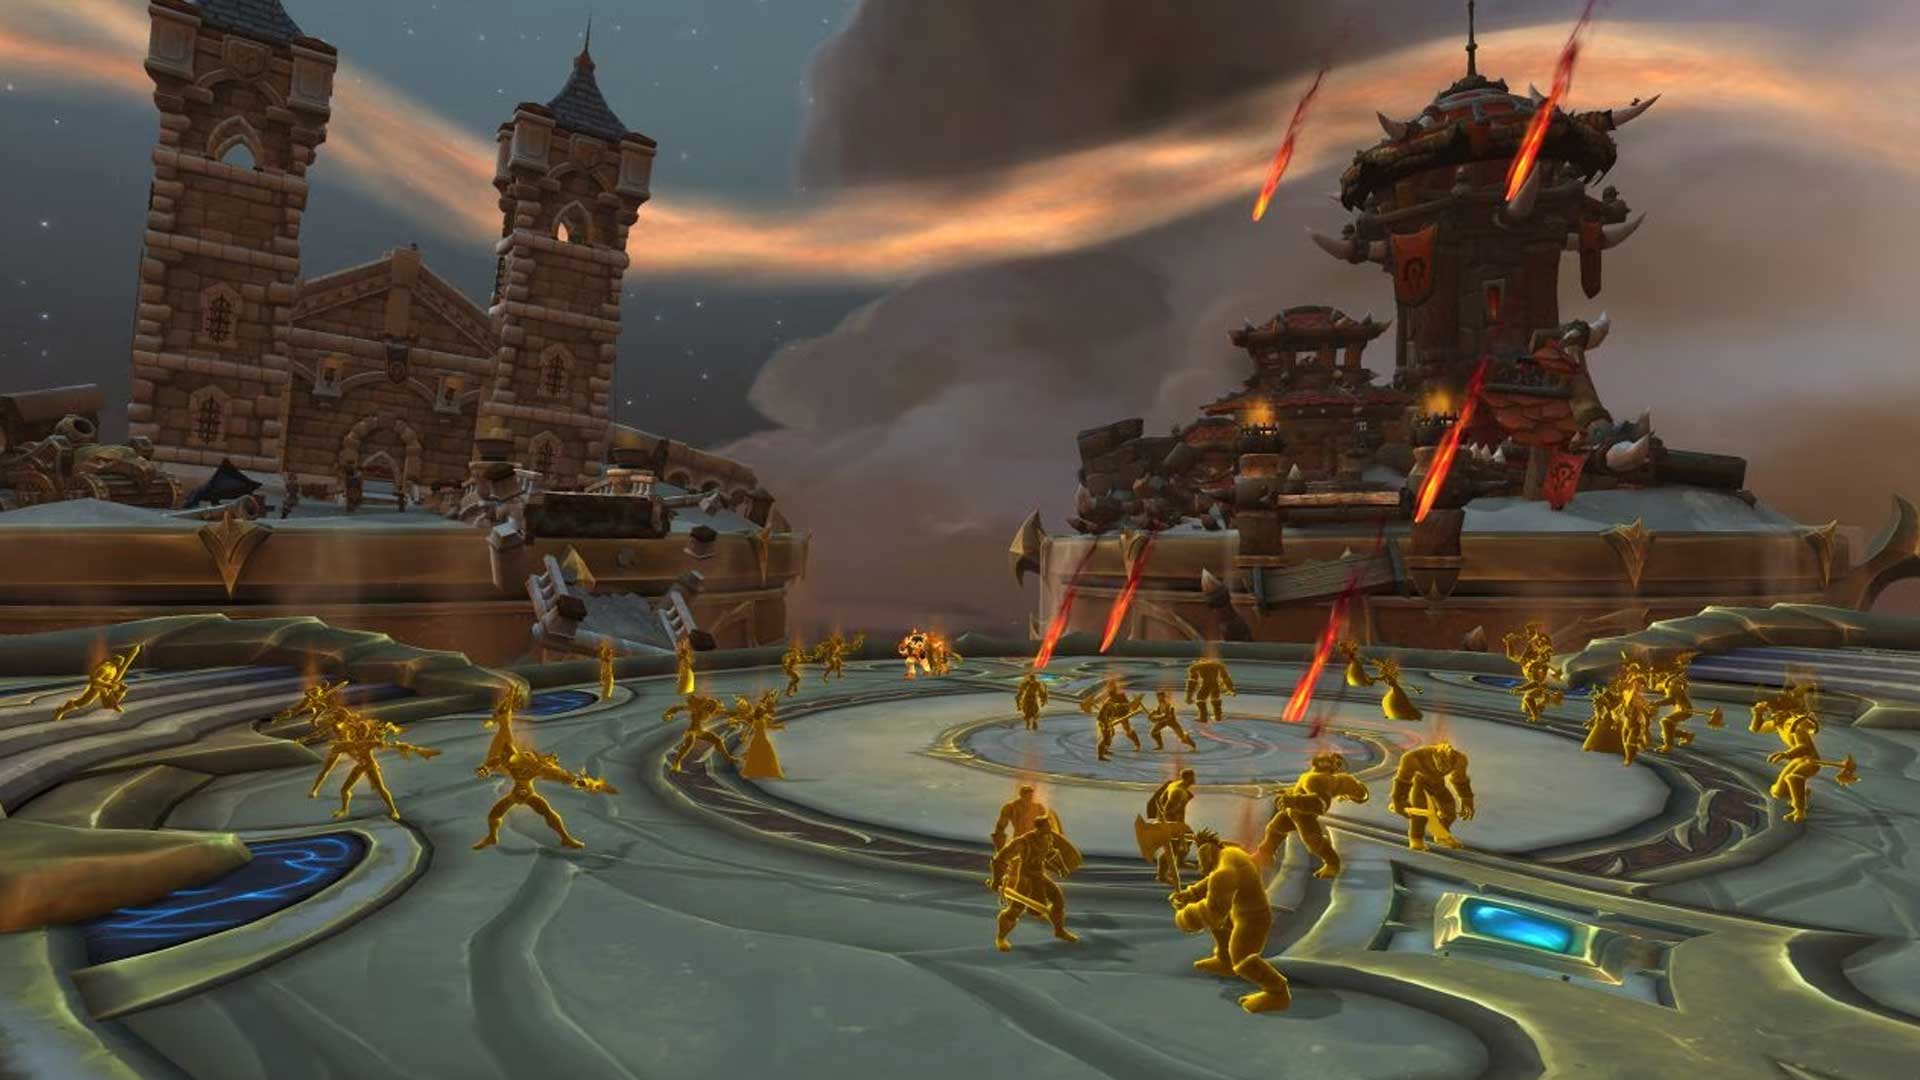
This is a unique fight as the bosses change depending on if the group is mainly Horde or Alliance. Do not worry though the abilities remain the same between bosses, it is just the names of them and their abilities that vary.
The boss of the fight will be Grommash Hellscream or Anduin Lothar. Grommash will summon Horde Grunt, Horde Axe-Thrower, and Horde Warlocks. Anduin will summon Alliance Footman, Alliance Archer, or Alliance Conjurer. First let’s look at the boss’s abilities.
The main tank buster is called Decapitate for Grommash or Mortal Strikes for Anduin, both abilities work the same way. This ability deals heavy physical damage and active mitigation must be used to reduce the damage. It cannot be blocked, dodged, or parried so tanks will always need to manage this mechanic. The tank is left with Mortal Wounds which is a debuff that reduces healing by 75% for 5 seconds. Healers must watch the tank carefully during this time as their healing will be much less effective. If Grommash or Anduin kills a player it triggers Thirst for Battle which resets the cooldown of Decapitate, or Battle Senses which resets the cooldown of Mortal Strikes.
Both bosses will use Shockwave, which is a frontal cone that follows the tank. This deals nature damage and triggers 3 times in quick succession. This can happen after Decapitate/Mortal Strikes so the healer must watch the tank’s health and tanks should be ready to take lots of damage.
Their next ability is Bladestorm, the boss will jump to a random player and then uses Bladestorm for 7 seconds. Any players caught in it take nature damage every second. Players should stay spread to reduce the chance of having this ability cleave multiple players. The boss does not fixate the player, so the targeted player should move out of Bladestorm immediately.
The next ability has two names but triggers the same effect. Grommash will use War Cry and Anduin will use Battle Cry. This deals group wide damage, healers should make sure everyone is healthy before the cast goes out.
Now it is time to talk about the adds. Grommash spawns 3 random adds into the fight with FOR THE HORDE! While Anduin spawns them with FOR THE ALLIANCE!. The Horde Grunt/Alliance Footman is a basic mob with no abilities and must be picked up by the tank.
The Horde Warlock/Alliance Conjurer has two abilities. They will randomly casts Rain of Fire/Blizzard onto an area and this effect deals damage to any players standing inside. This is simple to avoid and players should move out if it spawns on them. Their second ability is Immolate/Fireball which is a magic dot placed on a random player. This deals fire damage when it hits the player and the dot deals fire damage every 3 seconds for 12 seconds.
Dps should try to interrupt as many casts as possible to reduce outgoing damage. Especially with the other adds that are out there will be random damage on players. It is always possible for one player to get unlucky and be targeted by multiple adds. Healers can dispel this so the dot damage does not overlap with War Cry/Battle Cry.
The Horde Axe Thrower/Alliance Archer also has two abilities. First is Serrated Axe/Serrated Arrows which targets random players and deals heavy physical damage as well as applying a bleed. This bleed deals physical damage every second for 12 seconds. Their second ability is Axe Throw/Shoot which is cast at a random player and deals physical damage to them. This add is more dangerous than the others because of Serrated Axe/Serrated Arrows.
To keep the adds under control players should do their best to group them up and cc them to reduce how many casts they get out. Dps must make sure to interrupt the Horde Warlocks/Alliance Conjurers. The Horde Axe Throwers/Alliance Archers will do the most damage to the group if they are allowed to freely apply bleeds. The fight will end once Grommash or Anduin has been defeated.
Chrono-Lord Deios

The final boss is one players have faced before in Uldaman, and that is Chrono-Lord Deios. This is a 2 phase fight with many mechanics. Let’s take a look at the mechanics of the fight, starting with phase 1.
Phase 1
The main tank buster is Temporal Breath, which is a frontal cone that must be aimed away from the group. This ability inflicts heavy arcane damage and applied a dot that deals arcane damage every second for 9 seconds. Players should use active mitigation to reduce the damage from the initial hit.
Throughout the fight Chrono-Lord Deios will spawn 2 Infinity Orbs around the area with his Infinity Orb cast. Players will want to stand under one of the orbs to reduce the speed at which it falls. When an orb hits the ground it triggers Infinity Nova. This deals group wide arcane damage and applies a debuff that increases the damage players take from Infinity Nova by 300% for 4 seconds, this effect does stack. So if the orbs freely fall they will hit the ground at the same time and wipe the group. Players will need to coordinate to make sure someone has the job of being the orb soaker.
Chrono-Lord Deios will cast Summon Infinite Keeper throughout the fight. When this add spawns it will open a portal to spawn more adds from, and casts abilities while maintaining the portal. The Infinite Keeper’s first ability is Chronal Burn, this is placed on a random player and deals heavy arcane damage every second for 15 seconds decreasing in frequency over time. This dot should be dispelled immediately, once this dungeon is available to run as a key this dot will be deadly. Its second ability is Infinite Blast which deals heavy arcane damage to a random player. This should be interrupted as much as possible as it can be deadly if it targets someone with Chronal Burn.
While the Infinite Keeper maintains the portal Time-Displaced Troopers will spawn out of it every 10 seconds. These adds will have a Time Deplacement debuff that reduces their health. The tank should pick these up as they are basic mobs that only use melee attacks. This is why it is important for all dps to switch to this add ASAP or the group will be overrun by adds. Additionally, when the Infiinite Keeper is killed the portal will collapse and trigger Collapsing Time Rift. This will deal 15% of Deios’ health in damage over 4 seconds.
After Deios spawns 4 Infinite Keepers he will take to the skies. While flying he will continue to spawn Infinity Orbs throughout the area. Once all the portals have been closed Deios will land. When Deios reaches 20% health phase 2 will start.
Phase 2
Deios will continue to cast Temporal Breath and Infinity Orb in this phase. His first new ability is Infinite Corruption, this is a channeled cast aimed at Nozdormu for 6 seconds and pulsates group wide damage every 3 seconds. While casting large and small swirls will appear in the area. Players hit by large swirls take heavy arcane damage and small swirls deal a decent amount of arcane damage. Where the swirls land will leave behind Temporal Scars. Temporal Scars look like pools of sand and remain on the ground for 2 minutes. Players that stand in them take arcane damage every 0.5 seconds.
There are all the boss fights explained in the Dawn of the Infinite dungeon.
