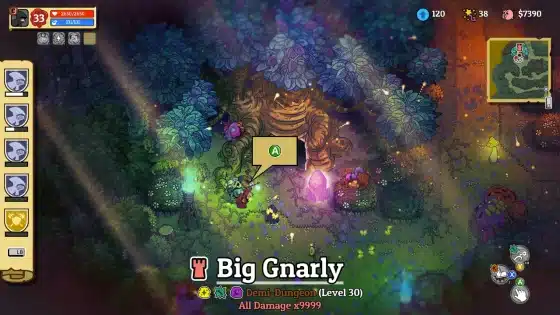
Nobody Saves the World Big Gnarly Dungeon Guide
| Tags: Features
| Author Diana D'Estefano

If you’re having trouble completing Nobody Saves the World Big Gnarly Dungeon, fear not; we’ve got you covered. In this article, we will explain everything you need to know about this dungeon so that you can have an easier life. We know that this game may not be very simple and can put your skills to the test and Nobody Saves the World Big Gnarly Dungeon is proof of this, but with our advice, you should be able to complete it without too much difficulty.
How to Complete the Nobody Saves the World Big Gnarly Dungeon
The first thing you need to know before delving further into reading this article is that the dungeons are procedurally generated, so they will not be the same for everyone. Consequently, we cannot provide you with a step-by-step guide, but we can give you some general advice that you can follow and that you will need in any case to be able to tackle this dungeon as best as possible.
The Big Gnarly is located in Wormroot Woods, which is east of The Grand Castle. The peculiarity of this dungeon is that the damage inflicted by everyone is 9999, so everyone will inflict maximum damage. For this reason, it is very important that you choose the right skills to have a chance of completing the dungeon. The most important one, without a shadow of a doubt, is Hardened Shell, as it won’t make you lose more than a third of your health in a single hit. Since the enemies in this dungeon are very strong, having this skill is almost mandatory if you don’t want to perish.
Passives
- Money Motivated
- Scavenge
- Zomnomnom
- Hardened Shell
Abilities
- Fan of Knives
- Confetti Bomb
- Summon Demon

While you are exploring the Nobody Saves the World Big Gnarly Dungeon, pay close attention to the leeches, as they are capable of killing you without you even realizing it. So, our advice is to go for them first or you have to escape so as not to be caught. In any case, once you have managed to explore the first floor of the dungeon, it is time to focus on the second which, however, has a gate with three locks that must be unlocked.
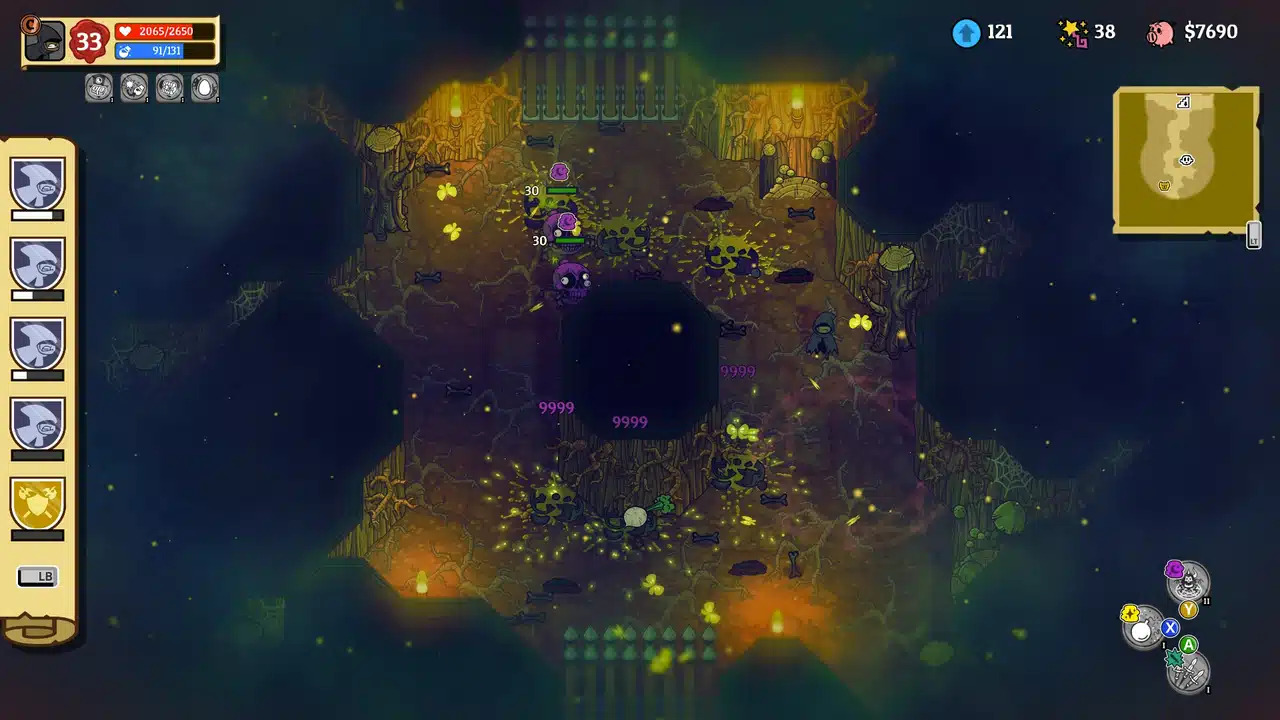
In order to obtain the necessary keys, you will have to fight to the death in an arena. These arenas can be quite difficult to tackle, so think carefully about the strategy you want to use and keep an eye on the various enemies that are present. In one of the arenas you will have to fight against skull bombs, i.e. enemies that will explode as soon as you get close to them. However, despite these, you will have plenty of time to move away to avoid being hit by the explosion. For the rest, kill the leeches first, so that they can’t give you problems.
How to Beat the Nobody Saves the World Big Gnarly Boss
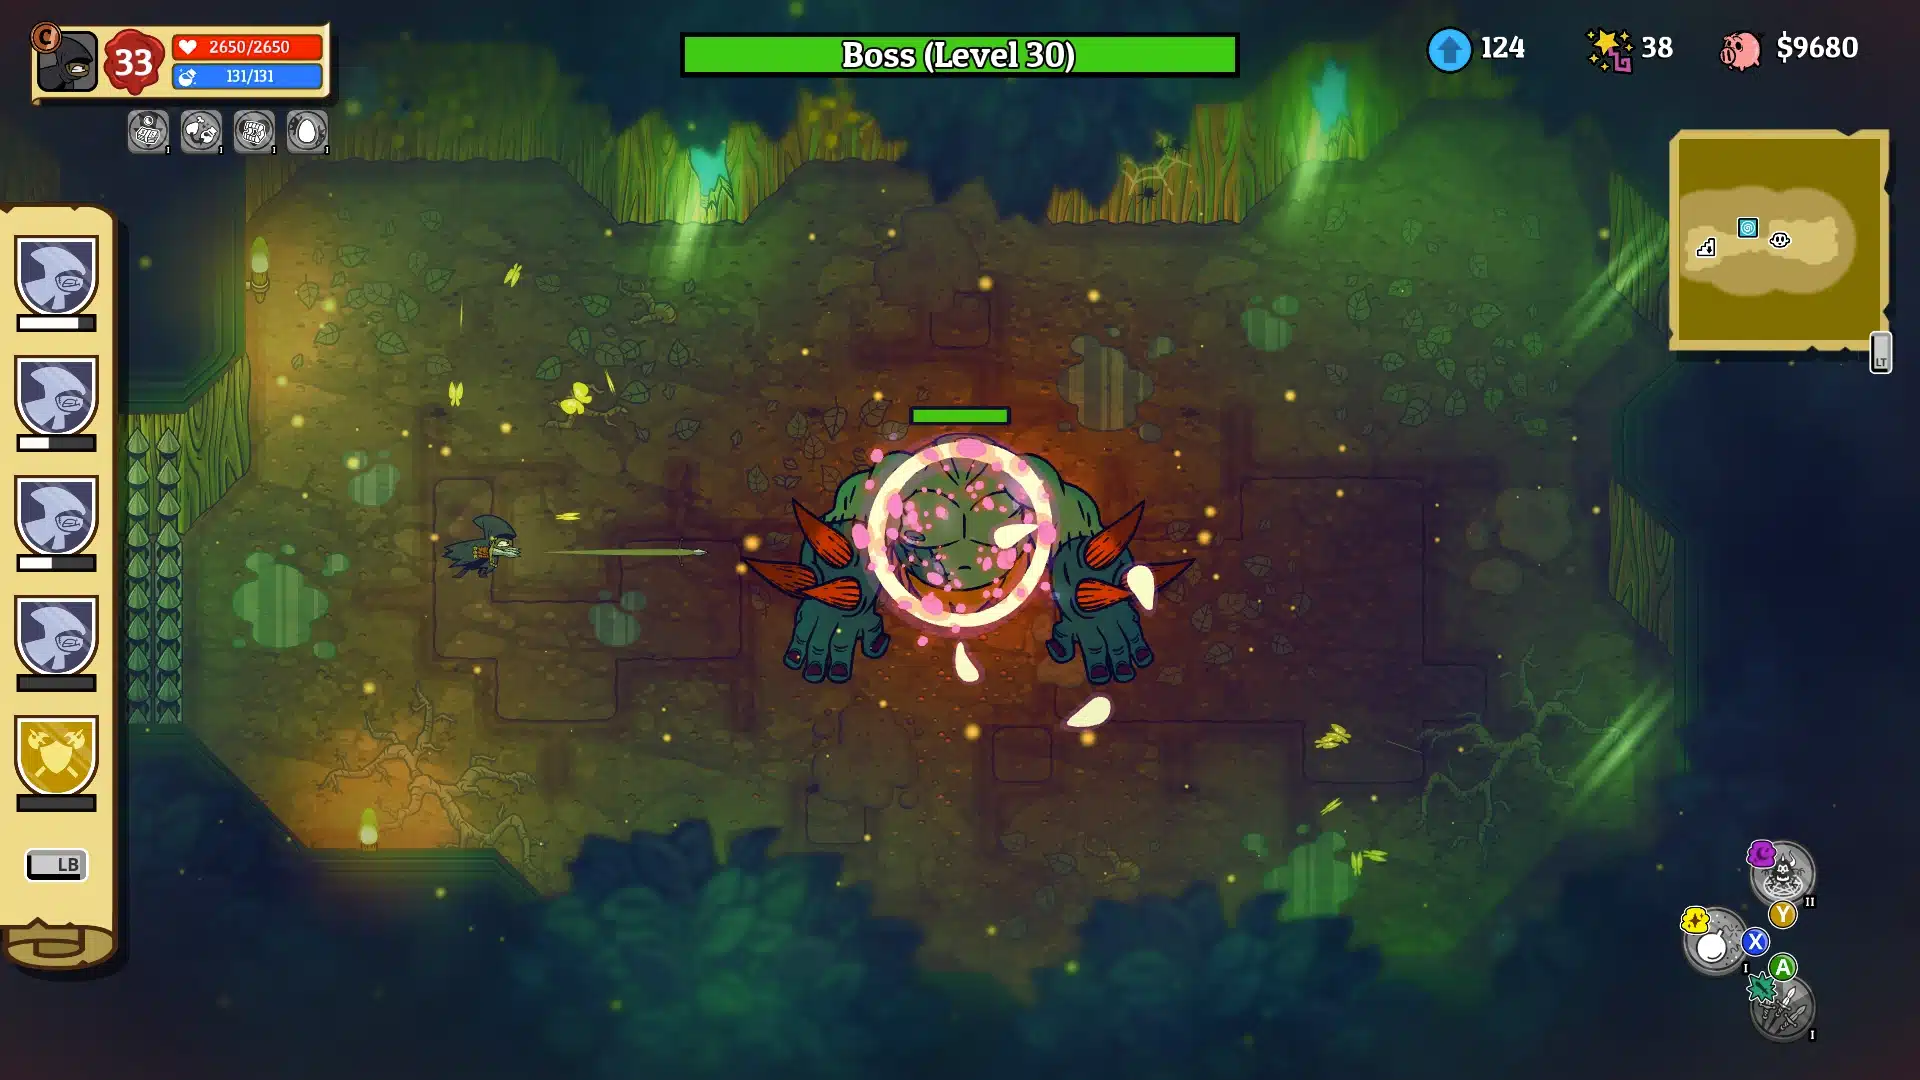
Once you have managed to explore and complete the arenas and have unlocked the second dungeon, there will still be one challenge ahead of you: the final boss. We say it without mincing words: this boss will be difficult to face if you don’t make use of a little “trick”. Our advice, in fact, is to use the Fan on Knives skill; this way, you will be able to kill the boss as soon as he enters the arena. Of course, there won’t be the adrenaline of facing a boss and the strategy to follow, but it is certainly the safest path to take.

